From the time I was a small child, I have been deeply offended by the “soap on a rope” we see offered everywhere in June. My Daddy was far too special to be celebrated with a silly thing of soap on a string! What was the point? And for Father’s Day? No way. By the age of 5, I knew that no one could really want that. So I determined to make my Daddy something really special. I no longer recall what it was, but I am sure he was impressed. 🙂
Sadly, Dad is no longer with us, and I miss him terribly. No one has ever believed in me like he did. The Father’s Day street address planter I did last year was a better example of the kinds of projects we used to do together. But this year, something reminded me of my old grudge against the silly soap. Somehow, it reminded me that I always meant to make this succulent craft, so here goes. Don’t give Dad a soap on a rope! What he really wants is succulents on a stick! 🙂
Simple Succulent Craft
In this Post We'll Cover:
{Please note, some links in this post may be affiliate links to sites that pay me a small commission if you click on the link and make a purchase. This commission is at absolutely no cost to you. I only recommend products and companies that I have worked with and truly love! ~Kat}
Supplies for DIY Succulents on a Stick
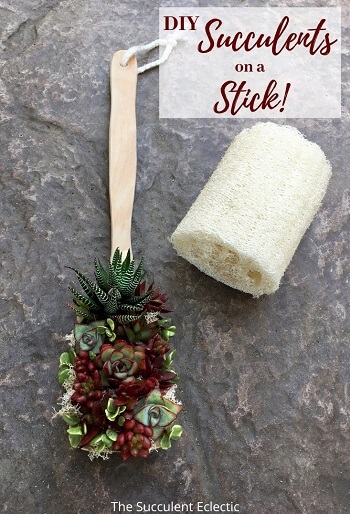
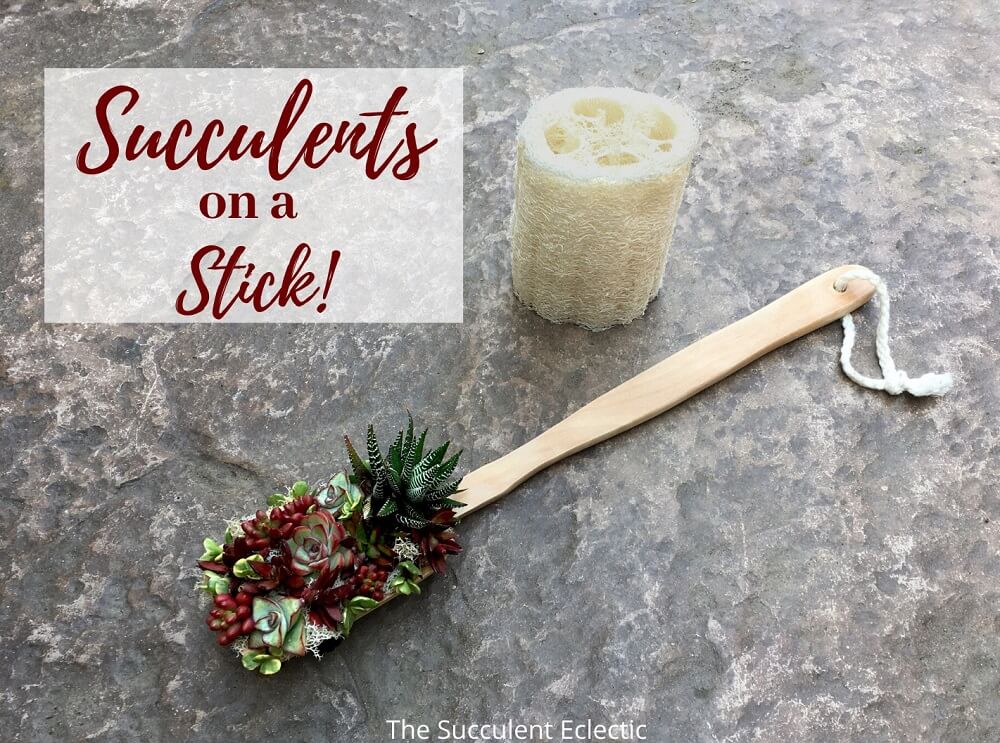
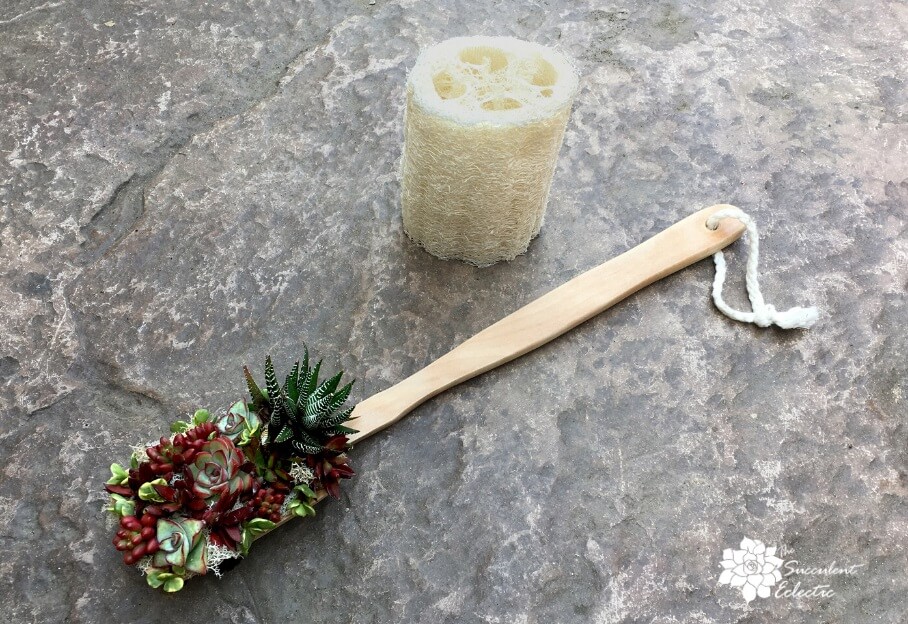
So you might be wondering — why succulents on a stick? I know it’s odd. My husband bought a loofa on a long wooden handle to reach his back in the shower. And it’s a great loofa, but it quickly came off the wooden stick it came on. The loofah had been glued to a nice, broad, flat surface. Why not “plant it” with succulents, right? See the small rope at the end for hanging in the shower? So, somehow, this became my answer to the life-long grudge I hold against soap on a rope. But you can make this same idea with a wooden spoon!
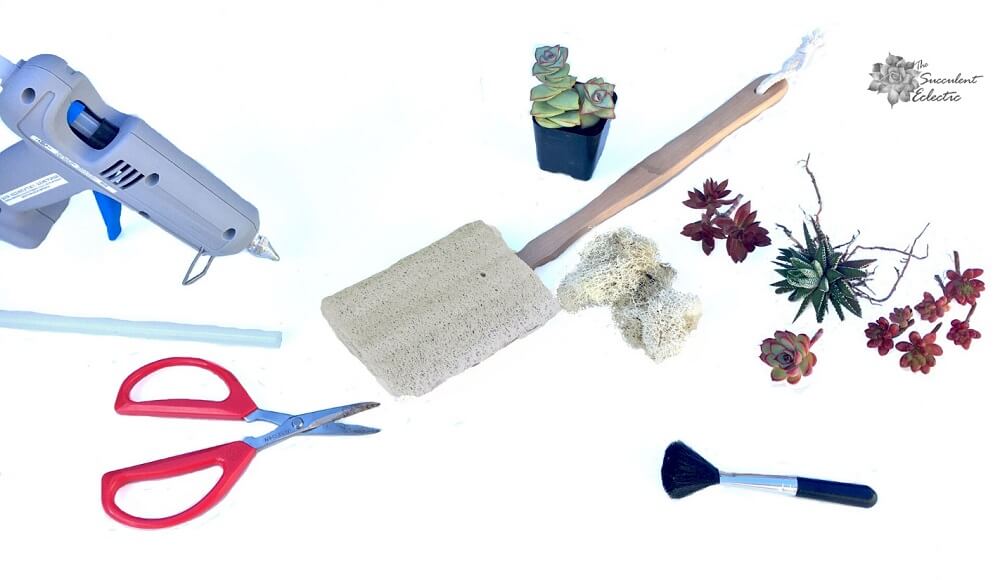
To make succulents on a stick, you will need:
- Loofa on a stick (or a wooden spoon)
- Dried natural moss (I used cream reindeer moss)
- Hot glue gun and glue sticks
- Sharp clippers (I love my Joyce Chen scissors!)
- Soft-bristle brush (mine came in this succulent tool kit)
- Succulent cuttings!
Preparing Stick
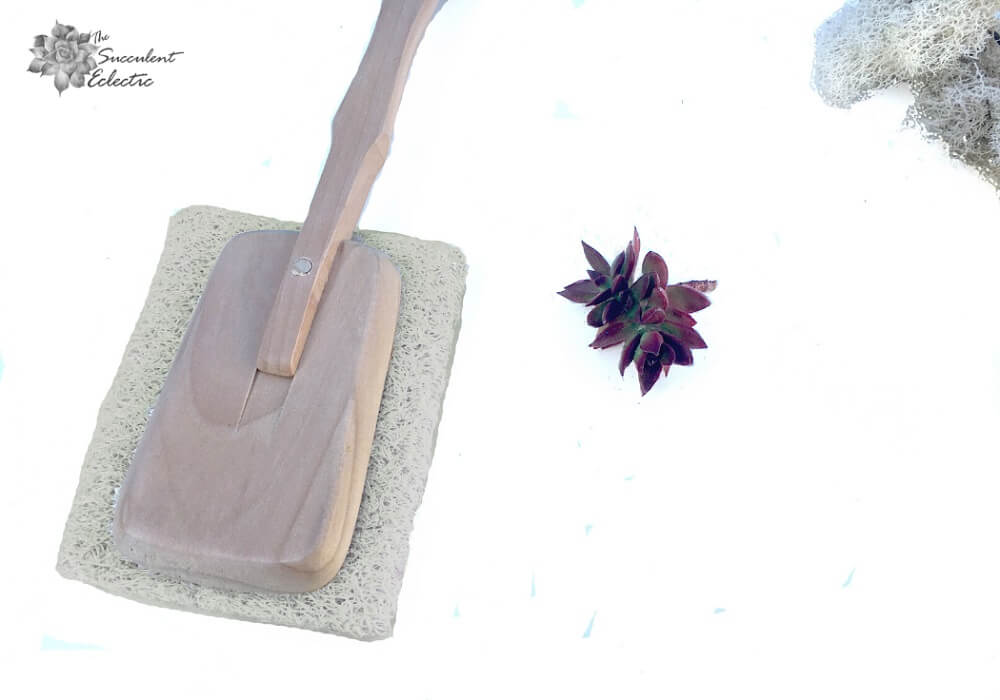
The wooden handle for the loofa is nicely made and sturdy. The loofa itself starts out flat and compact. To remove the loofa, soak it in water. It expands and then can be easily pried off the handle, leaving the loofah great for use in the shower!
Prepare Succulent Cuttings
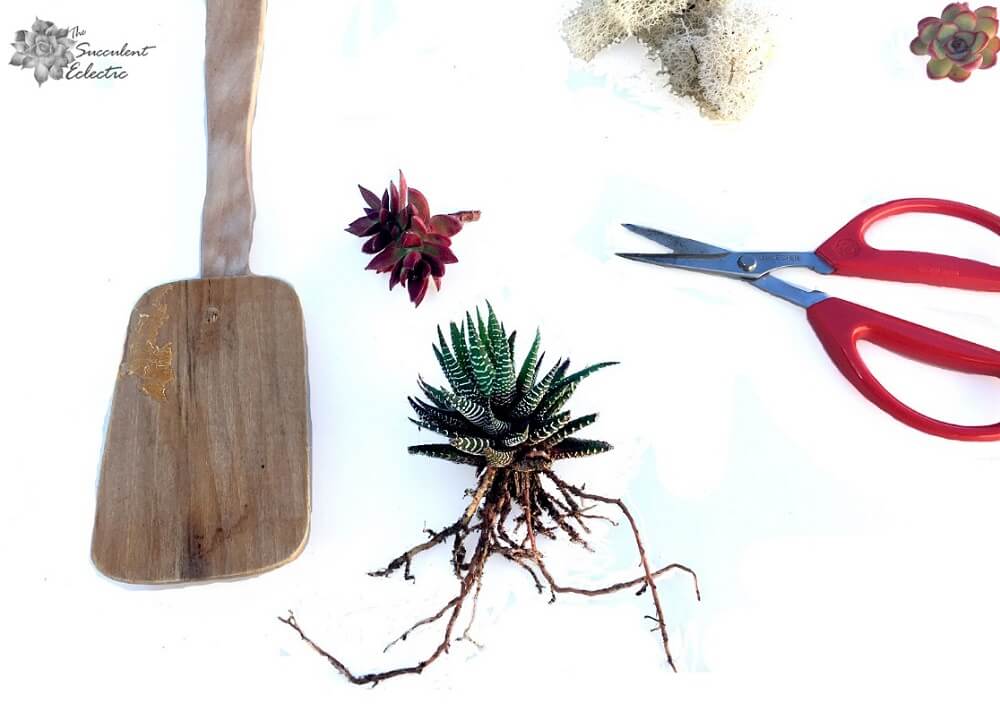
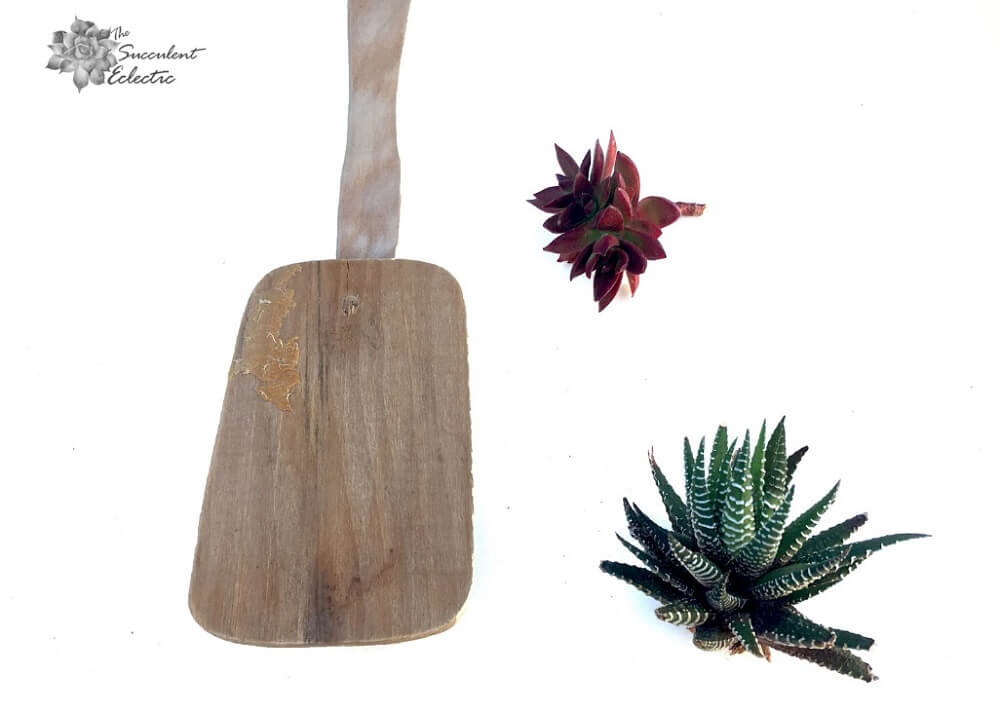
You can do this succulent craft with potted succulents from the store or take cuttings from your garden. You can also find great succulent cuttings online. The cuttings are perfect for many succulent DIYs or as a low-cost way of growing your collection. For this project, we need to remove the roots from our plants and cut any other cutting quite short.
This is such a simple succulent project, I am going to also share some of the design principles I used that I have learned from working with Cindy Davison of The Succulent Perch.
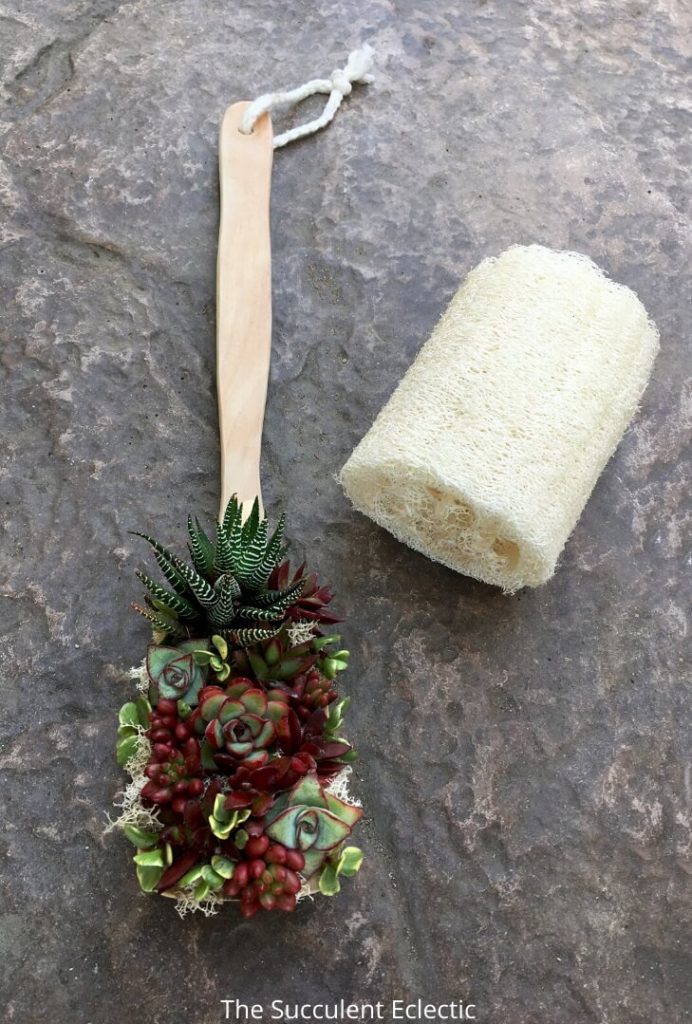
Because I was planning this as a gift for a man, I chose a Haworthia fasciata ‘Zebra Plant’ as the focal point for the design. The strong architectural quality of the plant and its geometric dark and white stripes seem to me to have a masculine vibe. I chose other angular and spiky plants in contrasting colors for most of the arrangement.
Succulent Cuttings Root into Moss
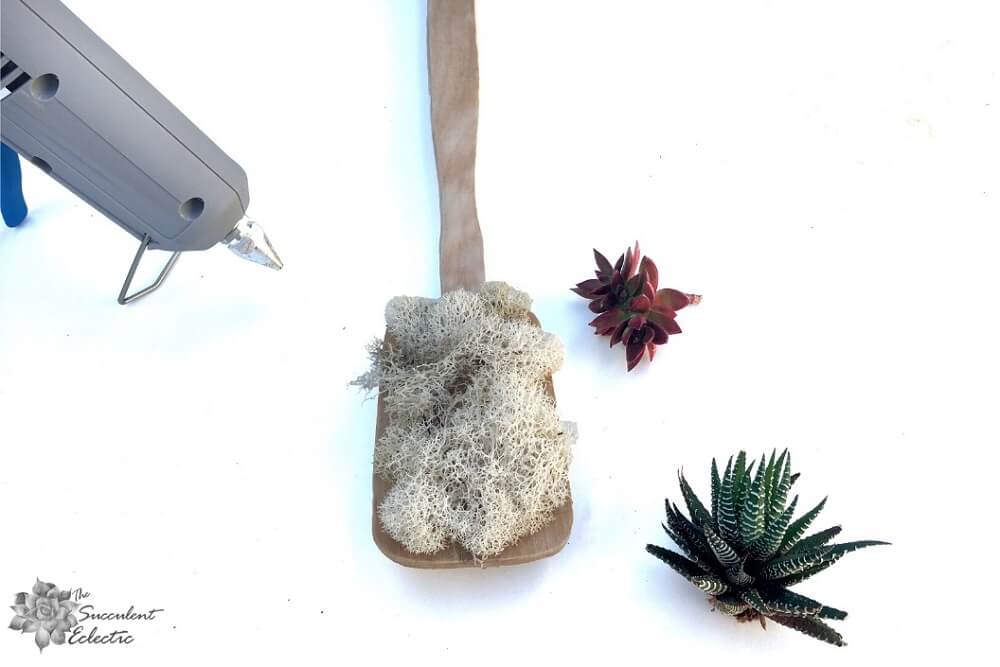
Take a small amount of your natural moss and glue it to the flat part of your handle. The moss will hold a bit of moisture, and the succulent cuttings will eventually root into it. I like the look and texture of this reindeer moss.
Glue Succulent Cuttings to the Wood Handle
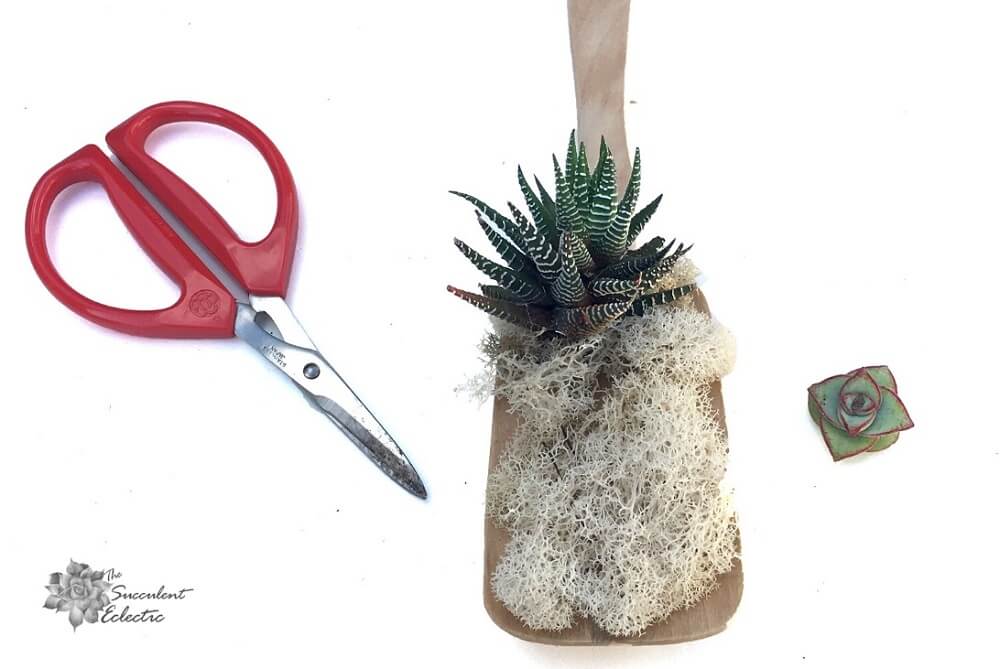
When you glue a succulent, the glue seeps through the moss to bind the succulent to the wood. Hold it firmly in place for several seconds. I know it’s hard to believe, but the hot glue does not harm the succulent! It will actually root right through the glue and into the moss!
The Haworthia fasciata is the largest of my plants and a bit big for this project. So, I used it to anchor the look by placing it high on the flat space, off-center but near the handle. When I hang this handle, it won’t look so heavy this way. I didn’t have much of this fun, Crassula perforata ‘Ivory Towers’ but I like the oddly geometric effect with the triangular leaves forming stacked squares, each outlined with red leaf margins. I think it goes well with the masculine look I am aiming for. I only had two of these, and I wanted them to be prominent. So, I added them next.
Fill in with Succulent Cuttings
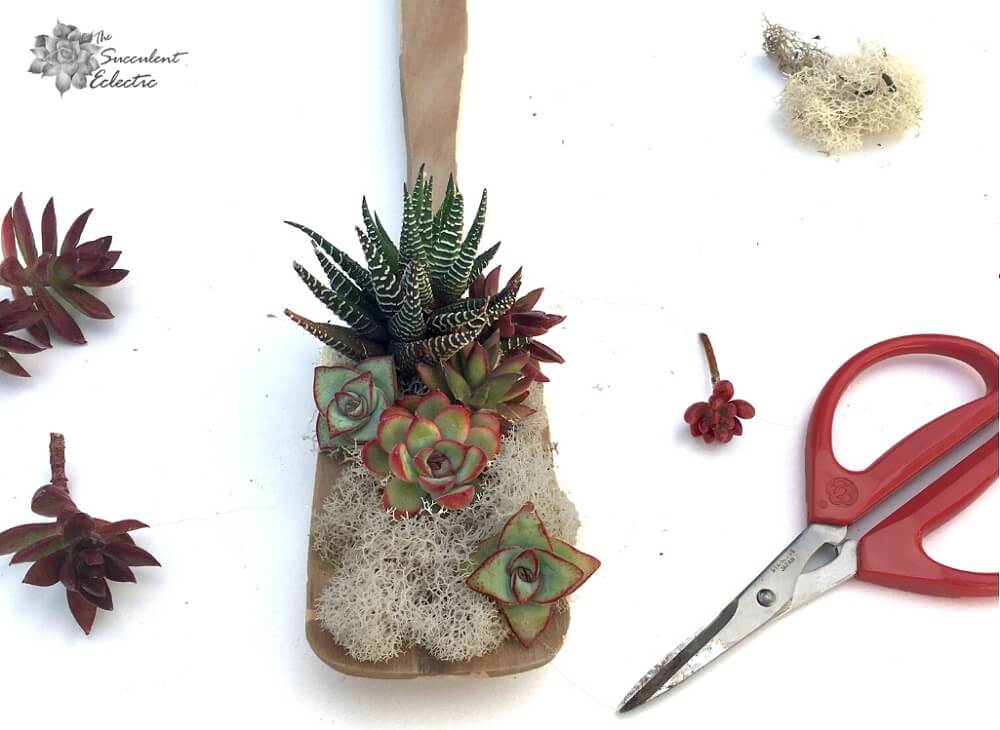
I have quite a bit of this Sedum reflexum that has flamed a deep red with succulent stress coloring. The shape echoes the shape of the Haworthia, and the color picks up the red margins of the Crassula, nicely tying the two together. (Thanks, Cindy!). I had just one Echeveria agavoides ‘Red Tip’, so I decided to make it the heart of the arrangement. But although its coloring works well with the red margin, it introduced a very different shape, with a more rounded look than the rest of my selections. It made a nice contrast, but I thought using just one round element would look like a mistake. So I added some Sedum rubrotinctum ‘Aurora’. It mimics the color of the spiky Sedum, but with a rounded, jellybean-like shape that echoes the rounded Echeveria. Perfect!
With my main succulent elements in place, I filled with the spiky and rounded red Sedums. But all that dark color made it difficult to see the beauty of the individual succulents. So, I added some small sprigs of Portulacaria afra variegata, one of my all-time favorite succulents. I use it for everything! The apple green leaves, with their pink margins, burgundy stems, and creamy white accents, complement all other succulents and brighten up any succulent craft.
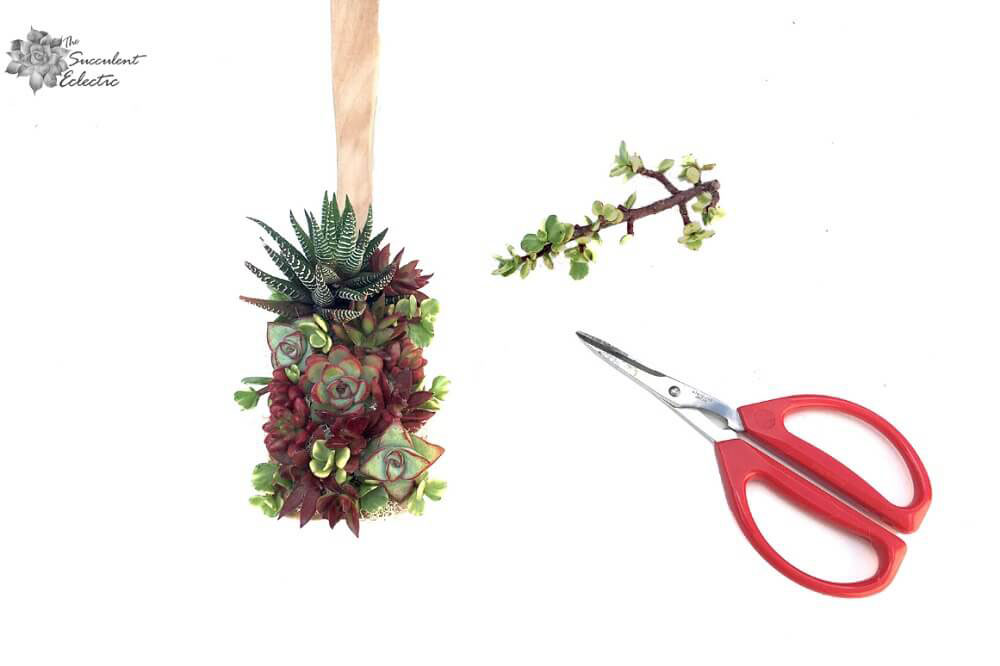
See what a difference the lighter touches make?
Finishing and Caring for Succulents on a Stick
After applying all of the succulent cuttings, clean off any stray hot glue strings. Use the soft-bristled brush to dust the succulents and remove any specks of soil. At this point, I added a few whispers of reindeer moss just to soften the overall look.
The succulents are well-secured, so you can hang your stick right away.
To care for this, spray with water 2-3 times per week. The cuttings can take in moisture through their leaves, and the moss will hold it a bit longer, encouraging the cuttings to root. I expect this succulent craft to last a good six months. When it becomes overgrown, I will take it apart and plant the cuttings for my garden!
What do you think? Wouldn’t the Dads in your life like this better than soap on a rope?
This is a terrific succulent craft and very easy to make. If you have any questions, let me know! To learn more about the Succulent Design principles I mentioned in this project, join my new Facebook group, The Succulent Eclectic Community! We would love to see you there!
Stay safe, stay sane, and plant succulents!

P.S. For more fun succulent crafts, DIYs and succulent care, subscribe to The Succulent Eclectic. I’ll send you my FREE course, 7 Steps to Succulent Success!
P.P.S. Why not join my Facebook Group for succulent-lovers? We talk succulent care, propagation, succulent identification, and design. It’s a warm and welcoming group that would love to meet you!