Long-time readers know that I always love pallet wood projects, but this one is really special to me. When I was a child, Christmas was always the most special time in our family. My parents celebrated the religious meaning of Christmas, and Advent, the four week period leading up to the birth of Christ, was so meaningful. Every night, we shut out all the lights and lit the candles on our Advent wreath, as we prayed together and sang hymns, celebrating the coming of the Light of the World. My folks are gone now, and I miss them terribly. I wanted to somehow bring my memories to new life. After some trial and error and much consultation with my husband, it became this DIY Advent calendar in the form of a wooden Christmas tree. Mom and Dad — this one’s for you! ❤
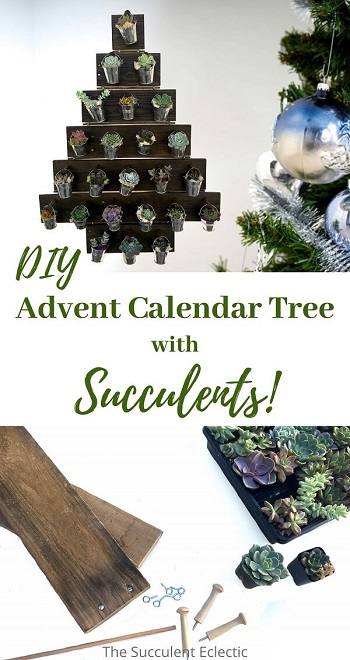
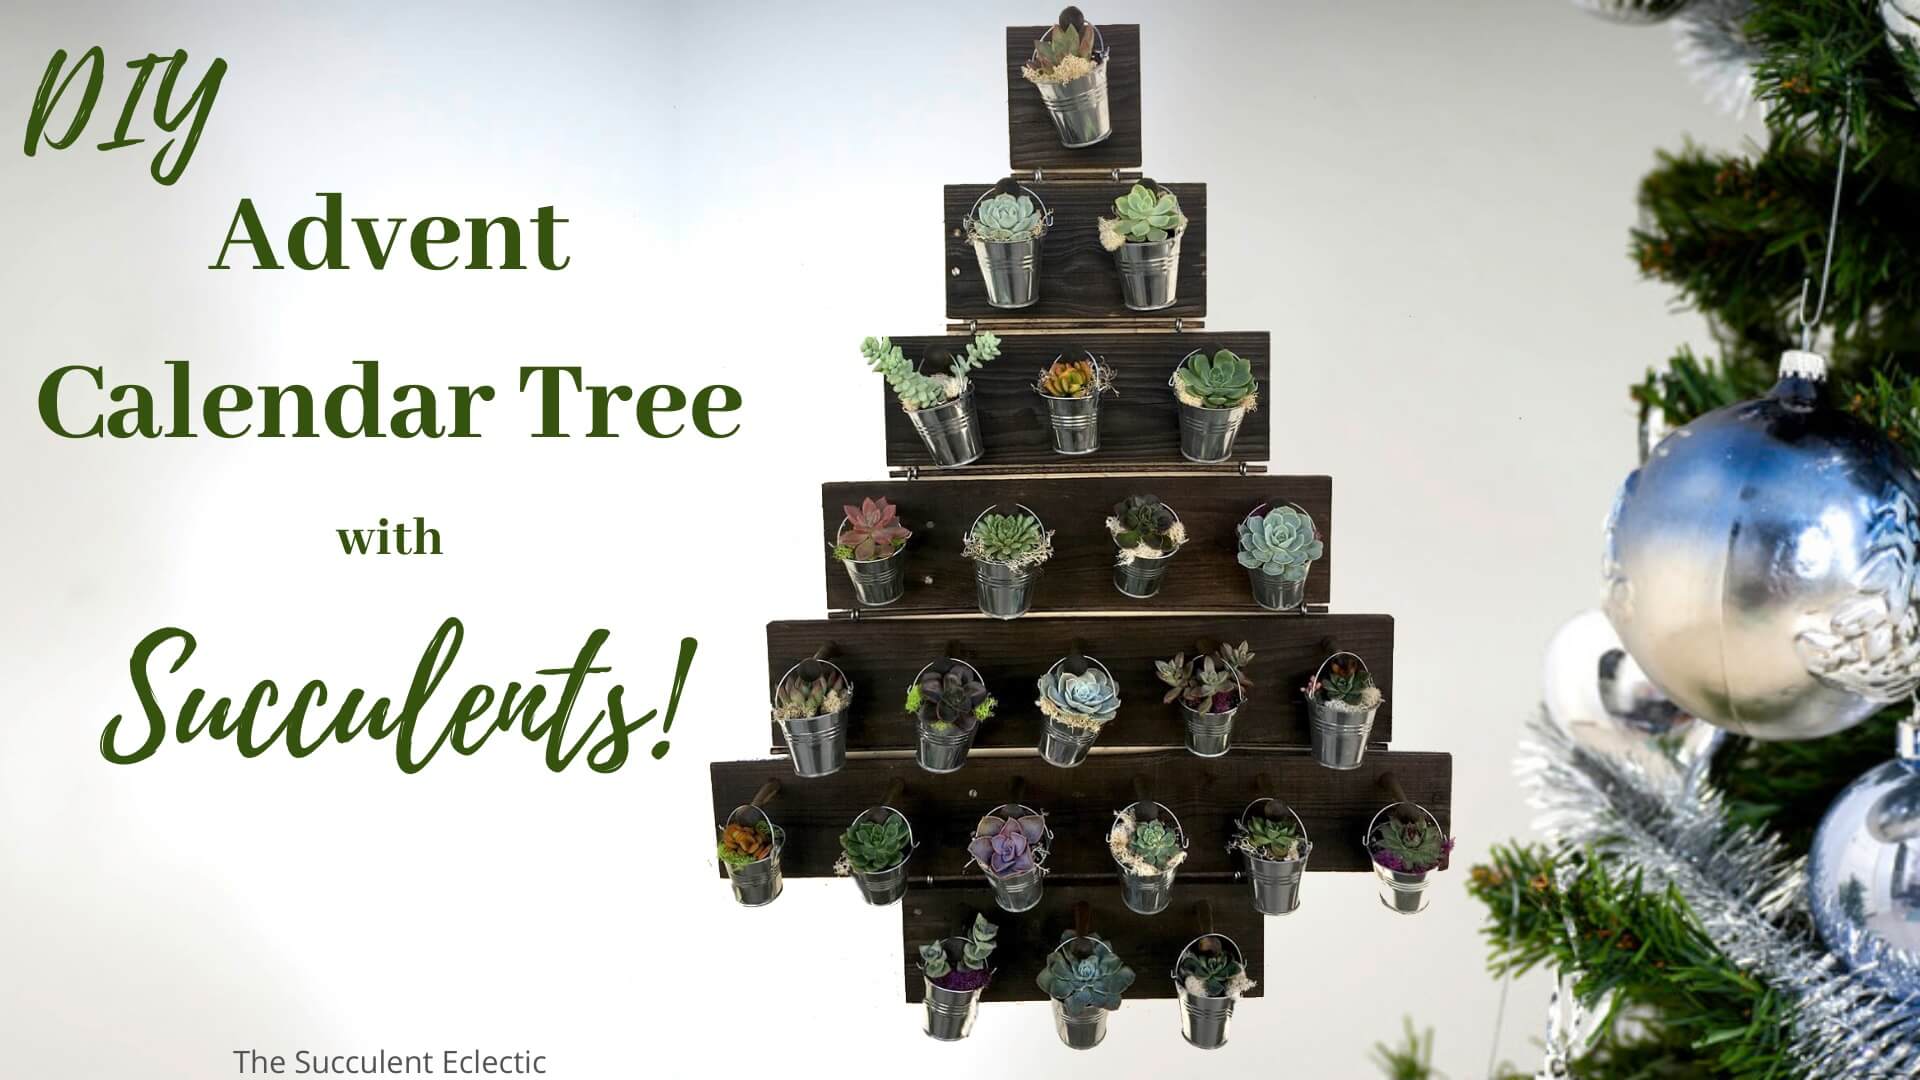
This is a fun pallet wood project! It is a wooden Christmas tree with 24 pegs, one for each day of Advent. Each day, you’ll hang a rustic pail on a peg, starting at the bottom, the “trunk” of the tree. At first, it will look really bare, the way our Advent always started out so dark, symbolizing the world without Christ. But every day, as the Birth comes closer, the candlelight grew, and your tree will fill up with festive pails filled with succulents. It will grow in color and life and beauty as Christmas Day grows closer. If you don’t want to use succulents (really?) you could fill the pails with colorful jelly beans, Hershey’s kisses, marbles, battery-operated votive candles or tiny X-mas ornaments. I’ll show you step-by-step exactly how I built it. This is a looooong DIY, with multiple steps, but none of the steps are difficult. And the result will last for years and years! It might even become a family heirloom.
{Please note, some links in this post may be affiliate links to sites that pay me a small commission if you click on the link and make a purchase. This commission is at absolutely no cost to you. I only recommend products and companies that I have worked with and truly love! ~Kat}
Building the DIY Advent Calendar Tree
In this Post We'll Cover:
Supplies for Making the Wooden Christmas Tree
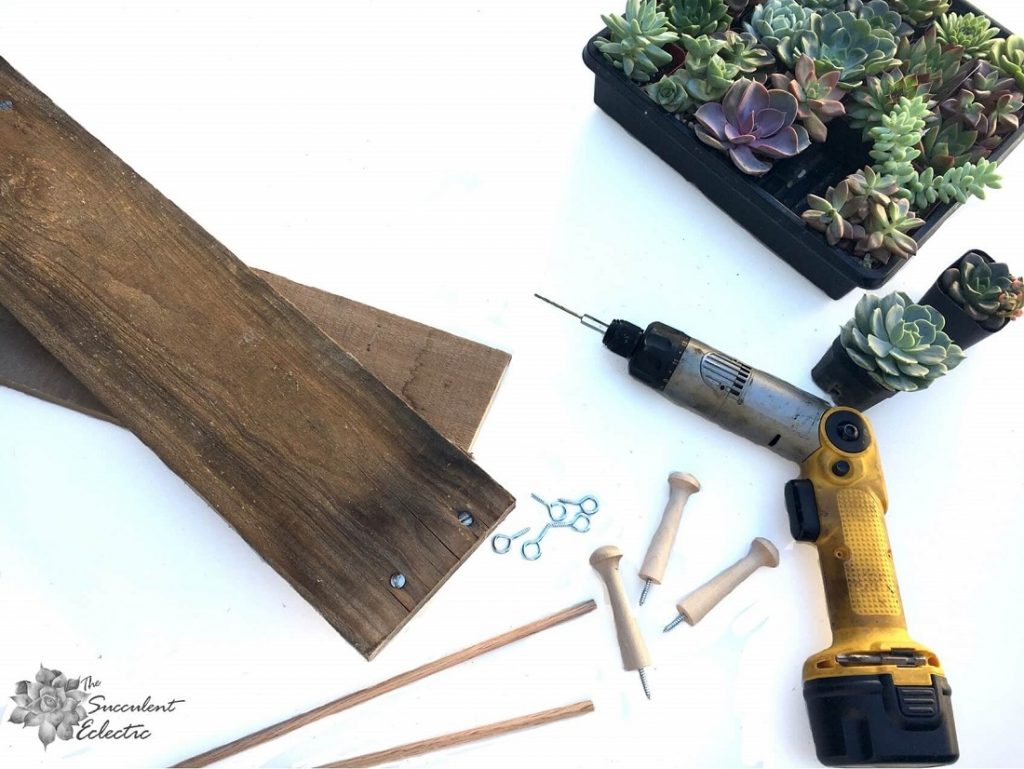
While there are quite a number of steps, and some power tools used, this is really a straightforward project. To make the DIY Advent calendar tree, you will need:
- Several slats of pallet wood* (alternatively, you could make this with fresh lumber, using 1×4’s)
- 24 eye screws with an inner diameter of .35 – .60″
- 24 screw-on Shaker pegs, I used these
- 1/4″ diameter wooden dowel rods, total length about 90 inches (determine the length below)
- Saw, hand or powered. This reciprocating saw is ideal for taking pallets apart.
- Drill
- Small drill bit for pilot holes, (I used 1/8″)
- 24 small galvanized buckets
- Sturdy picture hanger
- Decorative dried moss (I used this bag of mixed colors and textures)
- Succulent soil
- 24 succulents! I used 2-inch mixed succulents from Mountain Crest Gardens.
Optional – to color, “age”, and protect the wood:
- Vinegar (white or apple cider)
- 5 black tea bags
- Steel wool
- Fine-grain sandpaper
- Old paintbrush, 2-3 inches wide
- Sponge brush
- Boiled linseed oil
*To learn how to take apart a pallet, see my DIY pallet planter.
Measuring for Wooden Christmas Tree
Measuring has to be a bit flexible in pallet wood projects. I have worked with pallets with slats ranging from 3.35″ up to nearly 7″ wide. What’s important for this project is that all the wood slats you use are the same width. The one I worked with was almost exactly 5 inches wide. But you can make this wooden Christmas tree with wider or narrower slats — just adjust your measurements. (While the splinters are not bad with pallet wood, they are there. If you are making the DIY Advent calendar tree in a home with small children, I recommend that you use 1 x 4’s and sand them well).
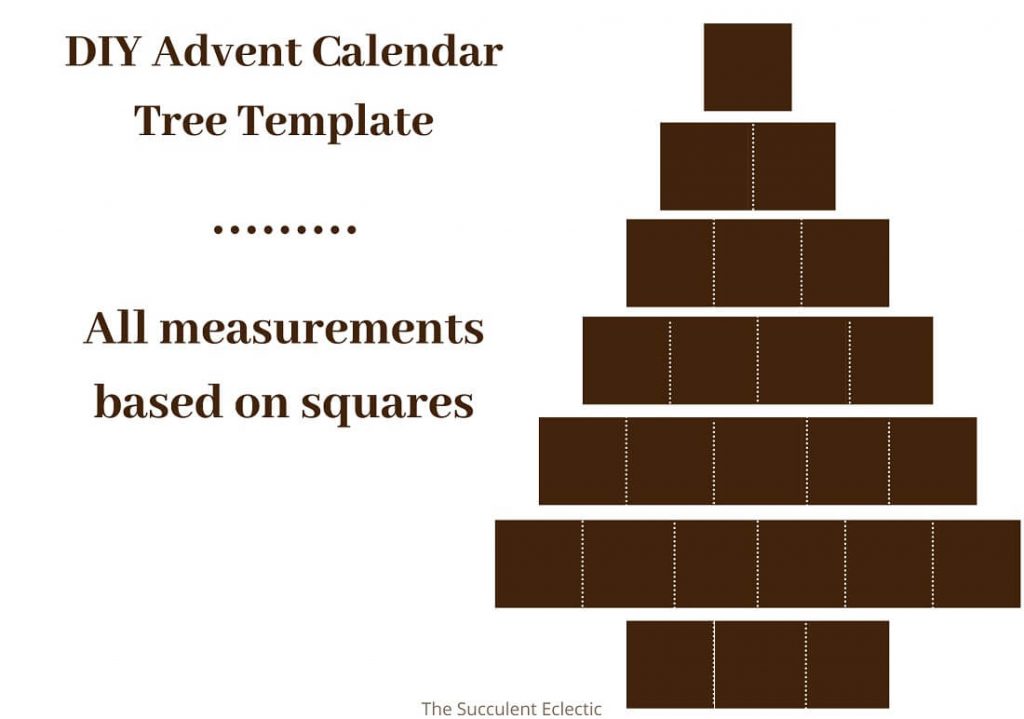
Because pallet wood boards vary so much, I designed this wooden Christmas tree based on the dimensions of a square. However wide your board is, that is the measurement you will use to create the square for the top of the tree, and all the layers after it are measured based on this square. There will be a total of 7 boards of different lengths, measured based on the first square So, this DIY Advent calendar tree is 1 square for the top. The second layer should be the length of 2 squares. The third layer should be 3 squares long, the 4th layer is 4 squares long. The 5th board is 5 squares long, the 6th is 6 squares long. The 7th board should be just 3 squares long, to form the trunk of the tree. Each square will get a peg and a pail, 1 for each day of Advent.
Each board connects to the next with 4 eye screws, 2 screwed into the bottom of the upper slat and 2 in the top edge of the lower one*. The 1/4 inch dowel rod passes through the 4 eye screws to make the connection. The dowel rods need to be cut the same length as 1 square, two squares, 3 squares ( you’ll need 2 dowel rods cut this length), 4 squares and 5 squares. The width of 5 squares is the longest dowel rod you’ll need for this pallet wood project.
Thank you, Jerry, for this genius design!
DIY Advent Calendar Tree Construction
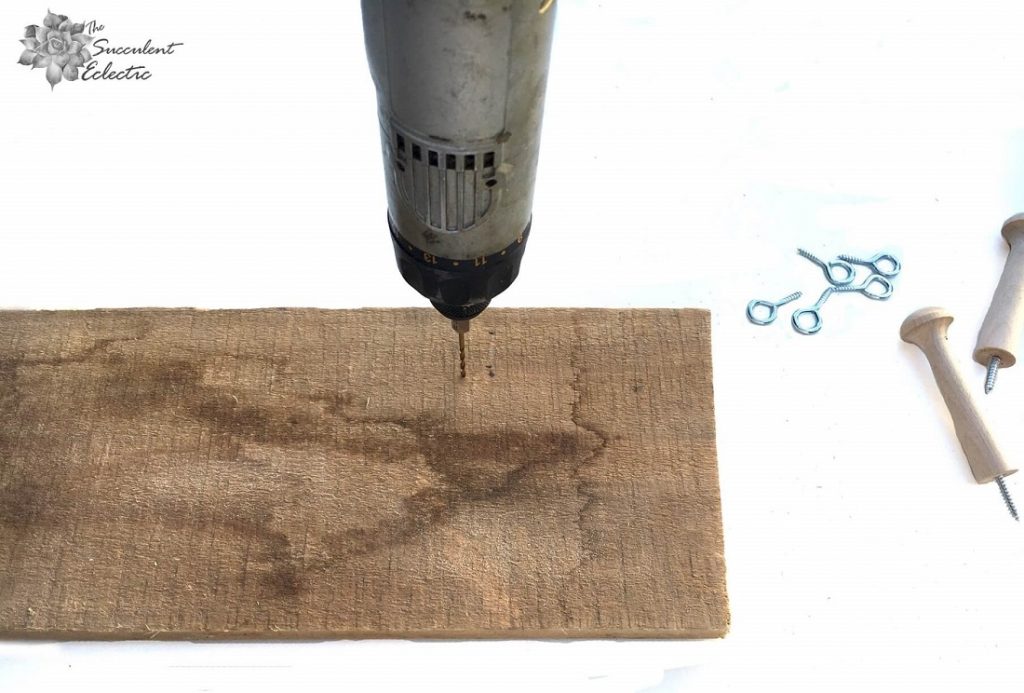
You’ll continue to use the square discussed above for measurements throughout the completion of this pallet wood project. Measure 1 inch down from the top of the board and 1/2 square in from the outer edge. That’s where you’ll drill a pilot hole to screw in the first Shaker peg. Each peg will then screw in 1 inch from the top of the board and a full square distance from the next peg. The top square gets 1 peg. The 2nd board gets 2 pegs, the 3rd board gets three pegs and so on.
Connecting the Sections of the Wooden Christmas Tree
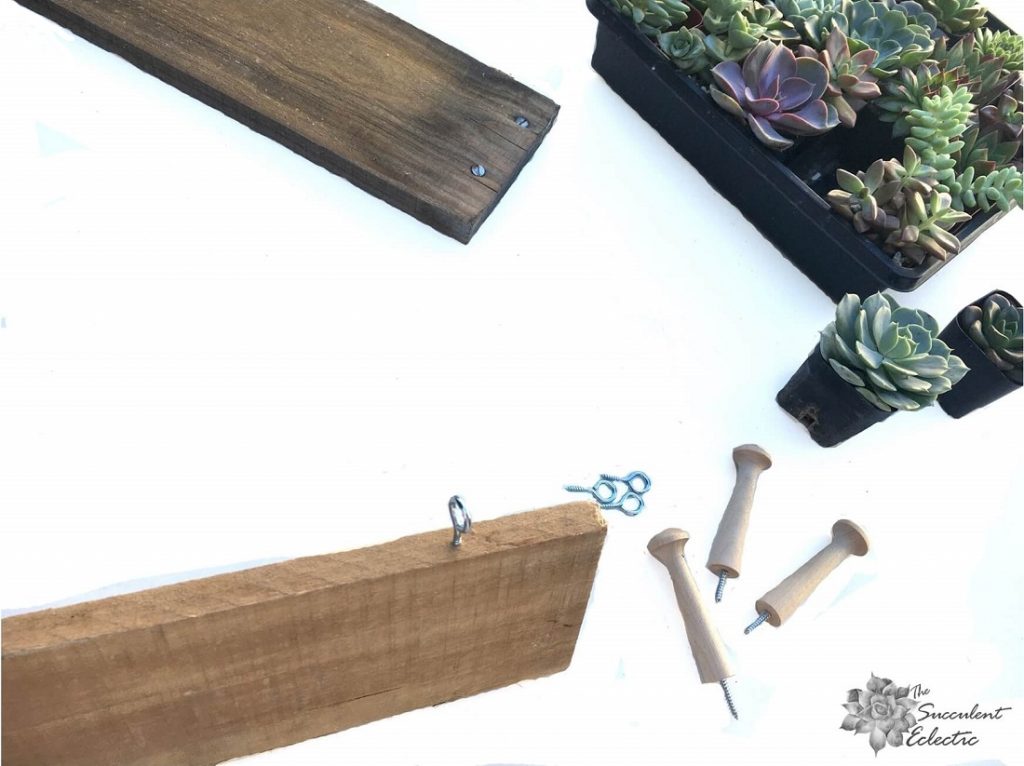
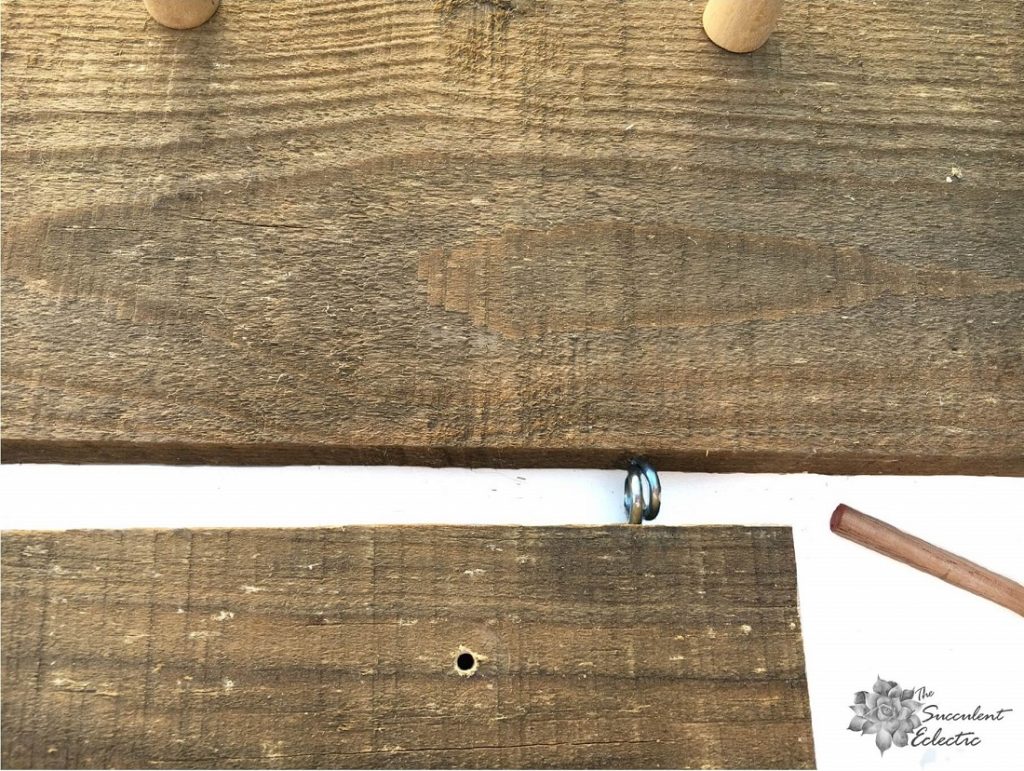
Connecting the pallet wood boards for the wooden Christmas tree together relies on 4 eye screws and a 1/4 inch dowel rod per connection. (Read this and the next paragraphs slowly — it is more confusing to describe than it is to do). You’ll screw in 2 eye screws to the bottom edge of the upper board and 2 into the top edge of the lower board. The dowel rod will slip through the eyes of the screws and should be cut to the length of the shorter, upper board.
Measure in 1 inch from the end of the upper board. That’s where you’ll drill a pilot hole in the center of the bottom edge of the upper board. Screw in the eye screw. Then, measure in 1/2 square PLUS 1.25 inch on the lower board. (For example, if your wood is 4 inches wide, you’ll be using a square that measures 4 inches by 4 inches. 1/2 of the square is 2 inches, PLUS 1.25 inches = 3.25 inches to drill this eye screw.) Drill a pilot hole right there in the center of the top edge of the lower board. Screw in the eye screw. This will ensure that the eye screws of the lower boards line up beside and inside the pair of eye screws of the upper boards. And this ensures the boards won’t slide apart from each other on their dowel rods.
Continue to set the eye screws the same way, 1 inch from the edge on the upper board and 1/2 square PLUS 1.25 inches in on the lower board. But connecting the trunk is different. On the bottom of the 6th board, measure in 1.5 squares PLUS 3/4 inch, drill the pilot hole and screw in the eye screw. Then, measure in 1 inch on the last board. Drill the pilot hole and screw in the eye screw. At last, attach the picture hanger to the back side of the top square, in the middle, about 1 inch down from the top edge.
Aging and Protecting the Pallet Wood Project
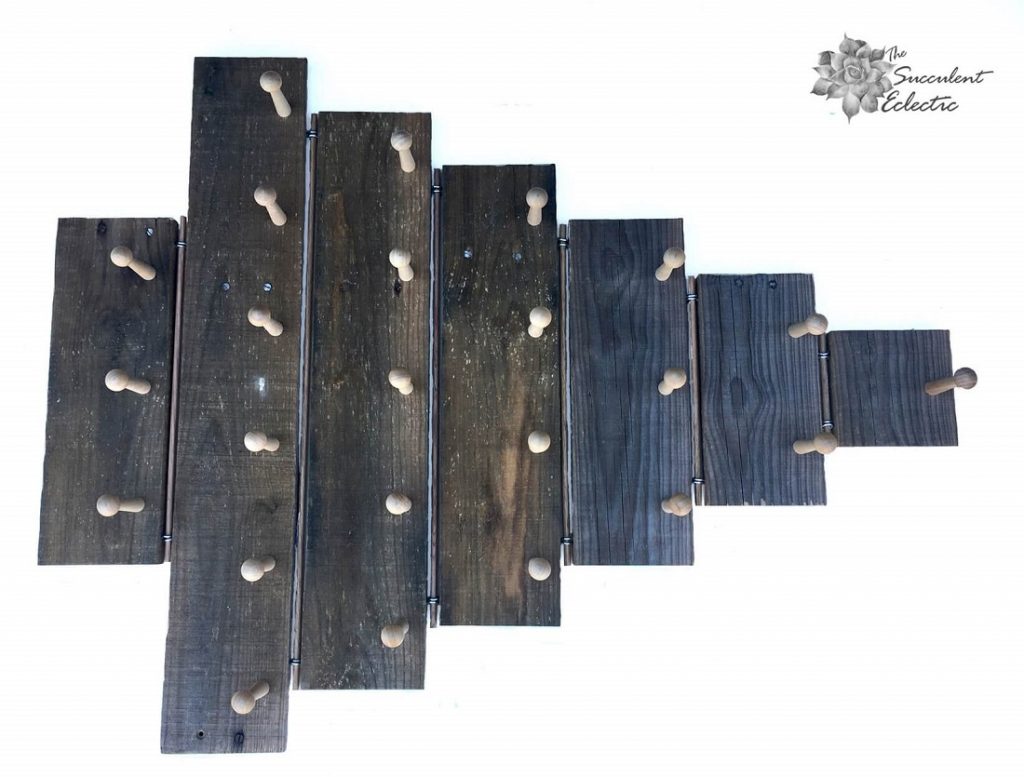
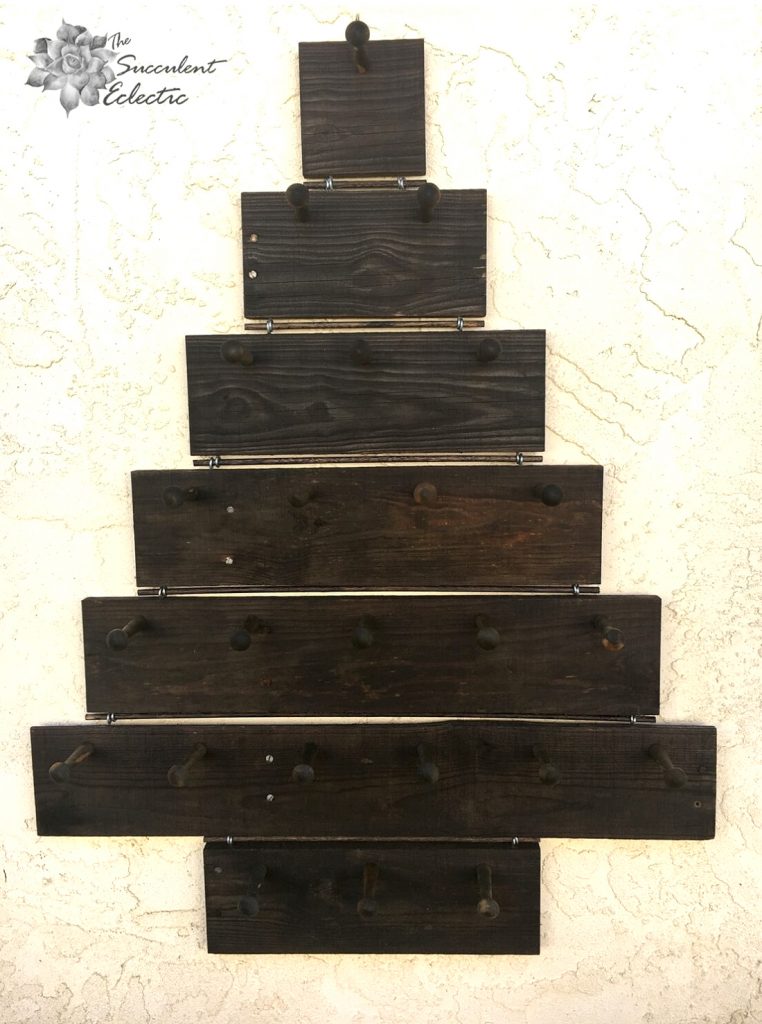
When your wooden Christmas tree is fully assembled, it will look like this. I love pallet wood projects because the rustic nature of the wood is so appealing to me. I cherish the weathering, the grain, the knots and I am crazy about the old nail heads (you can retain these when you use a reciprocating saw to take the pallet apart). However, pallet wood is invariably terribly dry. It has never been stained or treated, and eventually, it begins to split. Often the boards are different colors. And the birchwood Shaker pegs and the dowel rods for this project are very light in color. If you choose to use fresh 1 x 4 lumber, it, too will be very light. The following optional steps will give your boards, reclaimed or fresh, the aged look of weathered wood. It will make all the boards have a similar color, and it protects the wood as well. (If you plan to age and protect the wood, it is best done prior to assembly of the project.)
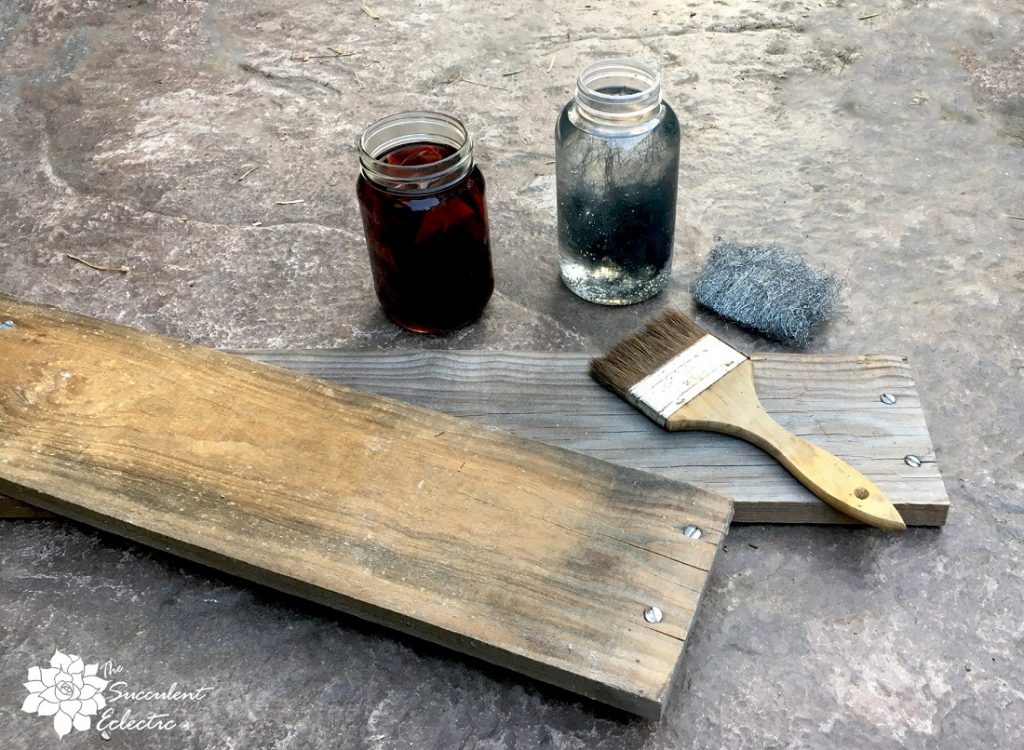
You can certainly use an actual wood stain on pallet wood projects, but I really like this method. It is a 2-step process. Put 5 black tea bags in about 3 cups of hot water. Allow to steep for 24 hours (or more). In another container, add 1 pad of steel wool, pulled apart into several pieces. Cover the steel wool with about 3 cups of vinegar (any kind will do). Leave it to sit for about 24 hours. Then, paint the wood with the tea mixture. Be sure to cover all the edges and don’t leave any gaps. Paint the dowel rods and the Shaker pegs, too. (The pegs and dowel rods should be lightly sanded first so they take the color more evenly.) Don’t worry if the color doesn’t seem to change much! Let the tea soak in for an hour. Then, brush on the vinegar/steel wool mixture. The chemical reaction with the tannins in the wood results in a deep, greyish-brown color that develops more over the next several hours.

Allow the vinegar layer to soak in and dry for 12 hours. Now, deepen the color and protect the wood with an application of boiled linseed oil. I apply the oil with a sponge brush. When you treat any pallet wood project or fresh lumber to a tea/vinegar/steel wool and then boiled linseed oil treatment, it brings out a depth and richness of the wood that is memorable. Now, the wooden Christmas tree looks like this:
Succulents for DIY Advent Calendar Tree
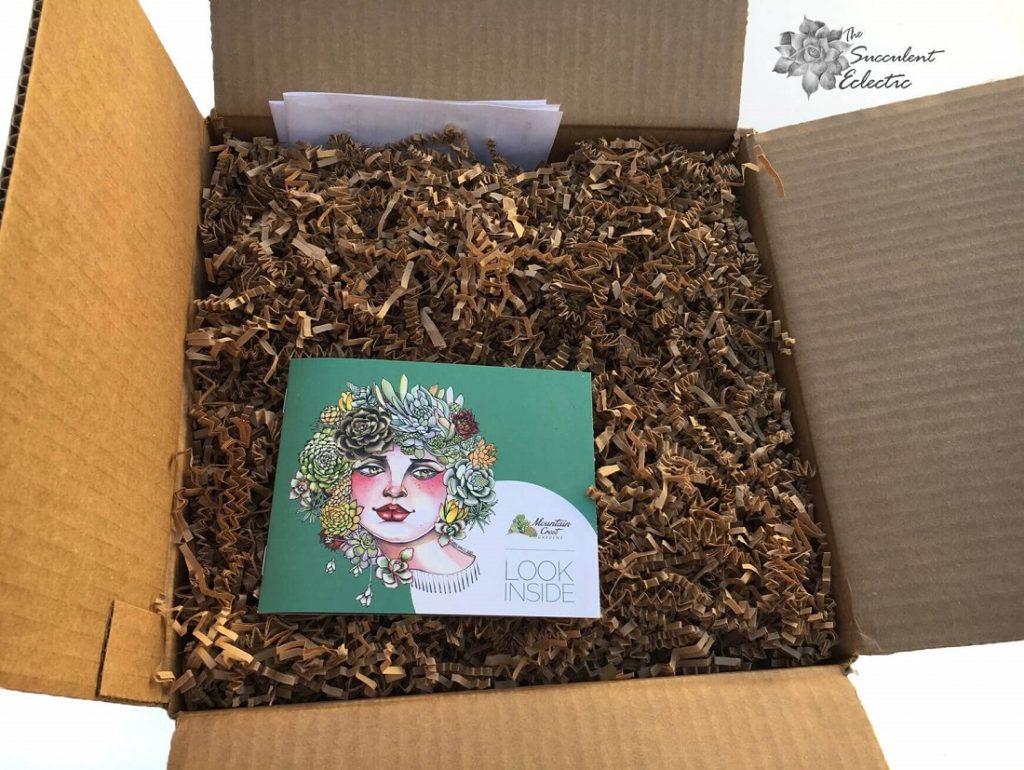
You can fill the little silver buckets with candies, marbles, jacks or ornaments, but I always envisioned them filled with succulents. Of course, I turned to my favorite online source — Mountain Crest Gardens.
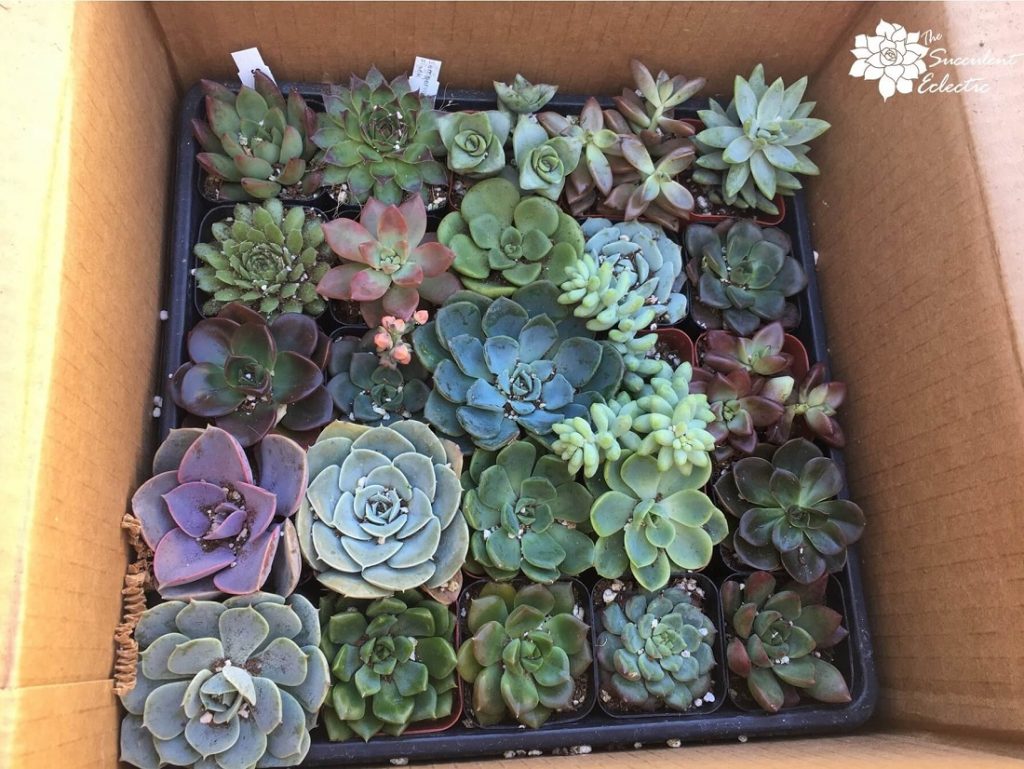
I used 2-inch succulents for my pails. Mountain Crest Gardens has a wonderful selection of trays of 25 2-inch succulents at wholesale prices! You will need 24 plants, so this is a perfect solution. You’ll have several options to choose from. You’ll choose from all rosette succulents, pastel shades, cold-hardy succulents, indoor succulents and several other options. Make your choice to suit your circumstances. If you will be hanging your DIY Advent calendar tree outdoors, you might want the cold-hardy Sempervivum tray. Choose what works best for you. Since I am in a mild winter climate, I just asked for a colorful mix — and I am just delighted with the plants I received! You could choose succulent plugs or cuttings, or select plants and cuttings from your garden, instead. Or even choose their pre-planted succulent pails and save a few steps!
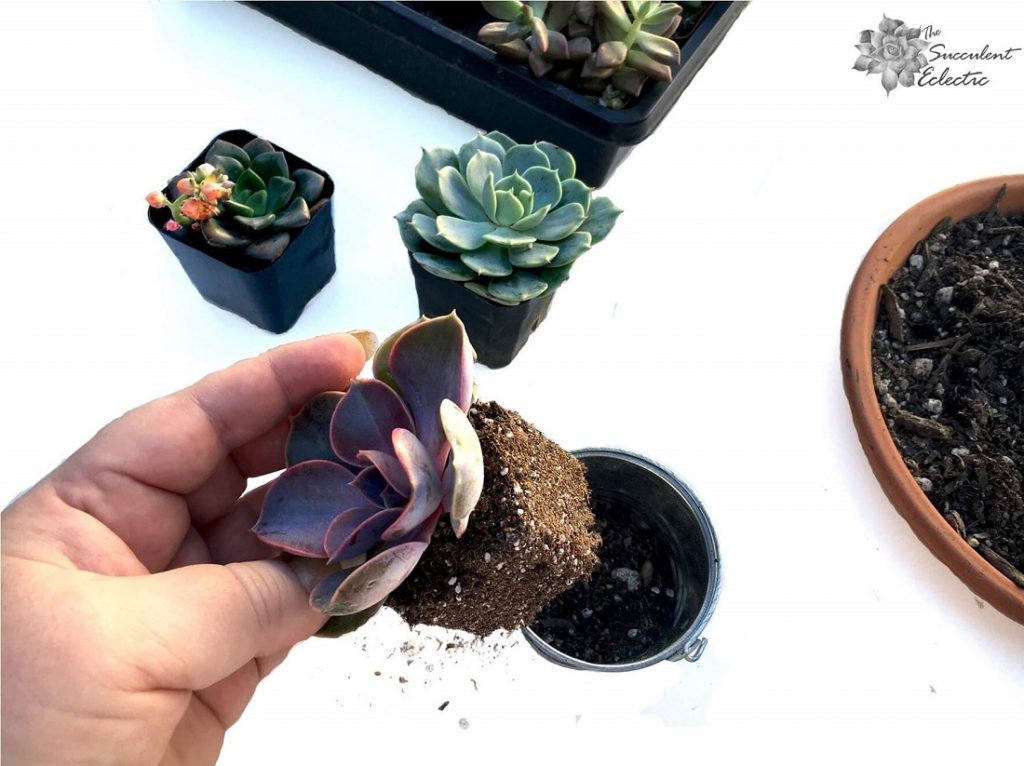
I added a bit of succulent soil into each pail and planted each succulent. Fill in around the root ball with loose soil.
Caring for Succulents for DIY Advent Calendar Tree
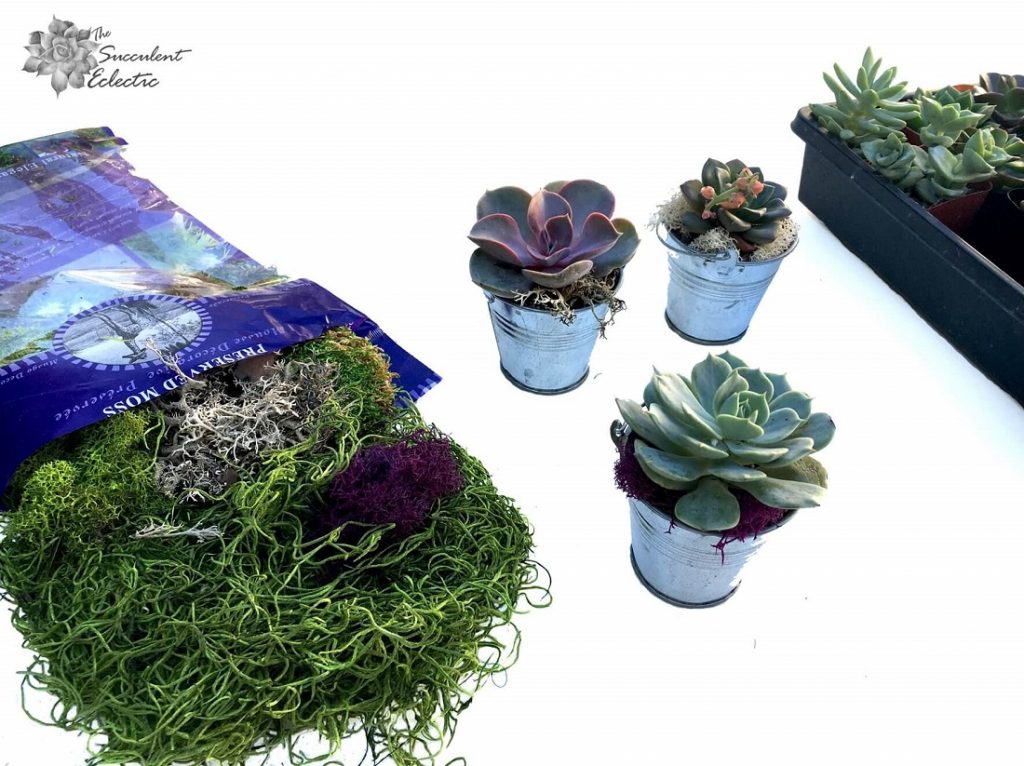
To disguise the soil, and add a little extra flair, I finished off each pail with some dried moss. I like this bag of mixed colors and textures. The moss should just highlight each succulent. I added a trace of the color and texture that I thought best enhanced each succulent.
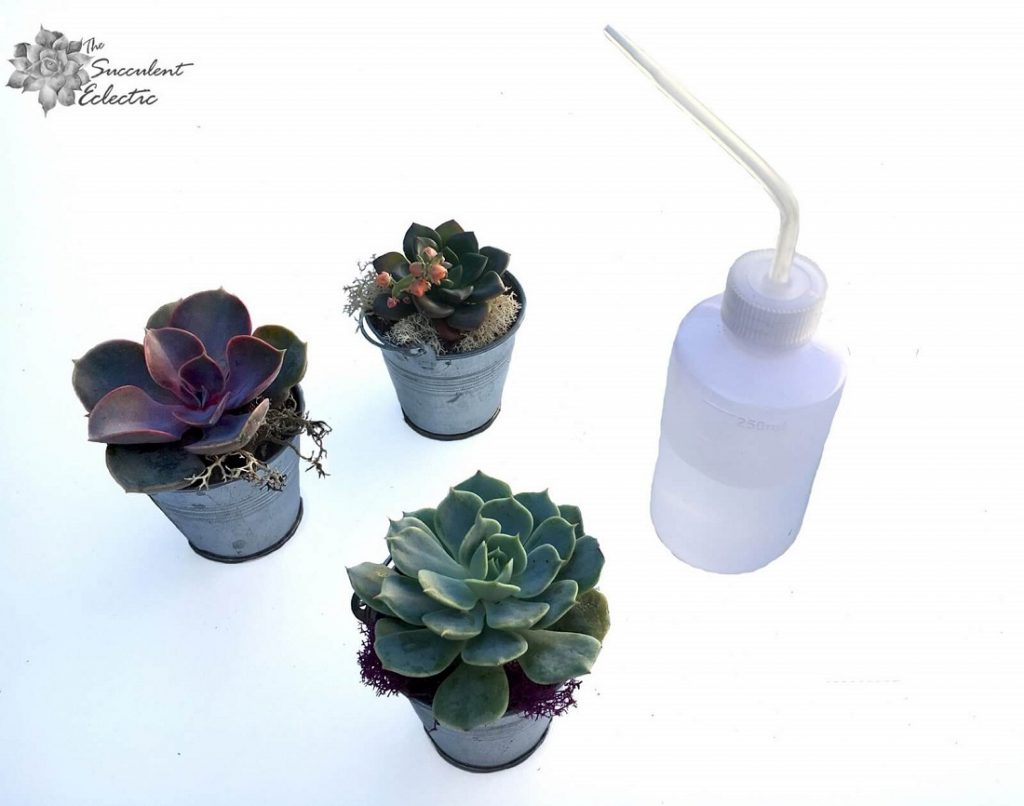
Remember that these pails have no drainage holes, so you should water them with care. This squeeze bottle is one of my most essential succulent tools. It’s perfect for watering the pails as they hang on the wooden Christmas tree.
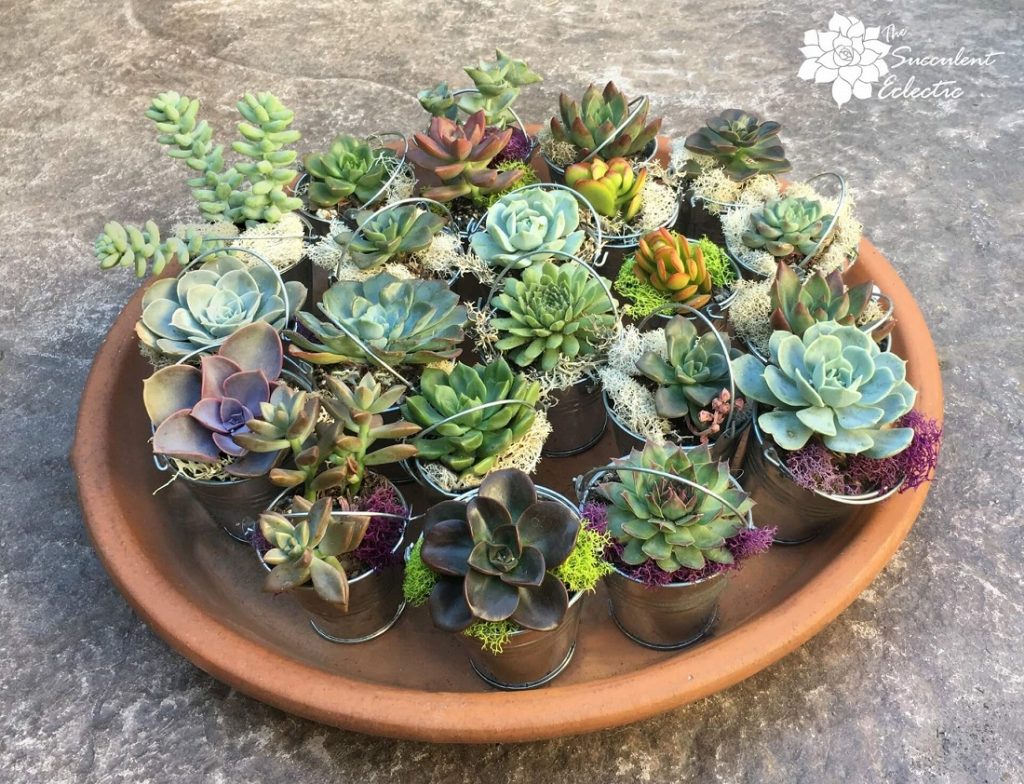
I think these succulent pails are adorable, even if you don’t make my DIY Advent calendar tree. Wouldn’t these be great as a platter of party favors? Give each guest a succulent pail to take home. They can hang it on the Christmas tree as a living ornament! Then, plant the succulent in the garden come spring. In fact, I think a Christmas tree dressed all in white lights and silver succulent pails would be gorgeous! What do you think? Living ornaments! But for now, we’re going to use them for the Advent calendar.
Filling the DIY Advent Calendar Tree
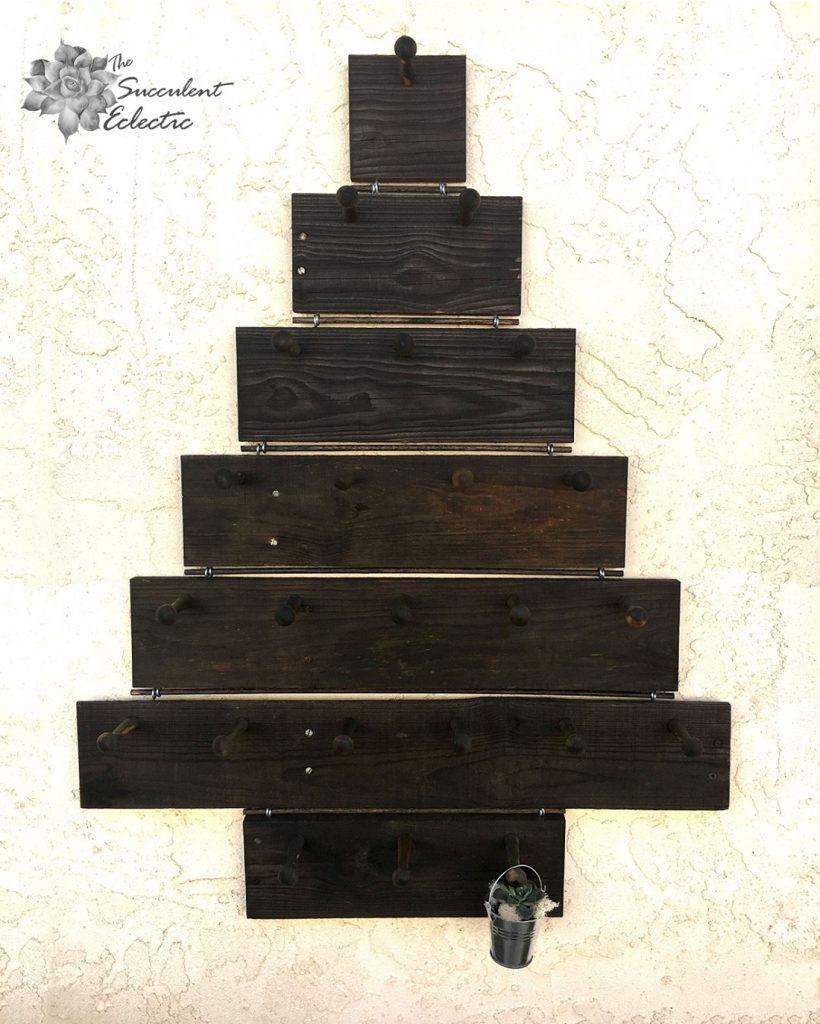
This year, Advent begins on November 29th, and runs through December 24, 2020. The first day of Advent, you would hang a single succulent pail on the bottom of the wooden Christmas tree. Look how lonely and forlorn the single succulent looks! That’s what it was like, all those years ago, when we would gather in a pitch-black house, and light a single candle. The darkness symbolized the earth before Christ. The single candle flame, or in this case, the solitary succulent pail shows a glimmer of the splendor to come.
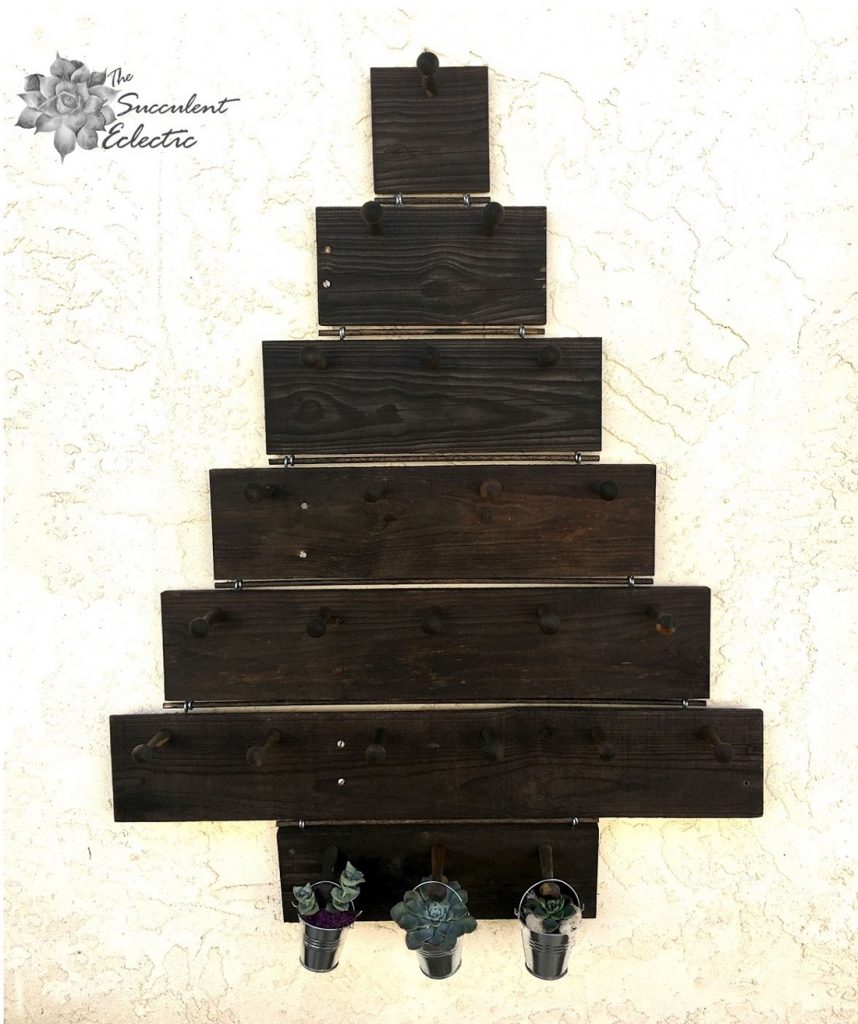
By the third day of Advent, the tree is still mostly empty. The birth of Christ is still a long way off, but the anticipation is mounting. Each day, when you add a succulent pail, you see and feel that Christmas is coming closer…
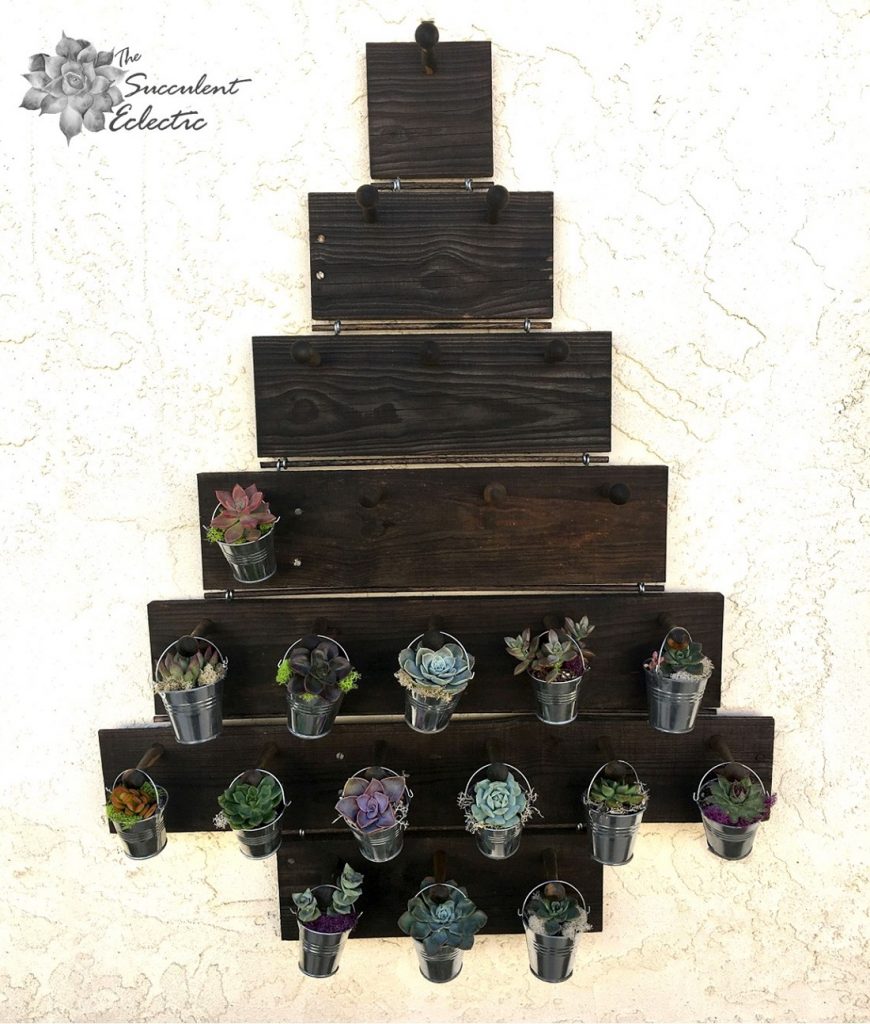
Any Advent calendar or wreath heightens the excitement of the countdown to Christmas. On the 15th day of Advent, my Mom would light three candles. The candlelight was so much brighter than when we started, symbolizing that Christmas was coming closer. Whether you count down to Christmas with small children, older kids, or alone — using this DIY Advent calendar tree, the beauty and excitement will clearly build.
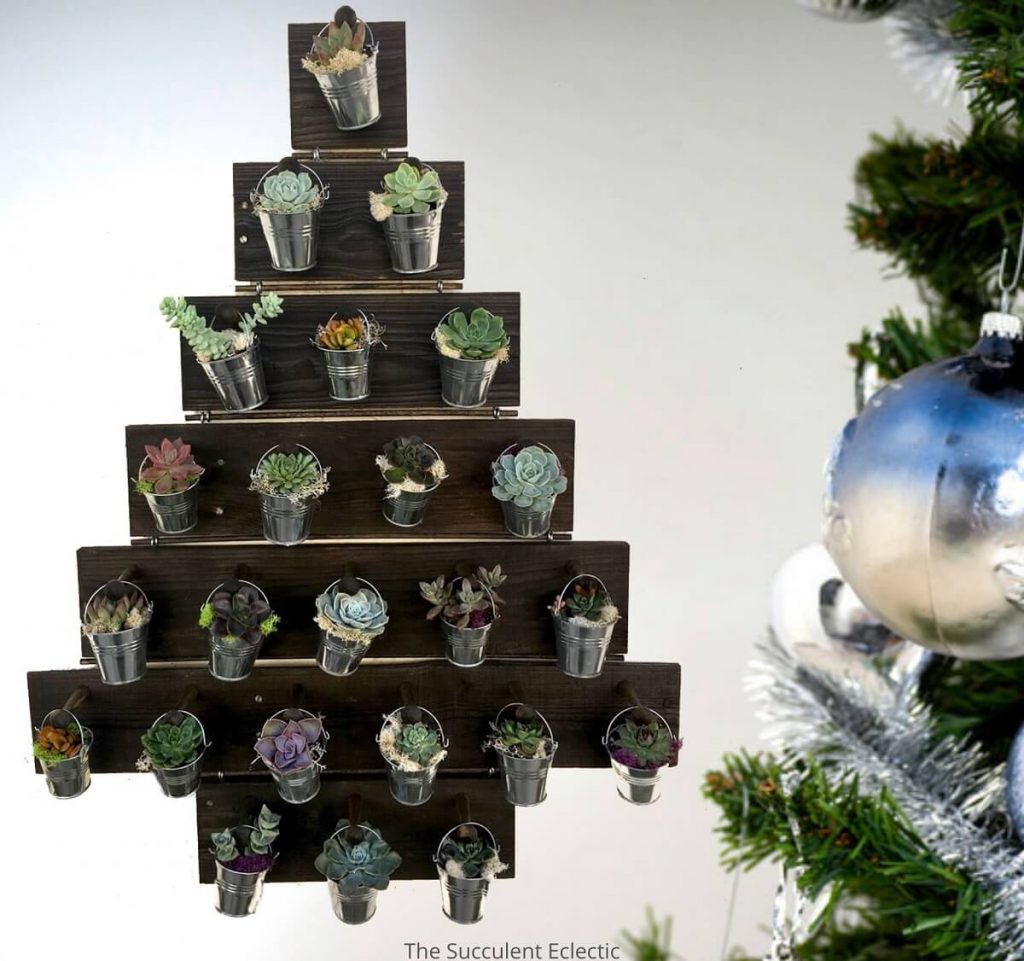
Christmas Eve and the DIY Advent Calendar Tree is Full
At long last, on the 24th day of Advent, the wooden Christmas tree is full!
If you plan to hang and fill your DIY Advent calendar tree outdoors, be sure to have it in a location where it won’t get soaked by rain. You can water each pail as it hangs on the tree with the squeeze bottle. Provide bright, partial light, according to the needs of the succulents you choose.
Of course, you can hang your Advent calendar tree indoors, too! Either select indoor succulents or add a grow light to keep your succulents healthy and happy throughout Advent and the holidays. Then, plan to transplant them into the garden or use them in other arrangements. You could be using the same succulents for next Christmas, too! The tree itself can easily be taken apart and stored for next year. It might even become a beloved family tradition!
This may forever be my favorite pallet wood project! Do you like it? Do you plan to build your own DIY Advent calendar tree? I would love to hear what you think! Please take a moment to leave me a comment and let me know. I will get right back to you! And whatever way you choose to celebrate, I hope your holidays will be filled with blessings and joy!
Many, many thanks to my beloved Jerry for all his help with this project!
{Please note, some links in this post may be affiliate links to sites that pay me a small commission if you click on the link and make a purchase. This commission is at absolutely no cost to you. I only recommend products and companies that I have worked with and truly love! ~Kat}
P.S. For more fun DIY projects with succulents, subscribe to The Succulent Eclectic! I’ll send you my FREE e-course, 7 Steps to Succulent Success. Thanks!
P.P.S. Why not join my Facebook Group for succulent lovers? We talk about succulent care, propagation, succulent identification, and design. It’s a warm and welcoming group that would love to meet you!