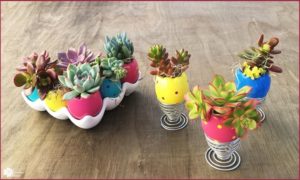
How would you like to have stunning, one-of-a-kind, Instagram-worthy favors for your wedding or party? What if you could make them yourself — simply and affordably, with no special tools required? And what if the favors combined two of the hottest trends — geode slices and succulent favors? This is a fun DIY that came about in an unusual way. Not only are these favors and/or succulent ornaments long-lasting (up to months!) but you can replant the succulents and then use the geodes as elegant coasters! Read on!
Simple Succulent Ornaments
In this Post We'll Cover:
{Please note, some links in this post may be affiliate links to sites that pay me a small commission if you click on the link and make a purchase. This commission is at absolutely no cost to you. I only recommend products and companies that I have worked with and truly love! ~Kat}
What are Geode Slices?
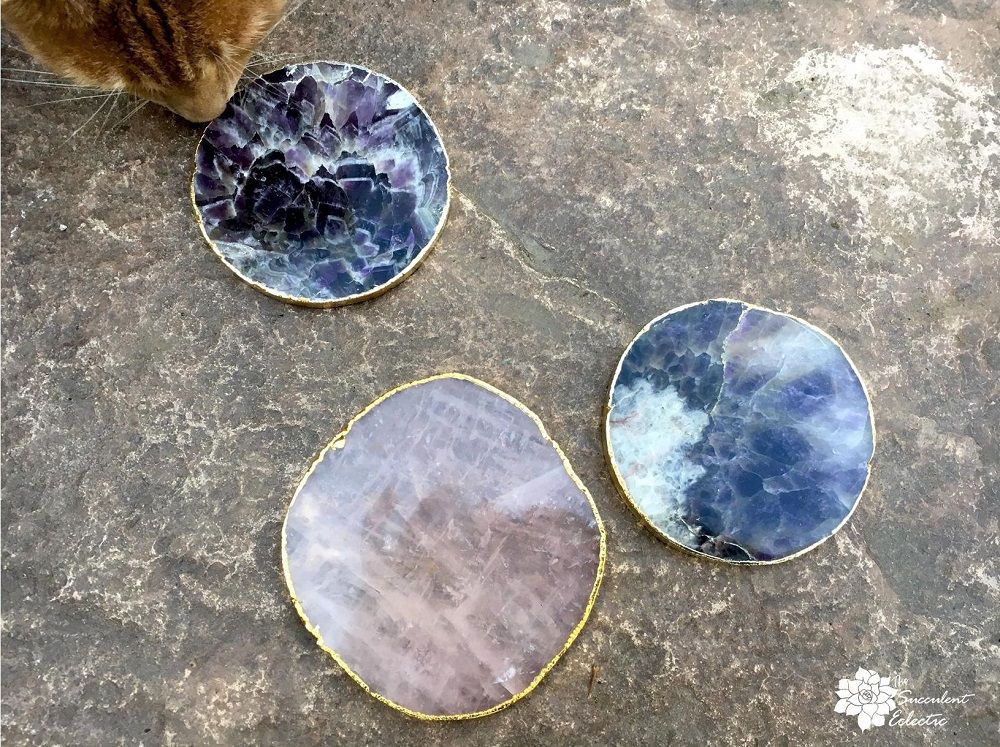
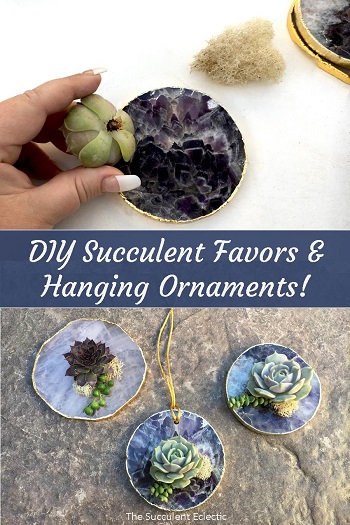
These gorgeous geode slices are genuine rose quartz and amethyst, sliced from natural rock forms into a roughly circular shape. The edges are naturally irregular and gold plated to smooth them and give them a finished appearance. I love them both, though, like Karma pictured above, I am captivated by the amethyst. They are typically marketed as exquisite drink coasters. Can you imagine a champagne flute served on an amethyst coaster?
My friend, Irene Simonson, owns Energy Peace Shop, dedicated to providing the finest quality high energy crystals and crystal jewelry. She ordered these geode coasters for her shop, but found they did not meet her exacting standards for perfection. The geodes are flawless, but she sees minor imperfections in the gold plating that I cannot find. Nevertheless, she was unwilling to offer them as the elegant coasters she intended. Wouldn’t it be a shame to let these beauties go unloved? I urged her to offer these geode coasters for crafters, and she agreed — at a smokin’ great price! I planned to use them to make hanging ornaments, but wound up falling in love with them as succulent favors.
Mountain Crest Gardens, my favorite online succulent vendor, was intrigued by this project and generously provided all of the succulents that I used. Originally, I was intending these as another round of succulent Christmas ornaments, but now, I cannot decide between hanging ornaments and succulent favors. You choose!
DIY Succulent Favors & Ornaments with Geode Slices
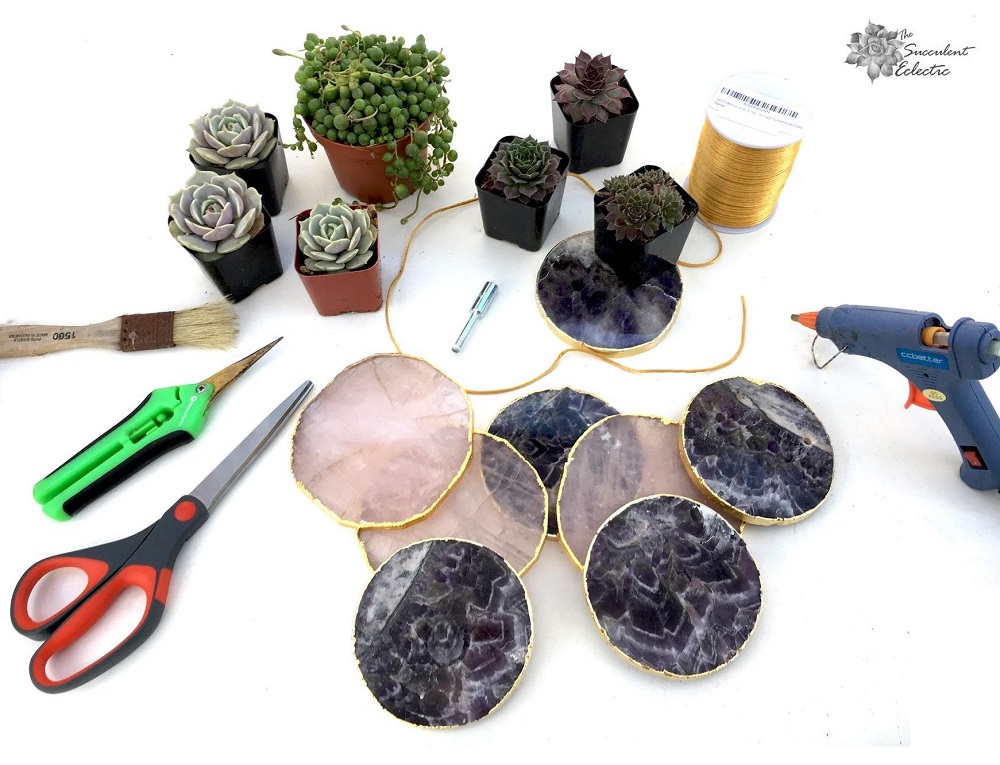
To make the geode slices into hanging succulent ornaments, you’ll need to drill a hole through the rock. For party favors, there are no special tools needed.
To make these succulent favors, you will need:
- Geode slices – available in a range of stones
- Hot glue gun and glue sticks
- Dried moss (for this project, I like cream reindeer moss)
- Succulent clippers
- Paintbrush
- Succulents! (for this project, I prefer 2-inch rosette forms)
To make these as hanging ornaments, you’ll also need:
- 3/16″ Diamond tipped drill bit for drilling glass, ceramic, marble and tile
- Spray water bottle
- 2mm Gold cord for hanging
- Scissors
Drilling Geode Slices for Succulent Ornaments
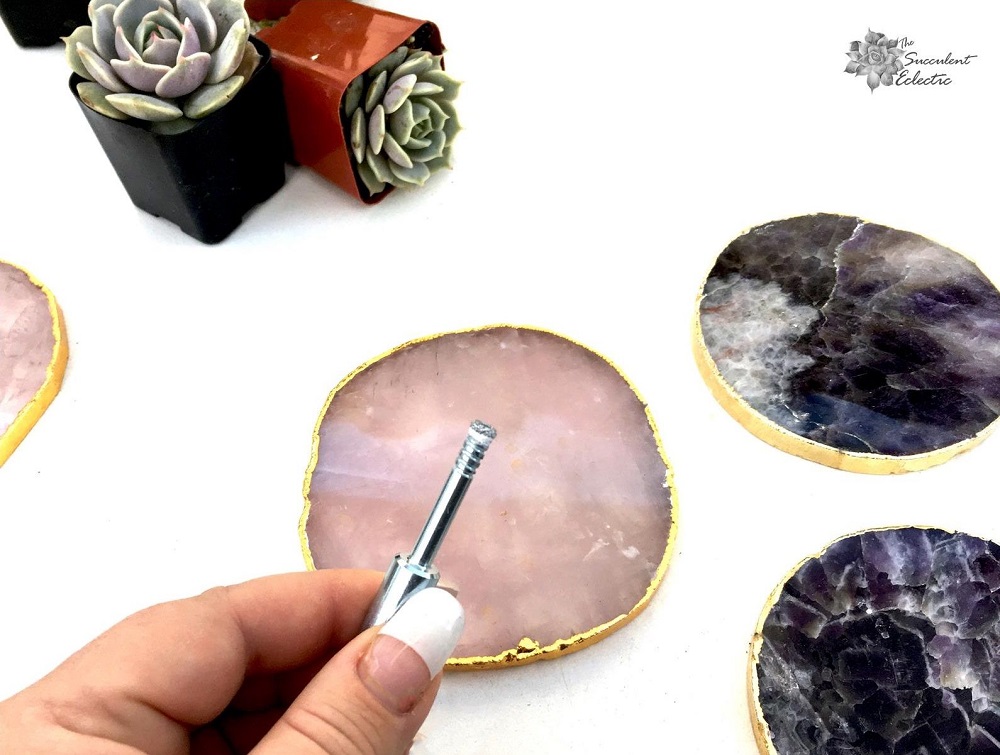
To drill a hole in these natural, crystal geodes without breaking them, you’ll need a special drill bit. This bit is tipped with diamond grit, and it is not solid, but has a hole in the end. You’ll learn step-by-step, with photos, how to drill ceramic with this type of drill bit here. There is a specific technique you’ll need to use that requires regular and liberal application of water to cool the geode and the bit. Do not try to drill these with a regular it — the geodes will shatter.
You can drill your geode slices with a hand drill, but my spiffy little drill press makes quick and easy work of it. I chose a 3/16″ drill bit to allow the gold cord to loop through the hole twice. The gold satin nylon cord nicely matches the gold plate edges of the coasters.
Select & Prepare Succulents for Attaching to Geode
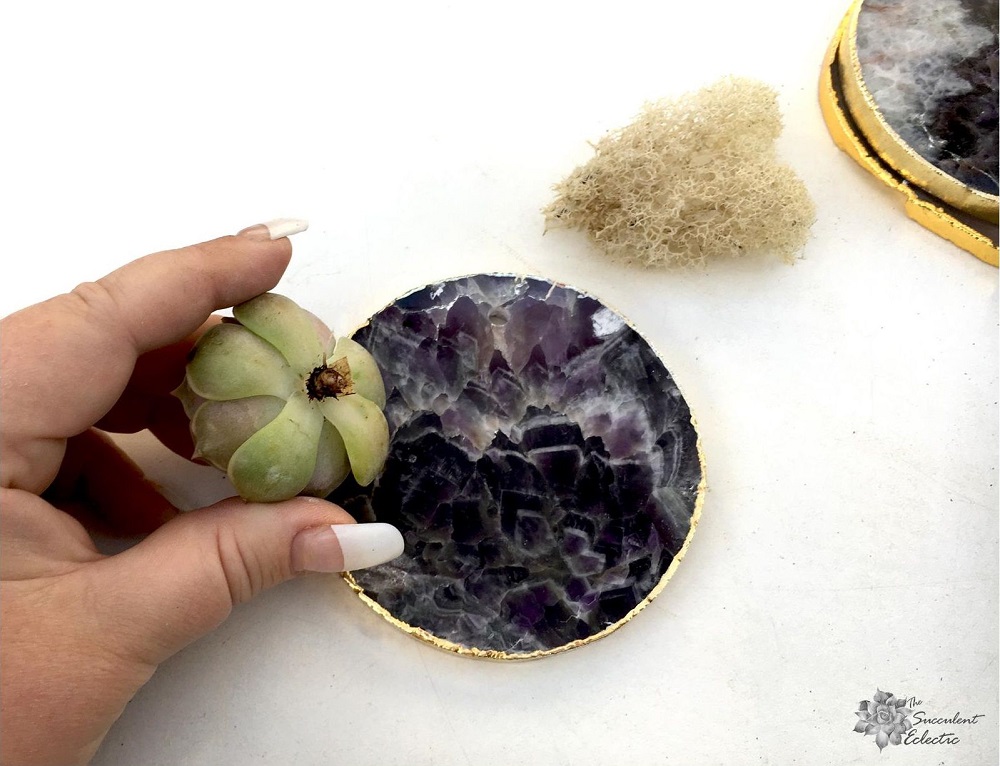
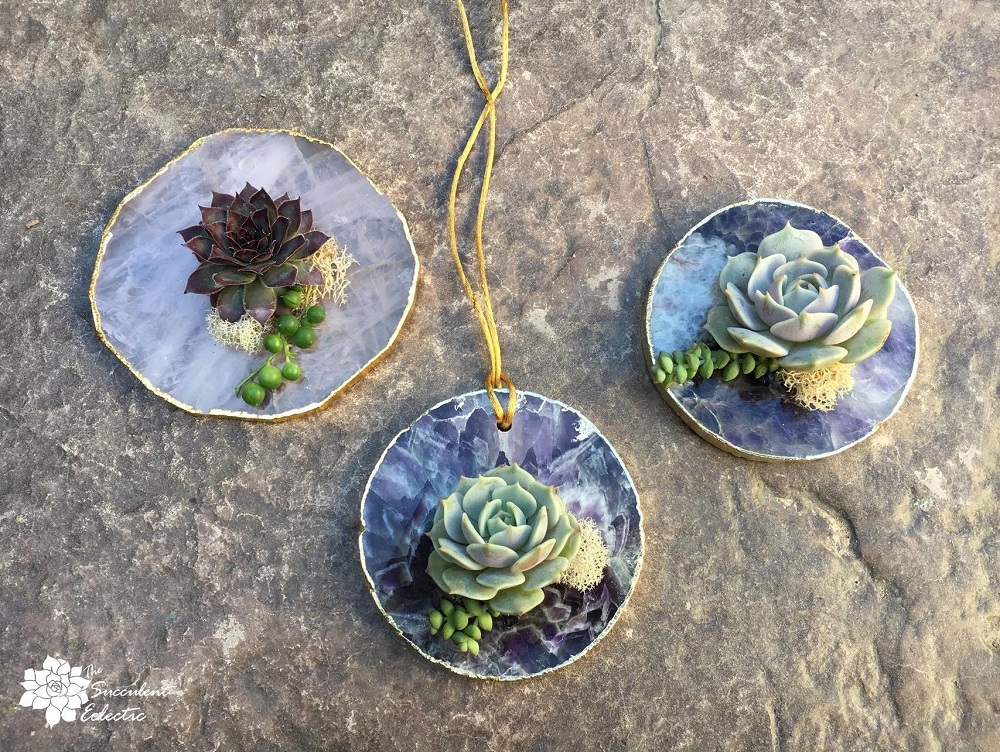
Because these geode slices are so spectacular, I wanted to be certain plenty of each would be visible after applying the succulents. I used 2-inch rosettes to keep the look elegant. For the rich purple and white amethyst slices, I used Echeveria Lola, with its perfection of form and pale, pink and lavender blush — it is absolutely perfect. For the pale pink rose quartz, I asked for Sempervivum with rich, burgundy coloring. Mountain Crest Gardens quality does not disappoint! I received gorgeous plants that brought these succulent favors to life!
Give your succulents a good drink a couple days before you begin. Clip the rosette of your succulent off of its root structure. Take care not to cut into the rosette itself, you want to leave the meristemMeristem (MEHR-i-stem) tissue in plants contains undifferent... tissue intact. This is the part of the succulent that will re-root and continue to grow. Remove any dead leaves and remaining soil. The plant is still alive and well. To keep it healthy, use a bit of moss. I chose cream-colored reindeer moss because I love the delicate, airy texture it adds — perfect for this project! The moss will hold water for the plant and the succulent will root into the moss until you take the favor or ornament apart. If you want to “hide the mechanics” and keep the moss out of sight, that works. Personally, I like the lacey look of the reindeer moss on the geode.
Apply a generous amount of hot glue to the back of the succulent rosette. This will not hurt the plant — I promise! Succulent skin is far tougher than ours, and the plant will root right through the glue and into the moss. Incredible! Add a small bit of moss and fix it securely to the geode slice. I was surprised how well the hot glue holds to the crystal. It does not come off until you pry it off, a which time it comes off cleanly, without a mark.
Completing Succulent Favors
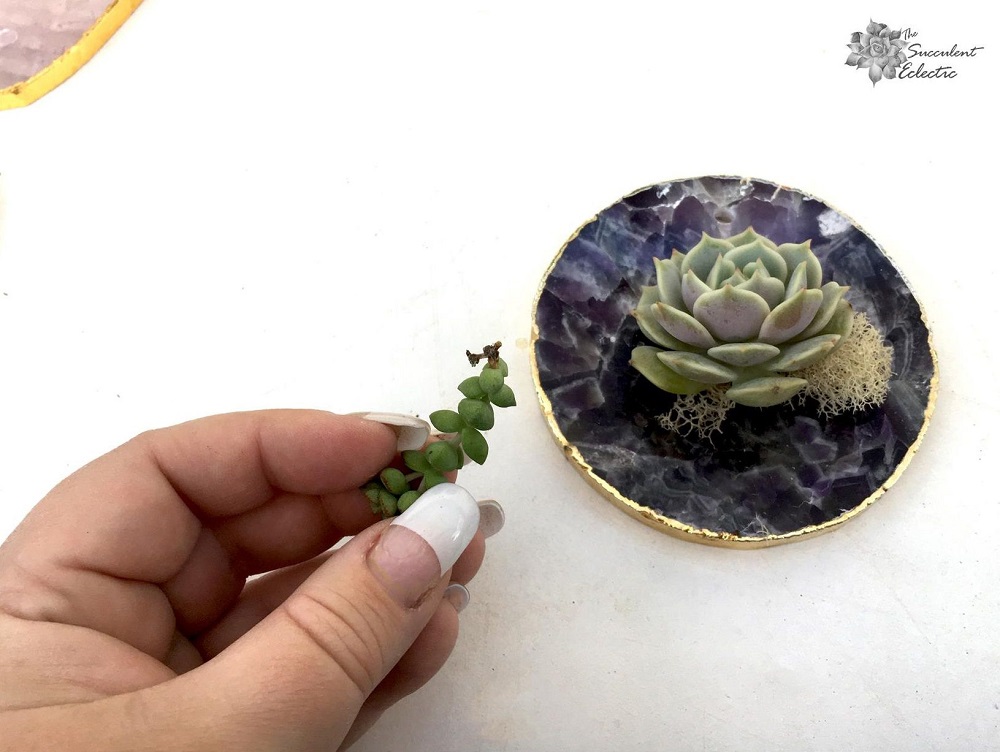
I love that every facet of these succulent favors is natural. So I wanted the overall style to look more natural than a single rosette centered on a circular slice of geode. I added the moss in an asymmetrical fashion and added a small, filler succulent to each. This is Crassula rupestris ‘Tom Thumb”. See how I left a tiny bit of root? Again, leave some meristem intact. This, too, will root into the moss while you enjoy the succulent ornament. Use a bit of hot glue to nestle it in. I wanted to make it look like the rosette and the crassula were growing from the same point.
Hanging Succulent Ornaments
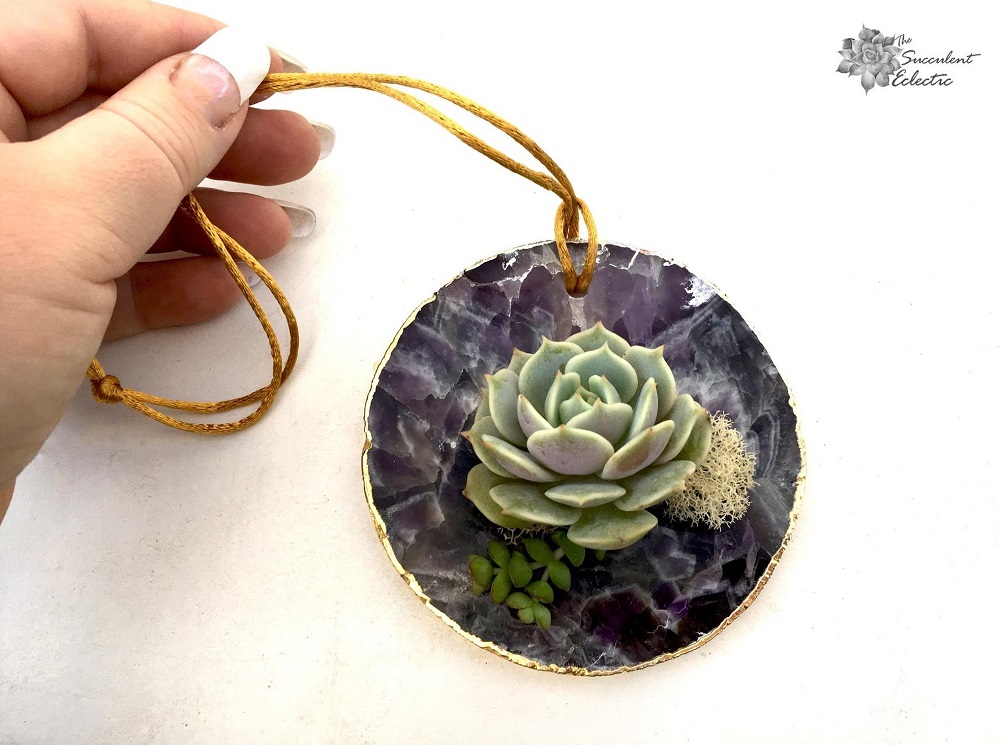
I doubled a length of this gold cord and knotted it. Then, I fed the doubled end through the hole from the back of the geode slice. I passed the tied end through the loop this formed and pulled it tight. I now had a pretty hanger for my succulent ornaments.
These will be gorgeous on my Christmas tree or hanging at the window. The crystals are semi-translucent, especially the rose quartz. They are breath-taking with sunlight coming through from the back. What a perfect gift, especially in the winter when we all need a bit of living color, right?
But perhaps you prefer these as succulent favors? Take a look and then let me know!
Finished Succulent Ornaments and Favors
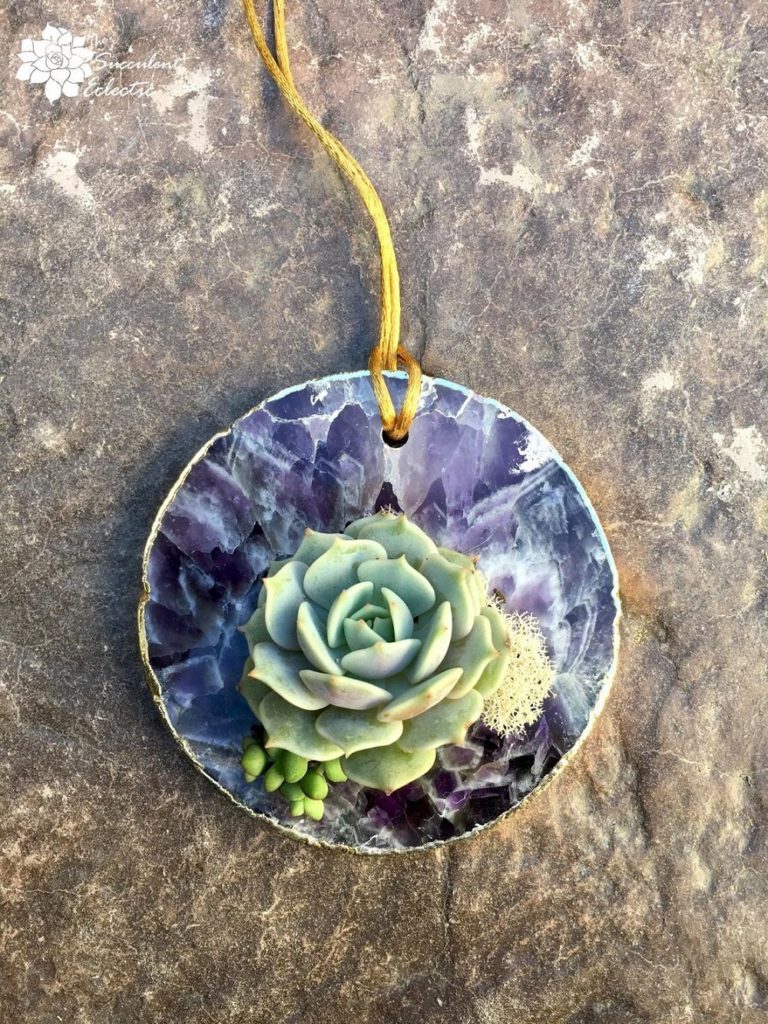
This is how I originally imagined using the geode slices — as hanging succulent ornaments for Christmas. I love how it turned out! Look at the incredible colors of the amethyst!
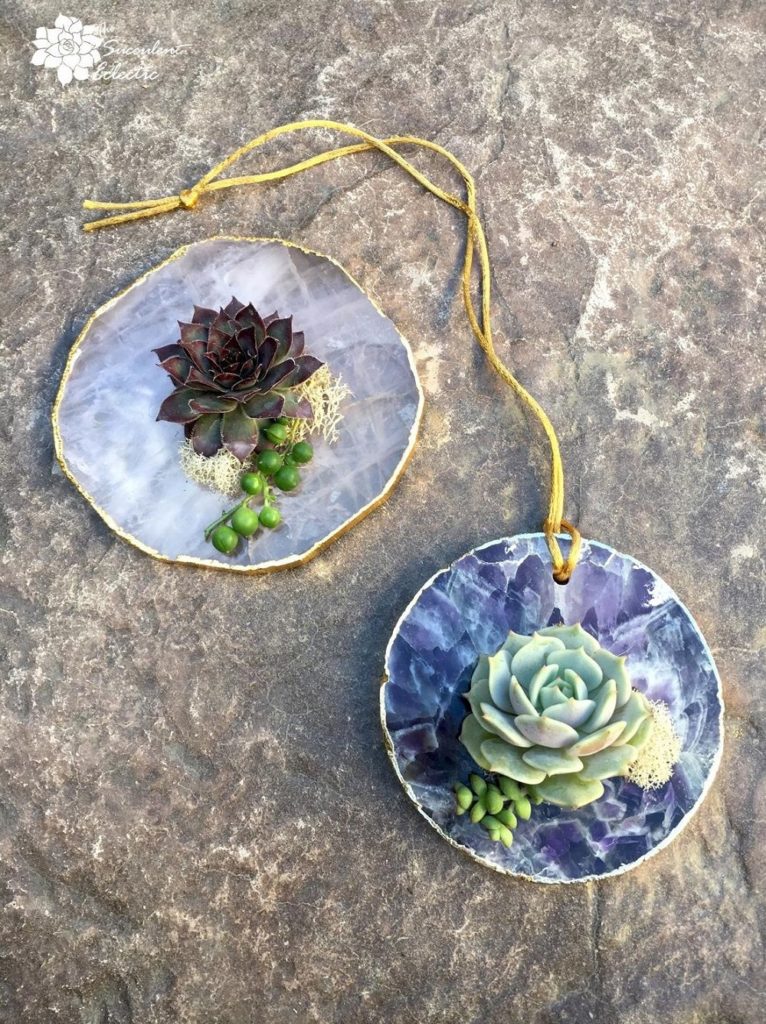
But look how lovely this is as a succulent favor! The delicate pink tones of the rose quartz set off the rich burgundy of Sempervivum Crimson Crush. I added a small sprig of Senecio rowleyanus ‘String of Pearls’ as an accent. With the sunlight behind the rose quartz, these simply glow.
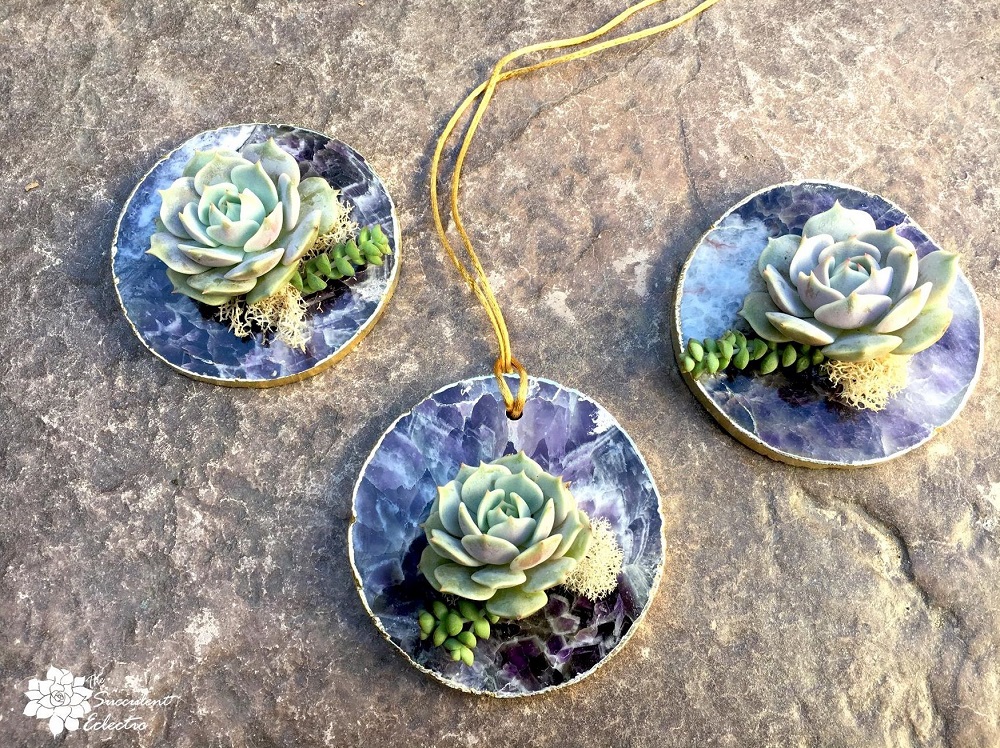
Each amethyst geode is spectacular! And ‘Lola’ was the perfect choice for it!

The rose quartz slices are larger than the amethyst and much more clear. They let a lot of light through and are so lovely! I used Sempervivum ‘Pacific Red Tide’ for the upper two succulent favors, pulling apart the smaller rosettes and regrouping them into trios. The one in the middle left has a small sprig of Portulacaria afra variegata added. The burgundy stem and chartreuse leaves were a nice accent.
Caring for Geode Slice Succulent Favors & Ornaments
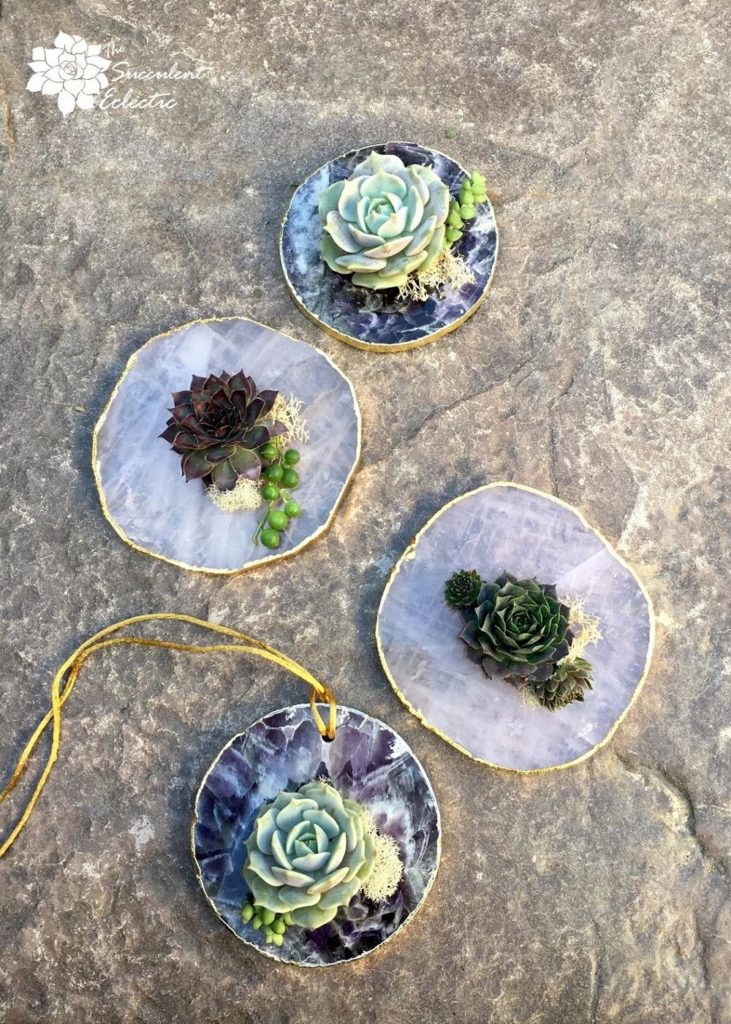
Whether you plan to make these and enjoy them as succulent favors or hanging succulent ornaments, their care is simple. Get a spray bottle and spritz them with water every few days to a week. The succulents will take in a small bit of water through their leaves, and the moss will catch and hold a bit more, to encourage roots to form. The succulents will live and root for months like this. When you’re ready, you can remove the succulents, moss and glue from the geode slices. Pot up the succulents, and grow them. The coasters will be unmarked and ready to use at your net, elegant soirée.
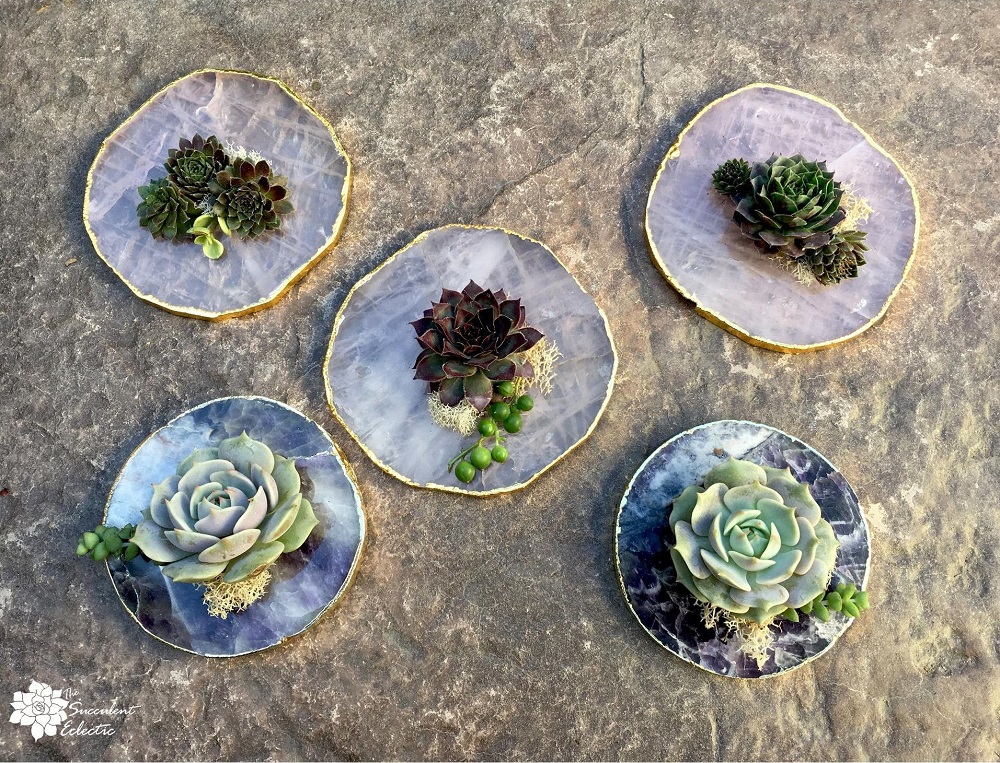
What do you think? As beautiful as these will be hanging on my Christmas tree or in front of a window with sunlight streaming in, I think I like them better as favors. If you make them, which way will you go? Please leave me a comment and let me know!
My sincere thanks to Peace Energy Shop and Mountain Crest Gardens for making this succulent DIY possible. If you decide to visit them — you will not be disappointed! Each is the very best at what they do!
Because life, Christmas, weddings and parties are just better with succulents!
P.S. For more succulent DIY’s and information, please subscribe. You will receive my FREE course, 7 Steps to Succulent Success. Enjoy!
P.P.S. Why not join my Facebook Group for succulent lovers? We talk about succulent care, propagation, succulent identification, and design. It’s a warm and welcoming group that would love to meet you!
