I have long been enchanted by the long-lasting and lovely succulent bouquet. It is a living succulent arrangement where the plants are wired to resemble flower stems and then slipped into a vase – or mason jar mugs! I am particularly inspired by Debra Lee Baldwin’s bouquets. I still had a few echeveria cuttings left from Mountain Crest Gardens, so — I finally decided to make one. It was so fun! And much easier than it looks. Let me show you how to make a succulent bouquet of your own.
Mason Jar Crafts Meet DIY Succulent Bouquet
In this Post We'll Cover:
- Mason Jar Crafts Meet DIY Succulent Bouquet
- DIY Succulent Bouquet
- Gather Supplies to Make Your Succulent Bouquet
- How to Wire Succulents to Form a Floral Stem
- Add a Second Wire to Your Succulent Stem
- Fold The Floral Wire Down
- Attach Floral Tape to Succulent Stem
- Wrapping the Stems for Succulent Bouquet
- Prepare Many Succulent Stems for the Bouquet
- How to Wire Fragile Succulent Stems
- Wiring Fragile Succulent Stems
- Assemble the Succulent Bouquet Stems in Mason Jar Mugs
- Caring for Succulent Bouquet
- DIY Succulent Bouquet in Mason Jar Mugs
- DIY Succulent Bouquet
{Please note, some links in this post may be affiliate links to sites that pay me a small commission if you click on the link and make a purchase. This commission is at absolutely no cost to you. I only recommend products and companies that I have worked with and truly love! ~Kat}
DIY Succulent Bouquet
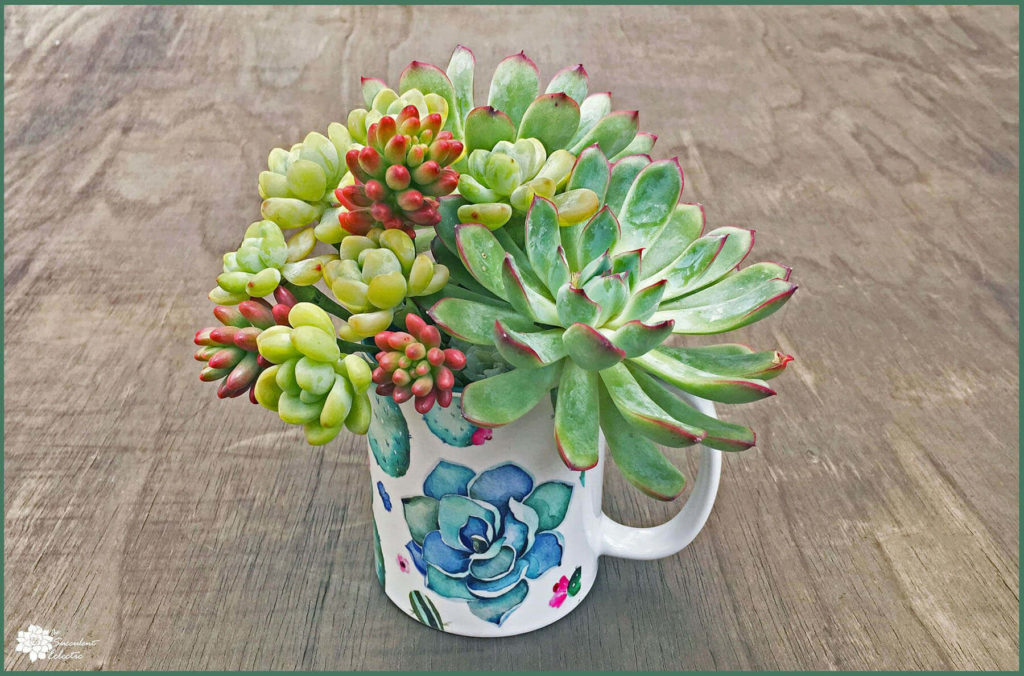
Whether used for a wedding, a spectacular centerpiece, or a simple gift, a succulent plant bouquet is a living arrangement that looks beautiful for weeks. Then, simply unwrap the wires and root the succulent stems to grow them into lush plants to be enjoyed for years! This is not just an eco-friendly alternative to cut flowers. Think how meaningful it would be to plant your wedding bouquet or hostess gift and enjoy a living reminder of the event that flourishes for years to come.
Gather Supplies to Make Your Succulent Bouquet
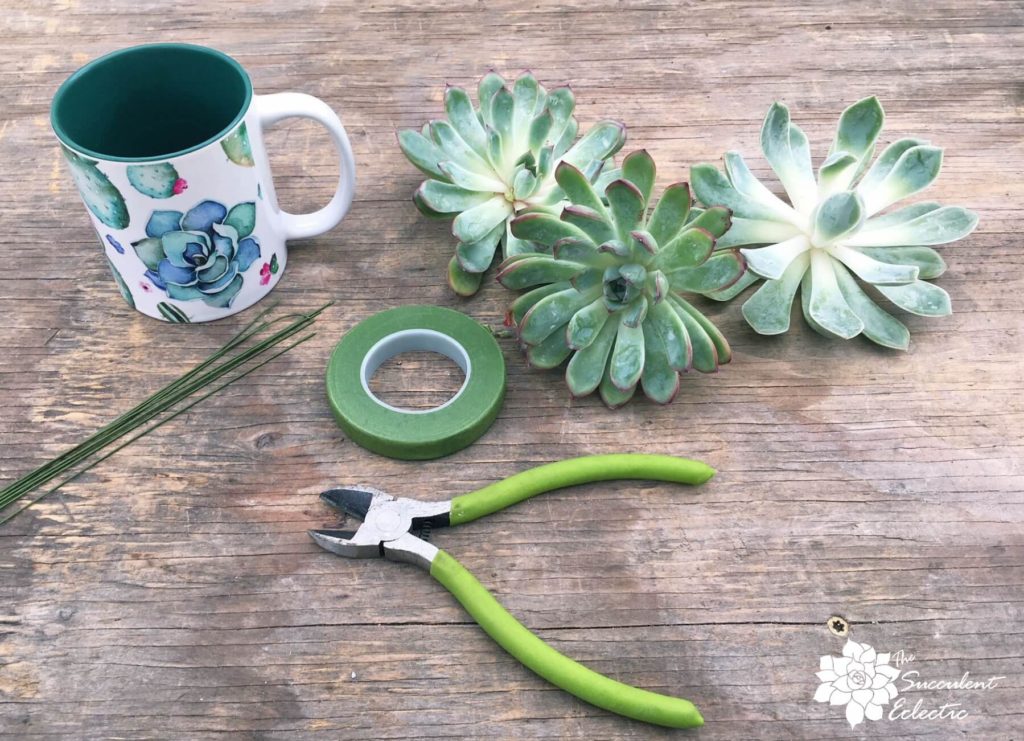
I made my first succulent bouquet in this whimsical succulent mug I designed on Zazzle. But – fair warning – this is a highly addictive project! 🙂 I quickly bought mason jar mugs so I could make many more of these living arrangements!
To make your own DIY succulent bouquet, you will need:
Mason jar mugs or the equivalent
18″, 22 gauge floral wire, straight – not on a paddle
Sand – I used builder’s sand from the home store
Succulent cuttings! Be sure to use plenty for a full display
How to Wire Succulents to Form a Floral Stem
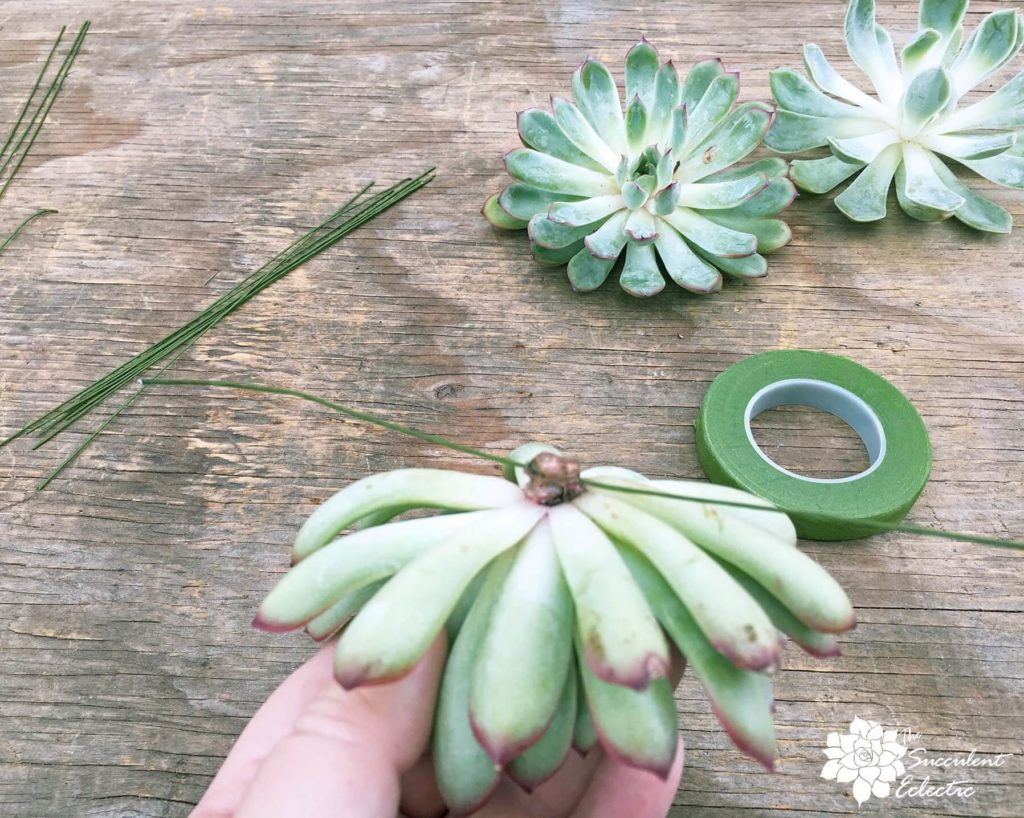
Start with healthy succulent cuttings. Leave about 1/2 inch of stem, and be sure the cuttings are clean, with no excess soil.
The key to making a succulent bouquet is to wire your succulent cuttings to form a false “flower stem.” It’s not difficult, but I will include a lot of pictures to show you each step. We’ll use 22 gauge floral wire – it is the perfect balance between strength and flexibility for this project. Be sure to get bare wire – the cloth-covered wire is a bit bulkier and more difficult for this project. Because the mason jar mugs are short, cut your 18″ floral wire into halves.
I started with my Echeveria Captain Hay. Pierce the stem with the floral wire. Take care – it is very sharp! Avoid using your thumb as a backstop as you push the wire through the stem. I am typing from experience here!
Add a Second Wire to Your Succulent Stem
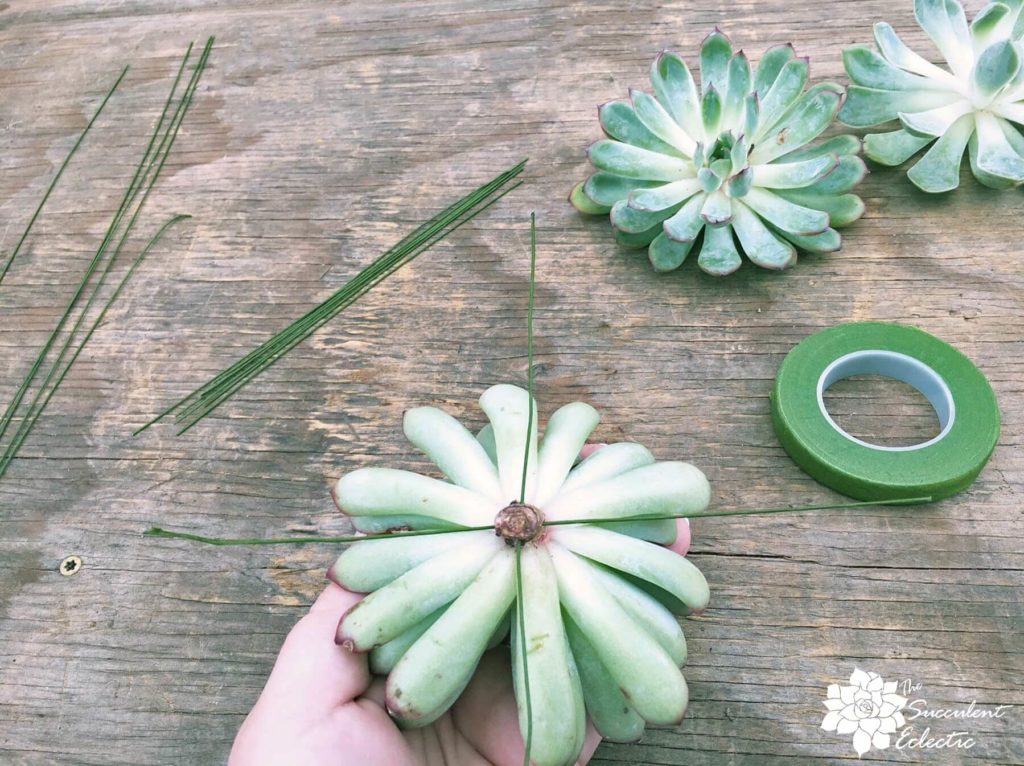
For a large and heavy cutting like this, you will need a lot of support. Using a second wire, pierce the stem again at a right angle to the first one. Your 2 wires should cross like a plus sign.
Fold The Floral Wire Down
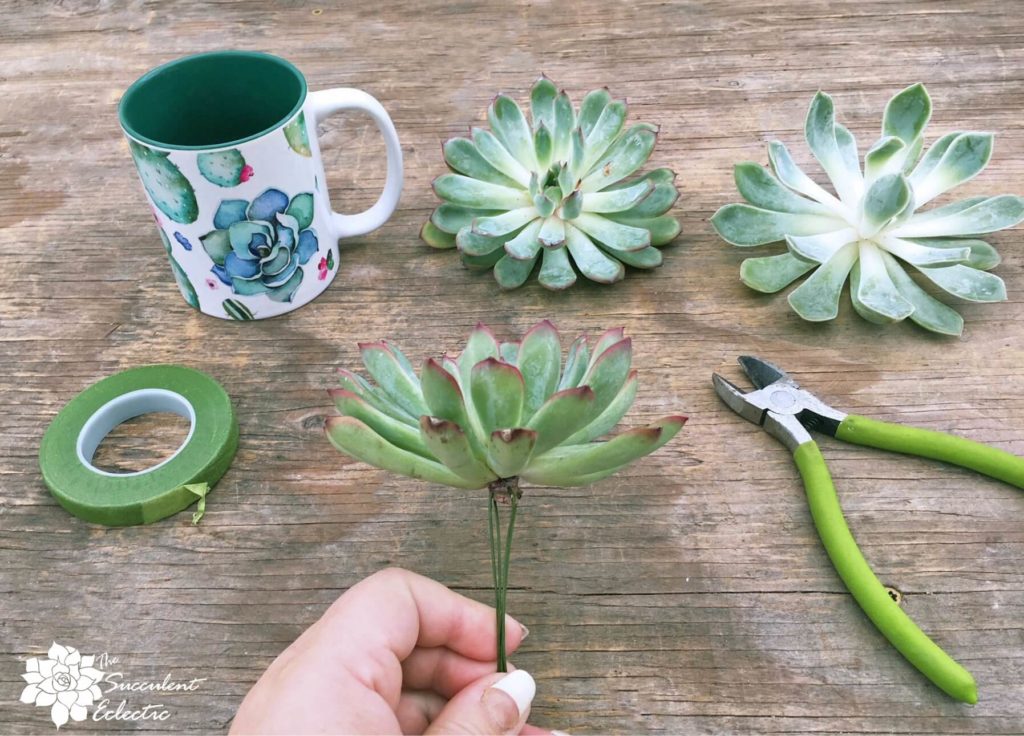
Now, fold the wires together. This forms the foundation and strength of your succulent flower stem.
Attach Floral Tape to Succulent Stem
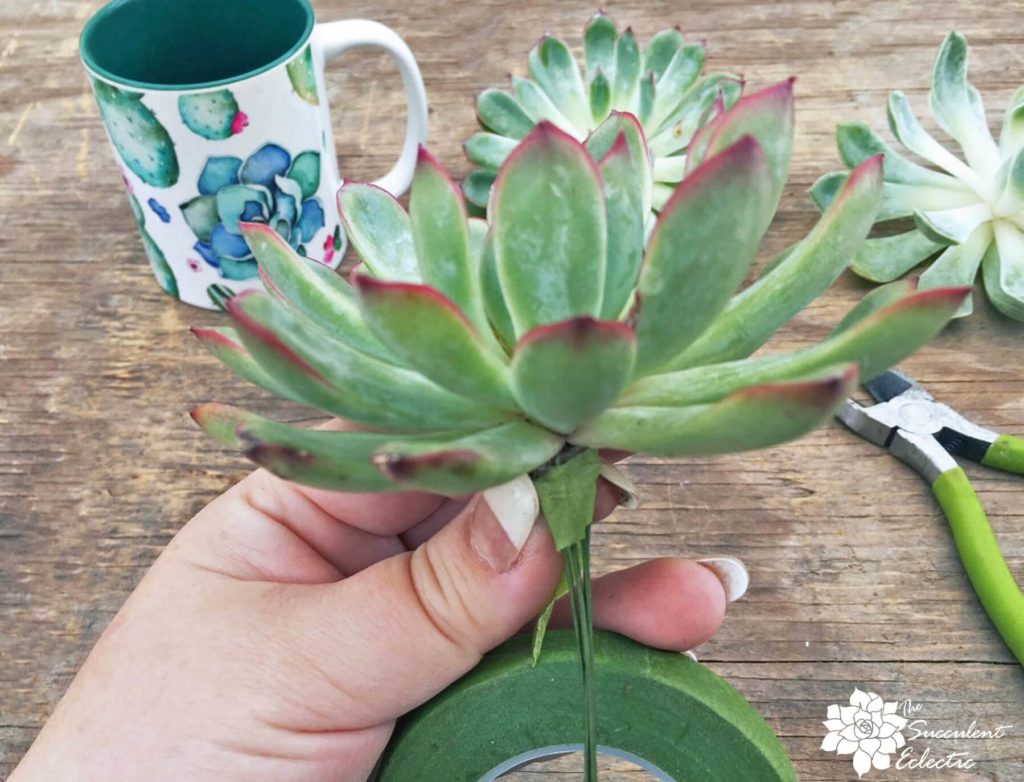
In floral arranging, you always want to hide the mechanics. Attach floral tape to the base of the succulent stem. Floral tape is cool stuff! It does not become sticky until you gently stretch it. Then it sticks really well, especially to itself. Holding the end of the tape against the stem, gently stretch a few inches of the tape and wrap it around the wires.
Wrapping the Stems for Succulent Bouquet
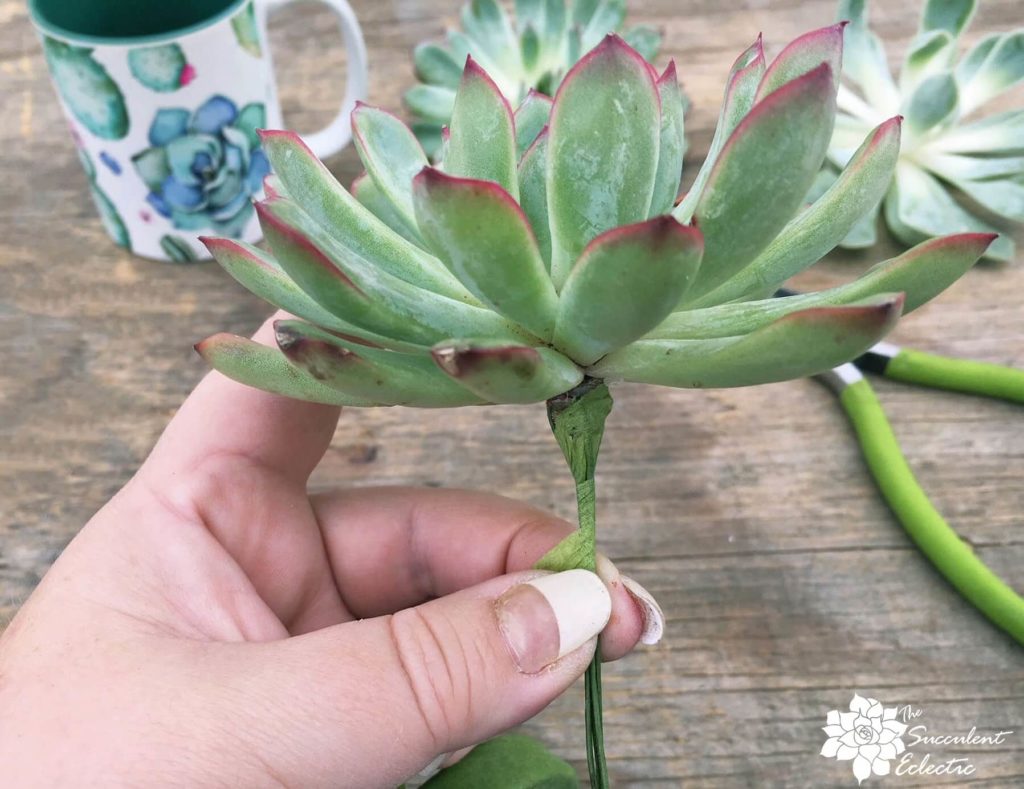
Continue to gently stretch the floral tape a few inches at a time. Slowly twirl the wire stem as you guide the tape around and down the succulent stem.
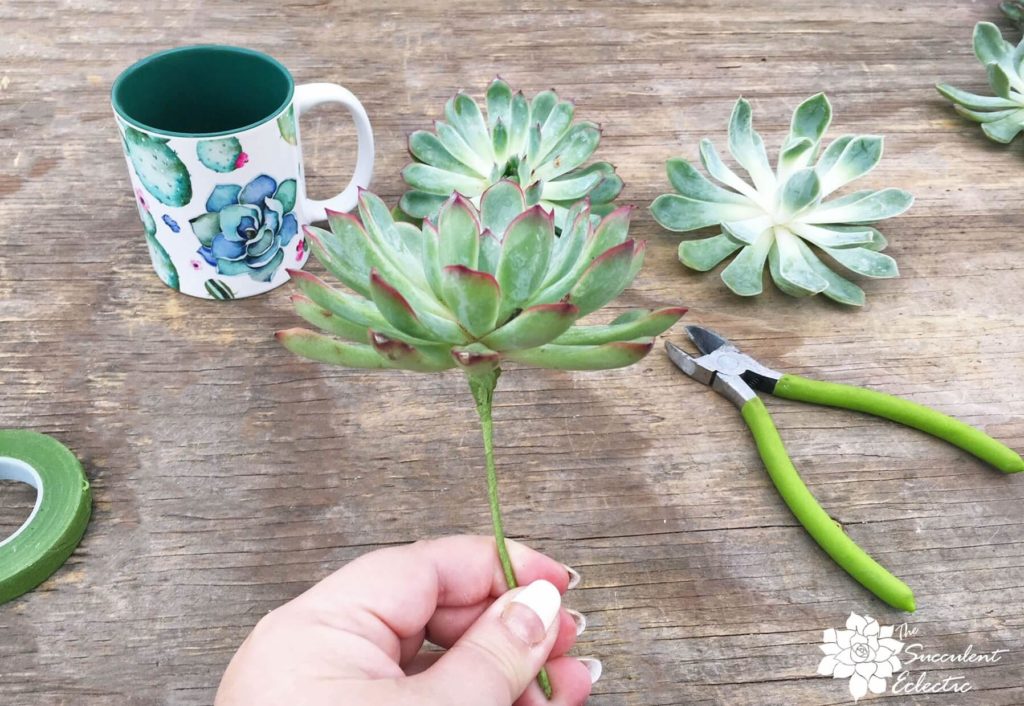
When you get to the end, just snip or tear the tape and smooth it down. Now you have your first succulent stem fully wired and ready. Repeat this process for the other cuttings you will use in your succulent bouquet. I like to use a mix of rosettes and other forms for texture and interest.
Prepare Many Succulent Stems for the Bouquet
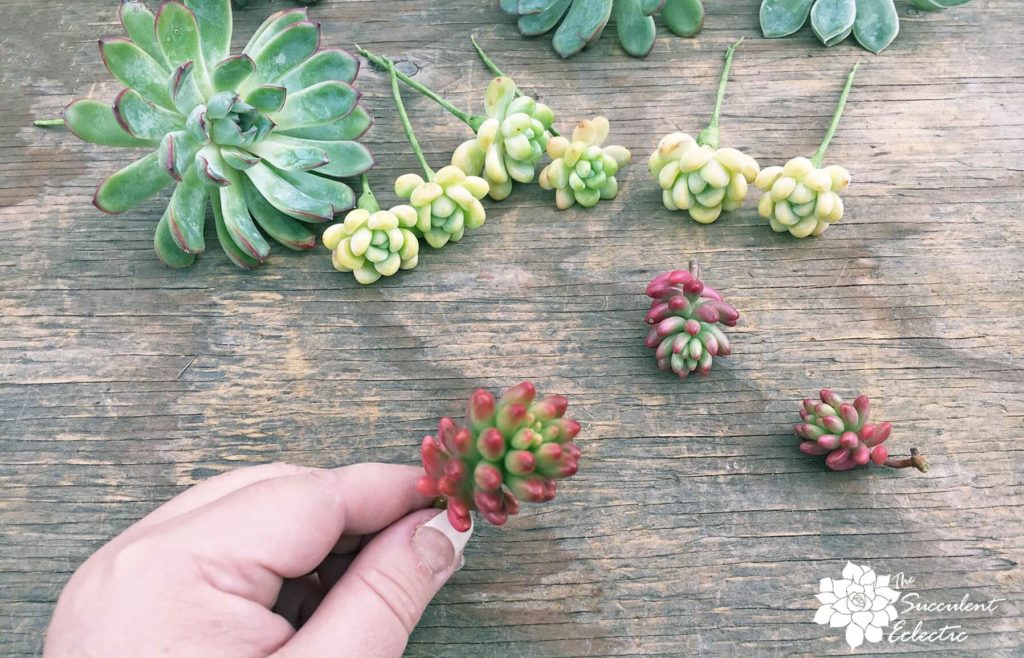
I continued to make succulent stems for the Sedum clavatum just the same way I did for the large echeveria. Although they are much smaller, maybe just an inch across, I felt that using 2 crossed floral wires gave them a strength and stability that was good to work with.
Then I decided this Sedum rubrotinctum (jelly bean plant) would add wonderful texture, and the deep blush color would really pop! But I needed a different technique for these slimmer stems.
How to Wire Fragile Succulent Stems
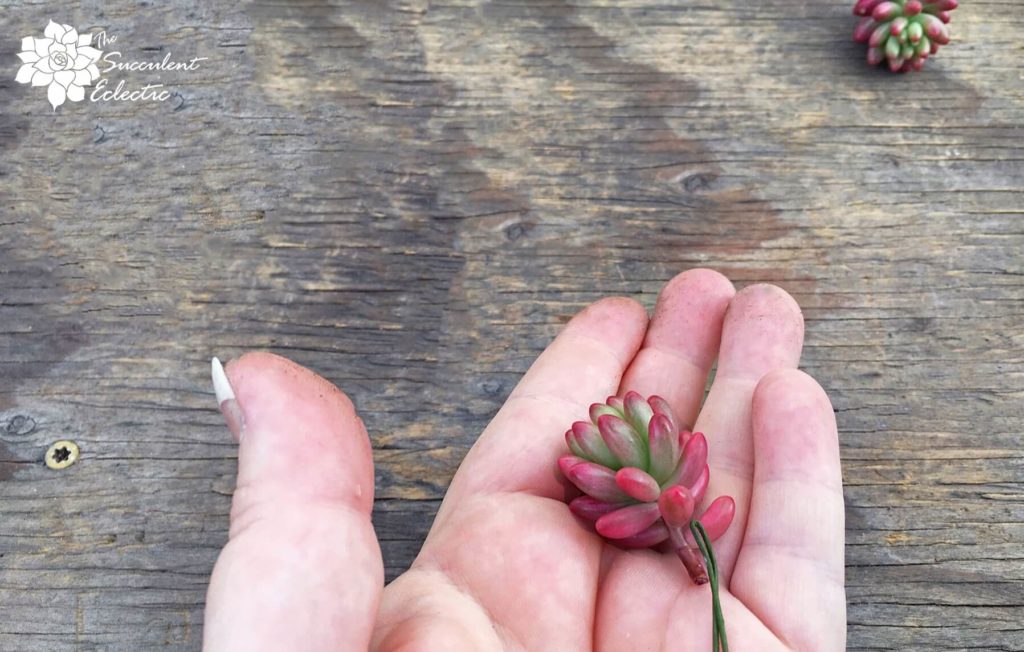
I soon found that the jelly bean sedum’s stems were too fragile to reliably wire the way I did for the others. So I used a different technique. Bend your 9″ wire in half, and tape it to the stem without piercing it.
Wiring Fragile Succulent Stems
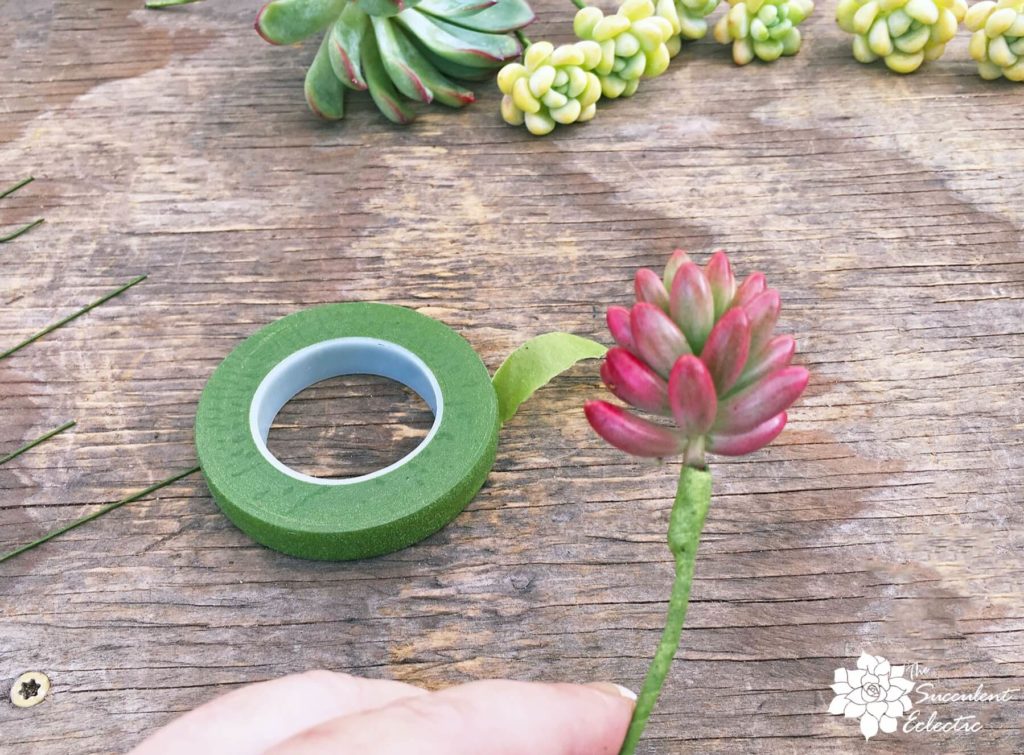
It was harder for me to coordinate the tape, the wire and the succulent when I did not connect the wire through the stem first. I found it easier to first tear off about 3″ of the tape, attach the wire to the stem with that, and wrap it. Then, continue to wrap the stem with the floral tape. While it felt a bit more awkward, the result doesn’t show it at all. Sweet!
Assemble the Succulent Bouquet Stems in Mason Jar Mugs
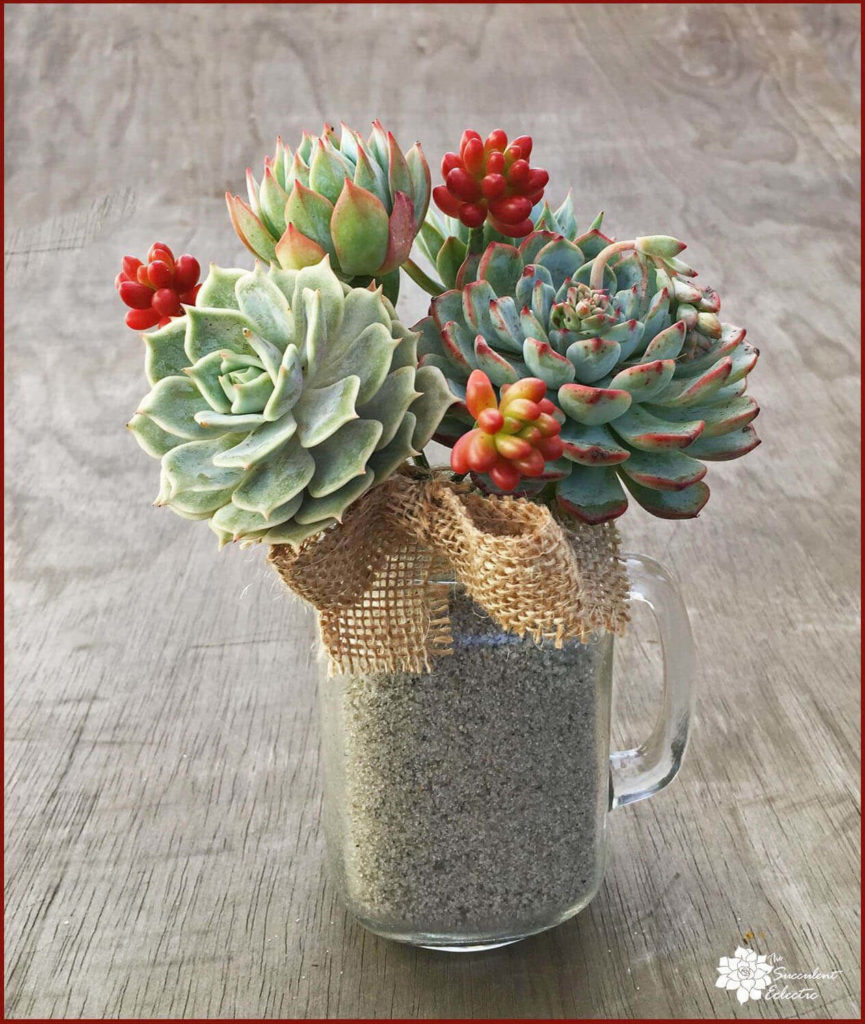
Add the sand to your mason jar mug. You need the weight of the sand to keep the heavy stems erect and in place in your bouquet. You can do sand art with layers of colored sand if you like. For these mason jar mugs, I liked the simplicity of the builders’ sand. Now, add the succulent stems and arrange them in a pleasing fashion. I love the way the sedum rubrotinctum adds pops of explosive color to coordinate with the tips of the echeveria’s leaves!
I made a simple bow from burlap ribbon to complete the look (and to hide the base of the wire stems as they enter the sand).
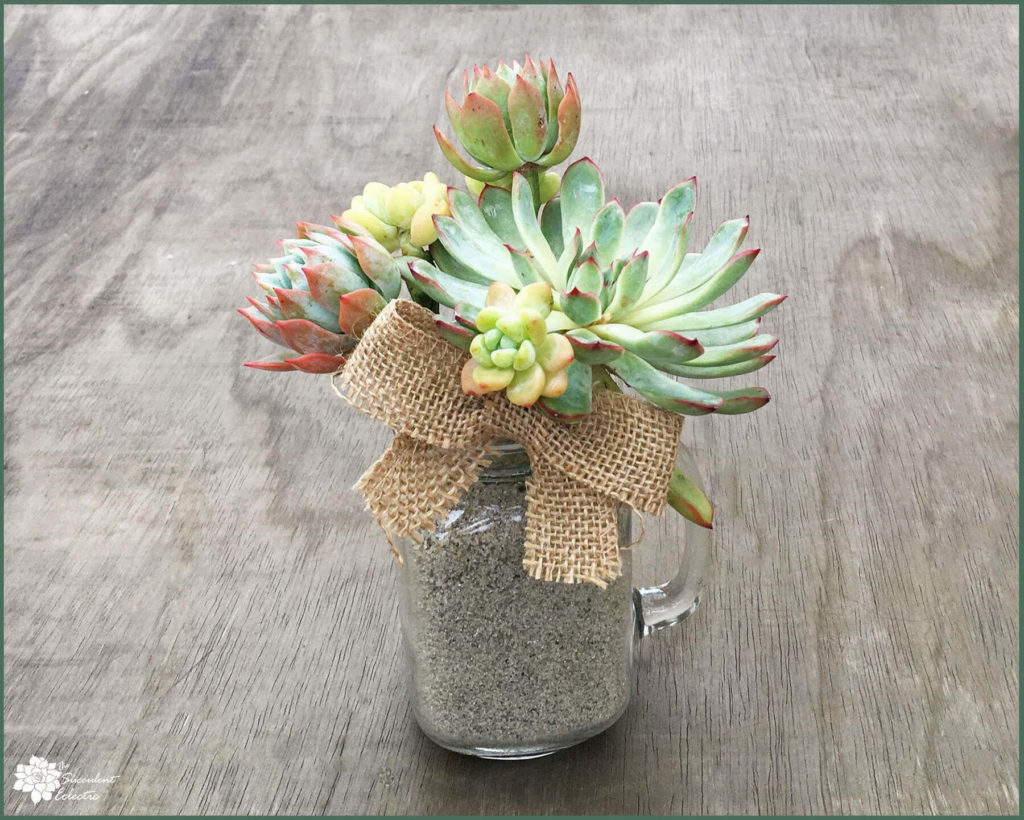
The succulents you choose completely change the look and personality of the succulent bouquet.
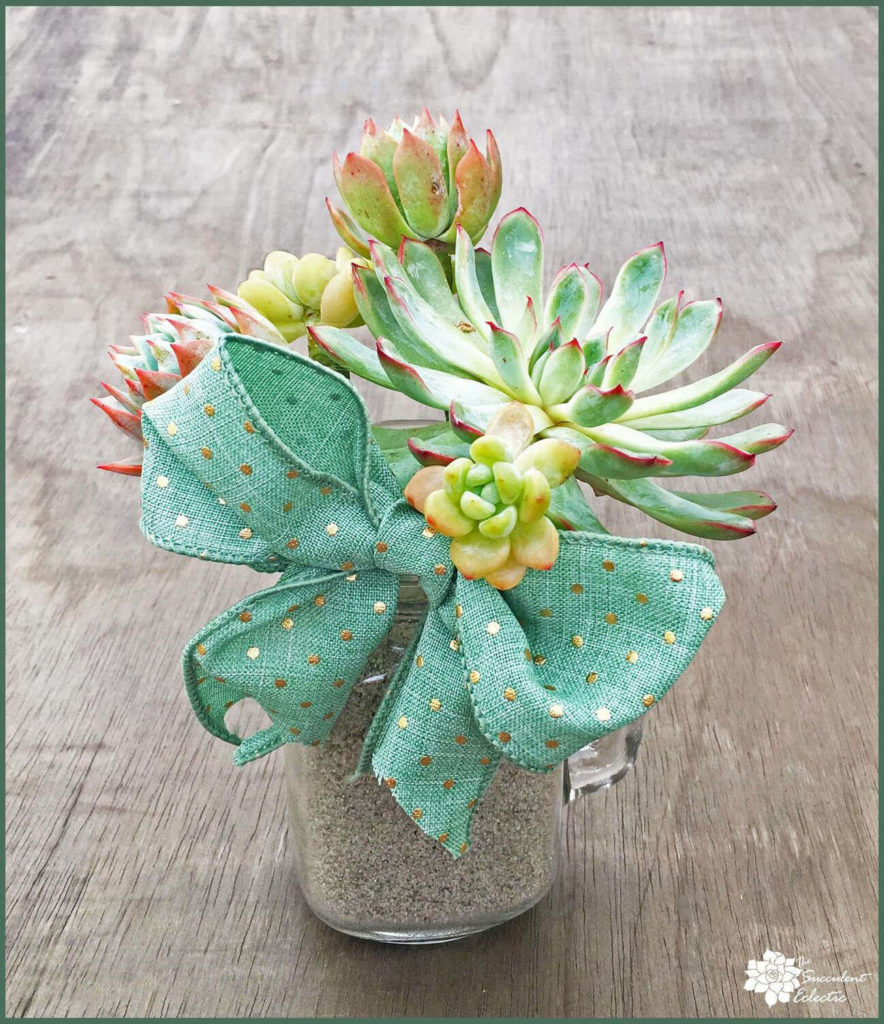
So does a change of the ribbon.
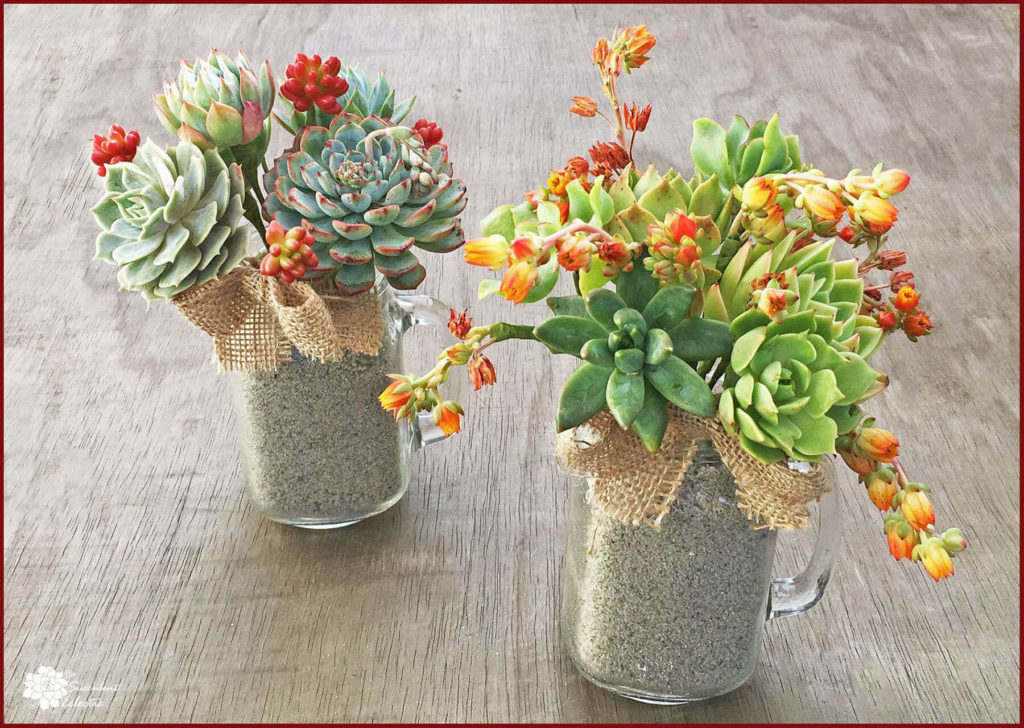
You can even create flower stems for echeveria flowers! They last a long time, and even the dried blooms both retain wonderful color and stay attached to their stem. Because I was adding so much bright coloring and texture through the blooms, I kept the succulents themselves a simple green.
Caring for Succulent Bouquet
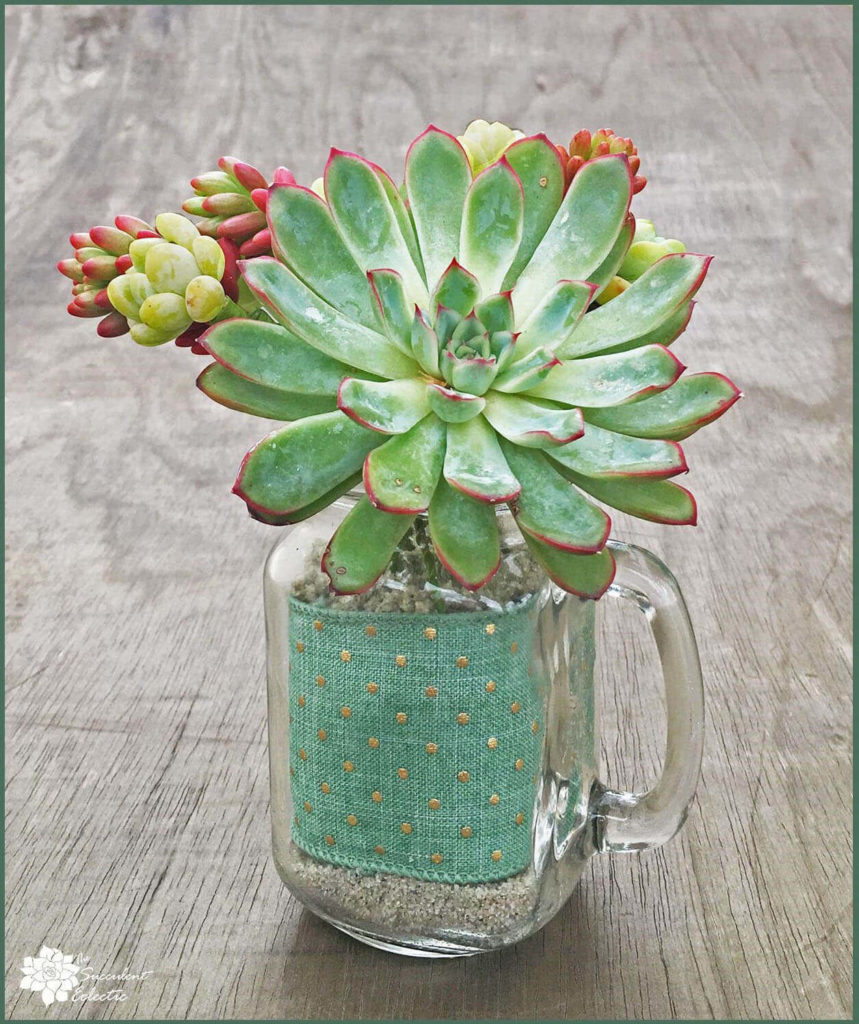
I had such fun making these pretty succulent bouquets! They should last beautifully for 4-6 weeks before the succulents outgrow the arrangement. Are you surprised to learn they continue to grow? They are still living plants! Provide bright light indoors or bright but indirect light outdoors. Do not leave them in full sun.
In a few weeks’ time, you’ll be ready to plant the succulents. Cut the wires an inch below the bottom of the succulent stem. Unwrap the tape, and slide the wire out of the stems. You may see roots already forming. Slip the stem into dry succulent soil and water lightly. Set them in bright, indirect light, out of the sun. Water lightly every couple of weeks until they are fully rooted. Then gradually introduce them to more light, and enjoy!
DIY Succulent Bouquet in Mason Jar Mugs
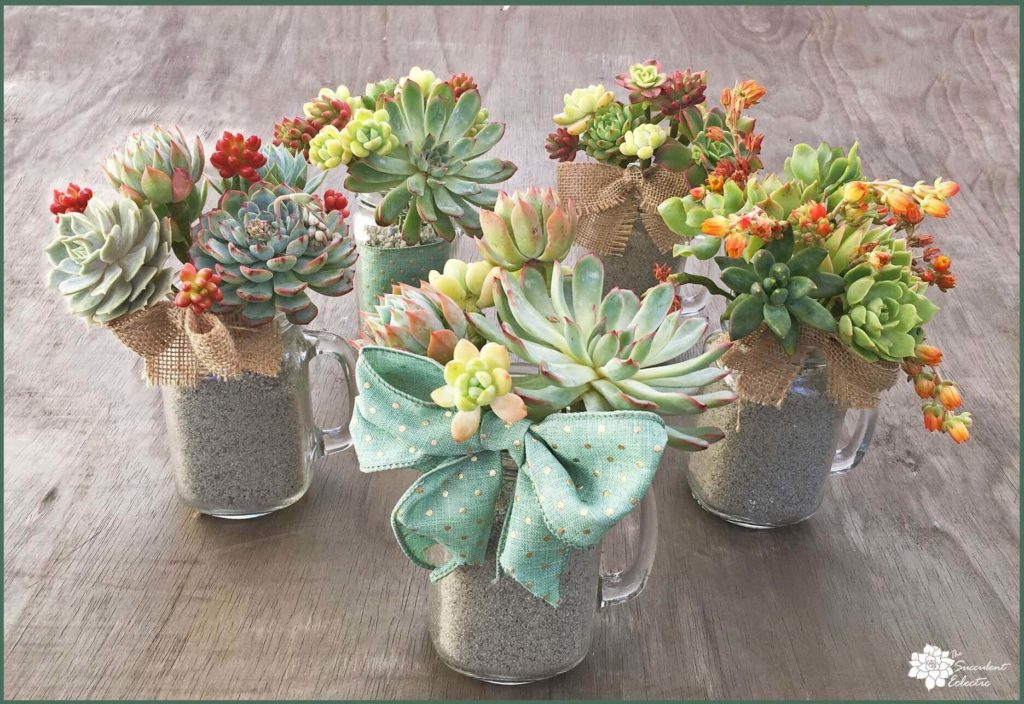
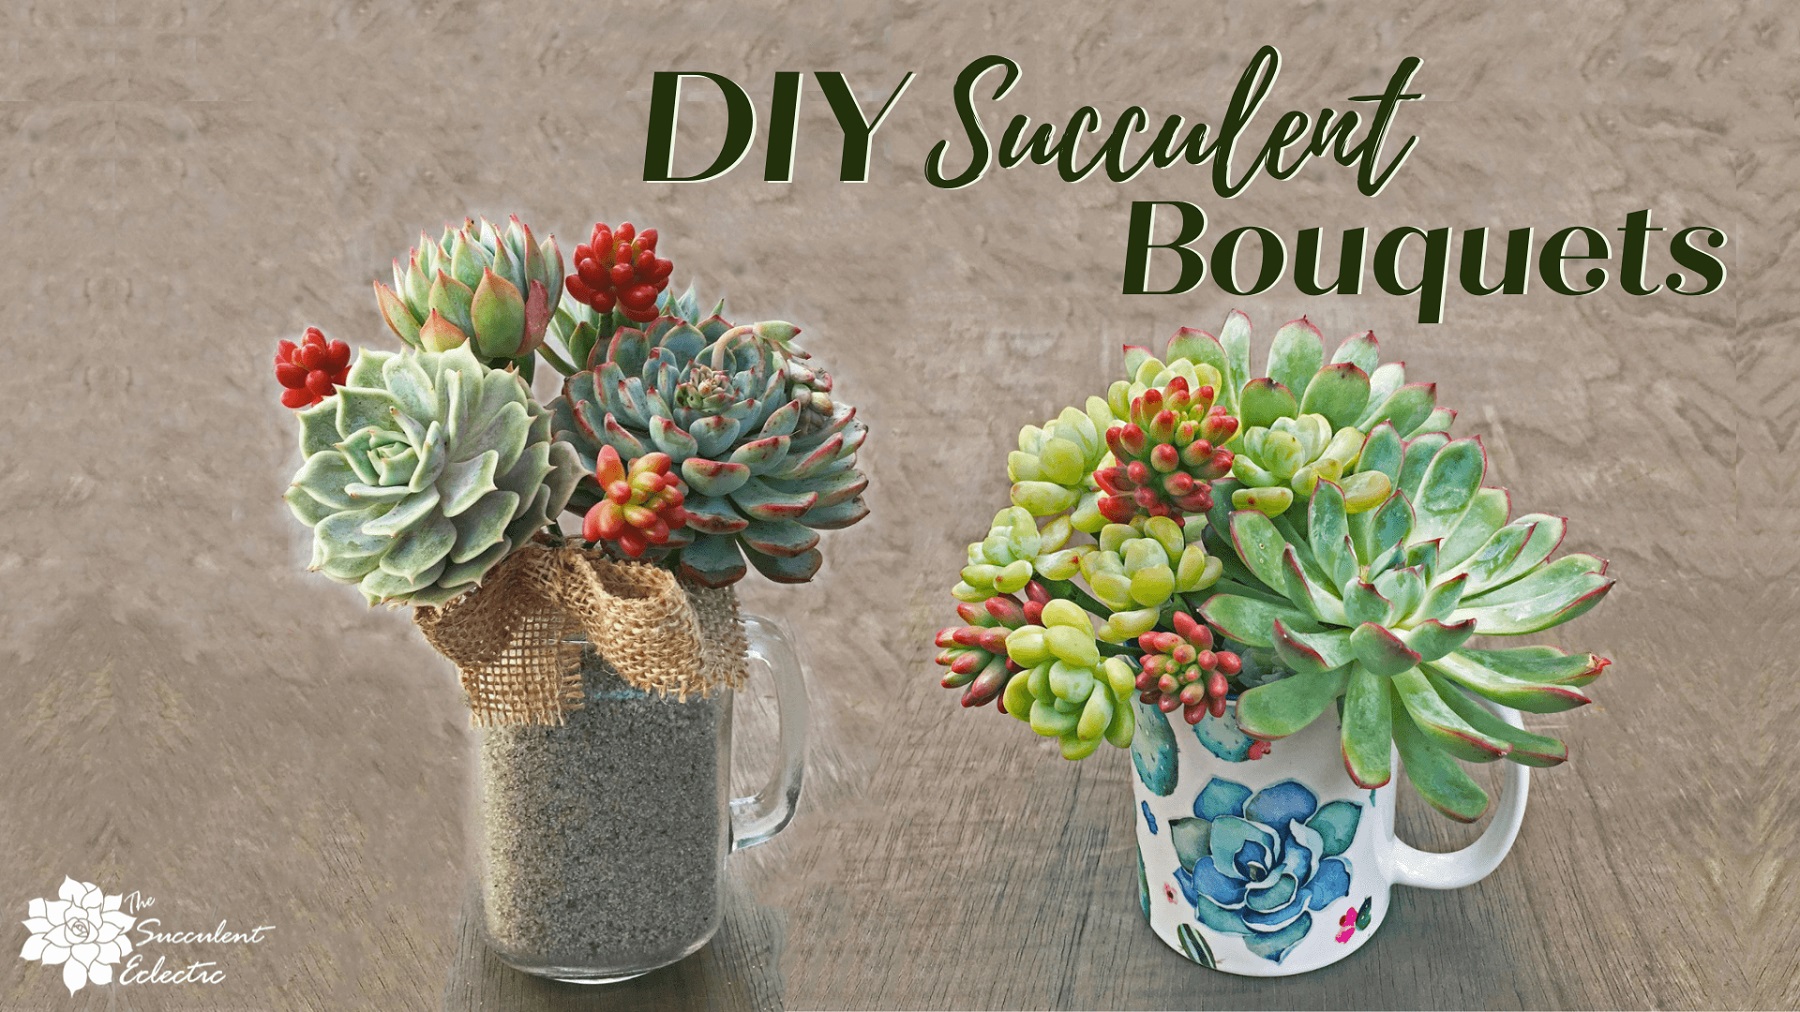
There you have it! My DIY succulent bouquet in mason jar mugs! I really love them. And it is much easier to do than I had expected. What do you think? Will you be making some? I would love to know – and to see your final arrangements! Please take a moment to leave a comment – or send me an email with your pix!

P.S. Please subscribe, and receive my FREE course, 7 Steps to Succulent Success! Thanks so much!
P.P.S. Why not join my Facebook Group for succulent lovers? We talk about succulent care, propagation, succulent identification, and design. It’s a warm and welcoming group that would love to meet you!


How do you water succulents in a jar with no drainage hole? Thanks!
Hi Tania,
Thanks for the question! You won’t water these succulents because they no longer have roots. When you create the false stem as described, you force the succulent to draw on its stored reserves of water. They should last beautifully for several weeks before you need to replant them.
Enjoy!
~Kat
How long can the plant survive in the wine glasses?
Hi Valerie!
With proper care, I expect these succulents to thrive in their wine glasses for more than a year! I have mine outside, and have to bring them in, of course, before the rain. But other than that, both versions should flourish and are likely to outgrow the container before they struggle.
I enjoy using succulents in decorative ways like this and am happy to take the arrangement apart to replant them when needed.
Thanks for the great question!
~Kat