A Facebook friend, Karen McCants, creates wonderful, ceramic art pottery for succulents, in all shapes, colors and styles. I was so taken with these heart-shaped succulent pocket planters, I wanted to do them for a Mother’s Day DIY. To see more of Karen’s work, explore her Facebook Page, Karenmccantsart. Read on to see exactly how to plant these succulents hearts!
Succulent Pocket Planter
In this Post We'll Cover:
{Please note, some links in this post may be affiliate links to sites that pay me a small commission if you click on the link and make a purchase. This commission is at absolutely no cost to you. I only recommend products and companies that I have worked with and truly love! ~Kat}
How to Plant Succulent Hearts
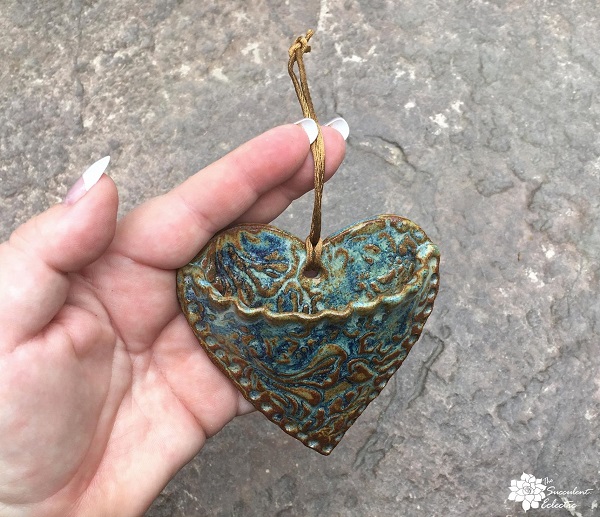
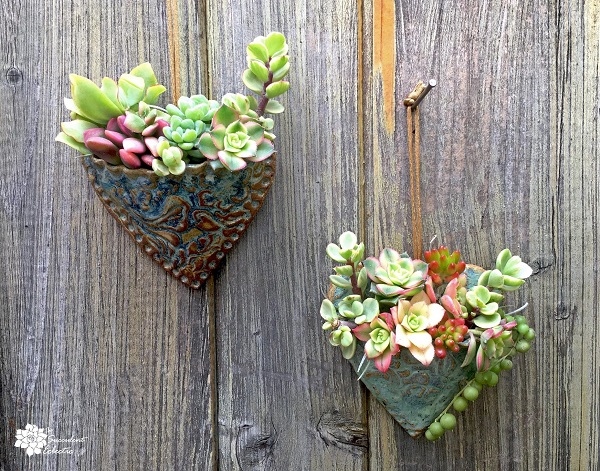
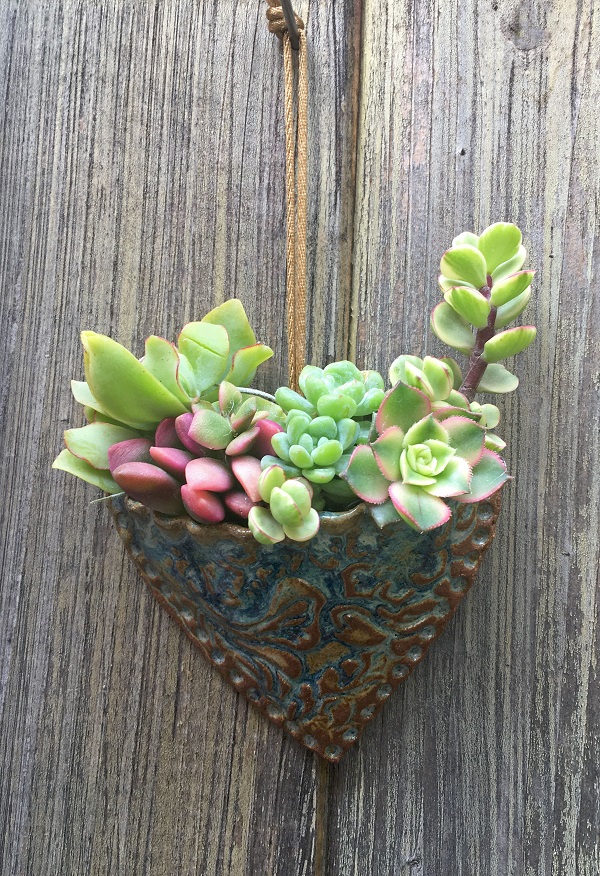
Karen first created these petite succulent pocket planters for Christmas ornaments. Can’t you imagine a tree filled with these succulent hearts in all different colors? I bought two, this one is darker, with this cool, denim blue and teal glaze, and semi-rusty colored tracings. The other is a lighter version of the same colors for a pretty pairing.
Supplies for Planting a Succulent Pocket Planter
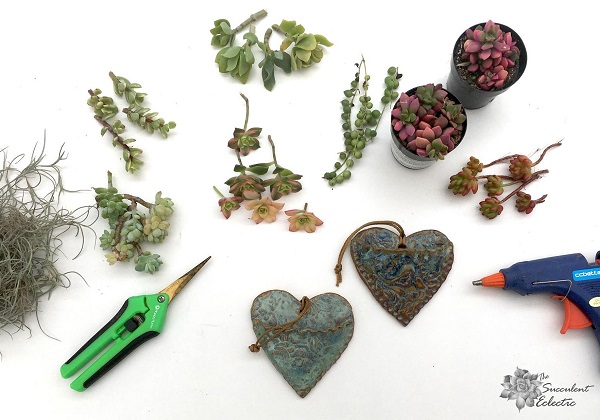
To plant up these succulent hearts, you will need the following:
- Succulent pocket planters
- Natural moss
- Hot glue gun and glue sticks
- Succulent clippers
- Succulent cuttings
I loved the color of the potted Anacampseros Sunrise, and I took the rest of the cuttings from succulents in my garden. You won’t need a lot of cuttings, but take plenty so your pocket planter is full. Any succulent cuttings you don’t use can be rooted and grown on for your next project!
I used a natural Spanish moss because I like its silvery grey color with these two pocket planters. But you can certainly use green moss if you wish. The moss will serve as a growing medium the succulent cuttings will root and grow into. The hot glue will hold the moss inside the pocket planters and keep the cuttings in place. The hot glue does not hurt the cuttings – truly!
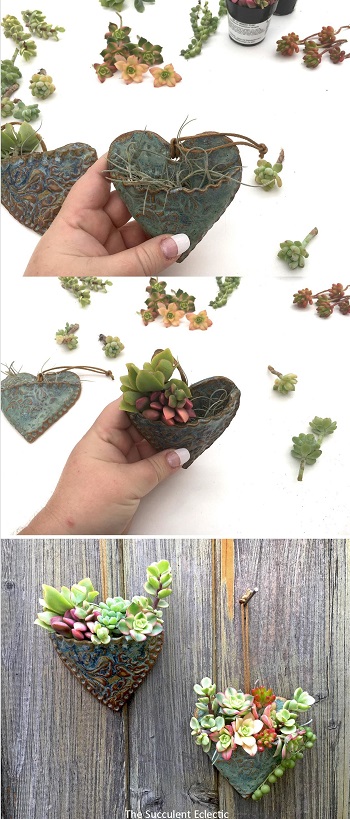
Prepare the Pocket Planter with Moss

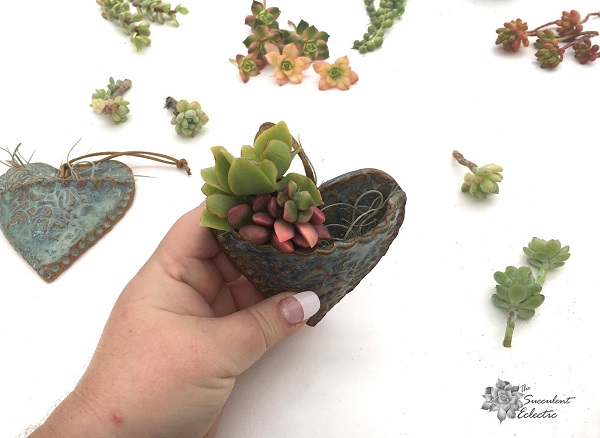
Add a dab of hot glue inside your pocket planter and tuck in a bit of natural moss. The moss holds a bit of moisture and works well for rooting succulents. I like the look of the moss peeking from between the plants, so I don’t trim it down, though you can, if you prefer. Don’t pack it in too tight, but be generous, to loosely fill the pocket.
Place Cuttings in Succulent Pocket Planter
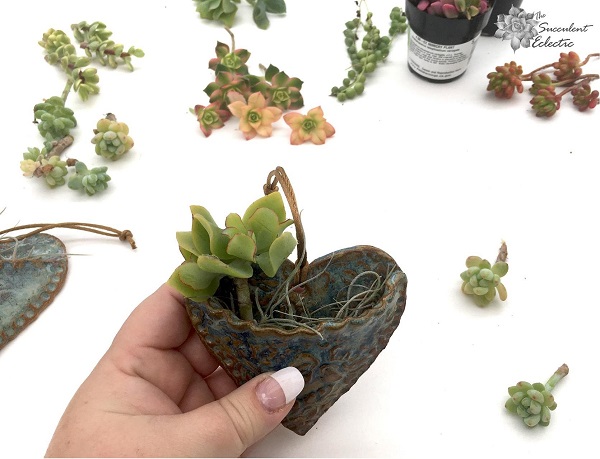
The succulent pocket planter can only be viewed from one side. So the tallest cuttings go in the very back. Play with the various succulent varieties available to you, arranging and rearranging them until you like the look. I took most of my cuttings from my garden and used a potted Anacampseros ‘Sunrise’ for a bright accent. Starting with the cutting in the heart, and moving clockwise, I used Crassula arborescens undulatifolia, Sedum clavatum, Portulacaria afra variegata, Aeonium ‘Kiwi’, Senecio rowleyanus ‘String of Pearls’ and Sedum rubrotinctum.
I started by anchoring the Crassula cutting in the back. Its wavy leaves make a nice frame for the rest of the succulents.
Continue Planting Succulent Heart Planter
The vibrant pink color on this Anacampseros is lovely, and really picks up the pink and yellow of the Aeonium ‘Kiwi’. I didn’t want it to be over-powering, so I tucked it into the side of the heart. Continue to add cuttings and play with your arrangement. When you like a placement, add a small bit of hot glue to hold the cutting in place.
Finish Planting Pocket Planter
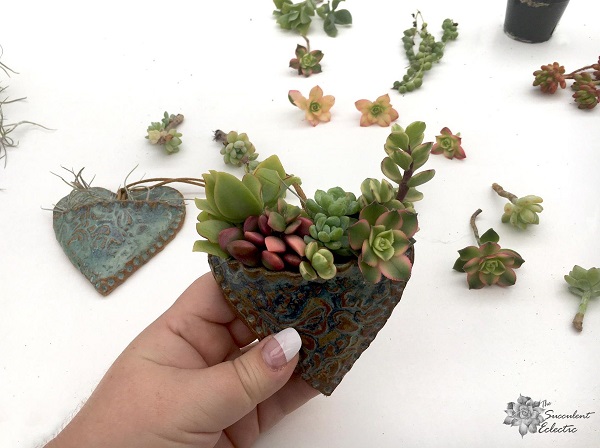
Because the pocket planter is small, I used little succulent cuttings. But I still wanted to use different heights and to create a bit of depth. I love the way it turned out! This succulent heart used (from left to right) the Crassula undulata in back, Anacampseros in front left, Sedum Clavatum in the back, with Portulacaria in the back right. In front, a small Portulacaria and then the Aeonium ‘Kiwi’. The vibrant coloring is due to stress!
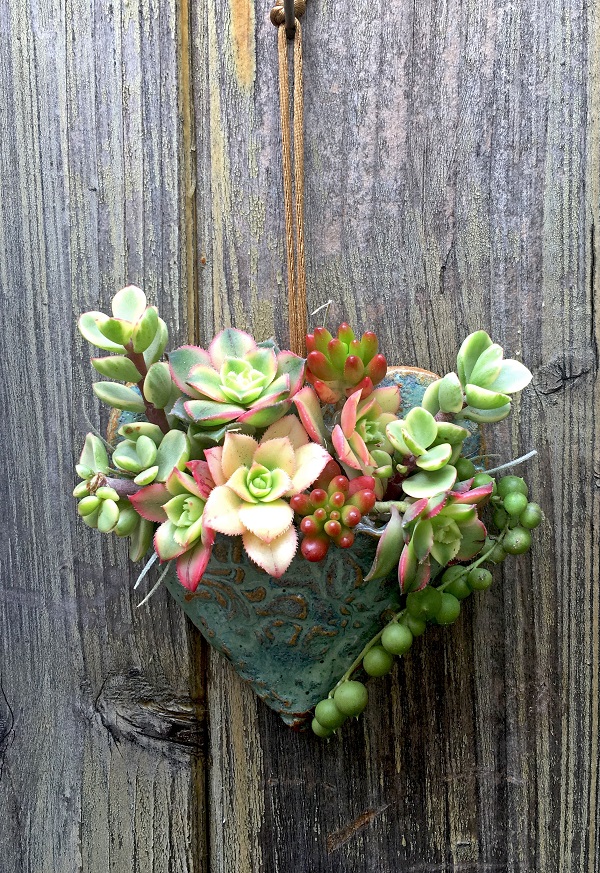
Your succulent heart is now ready to hang! At first, you’ll want to hang it out of direct sun. Give it a couple of days for the succulent cuttings to heal over, then mist the moss with water. Continue to mist lightly every 2-3 days. This succulent pocket planter will last for 6 months or more. I know it’s hard to believe! But first, the cuttings must root. Then, as we’ve discussed, succulents grow in relation to the amount of available space and resources. Closely planted like they are here, they will grow very slowly.
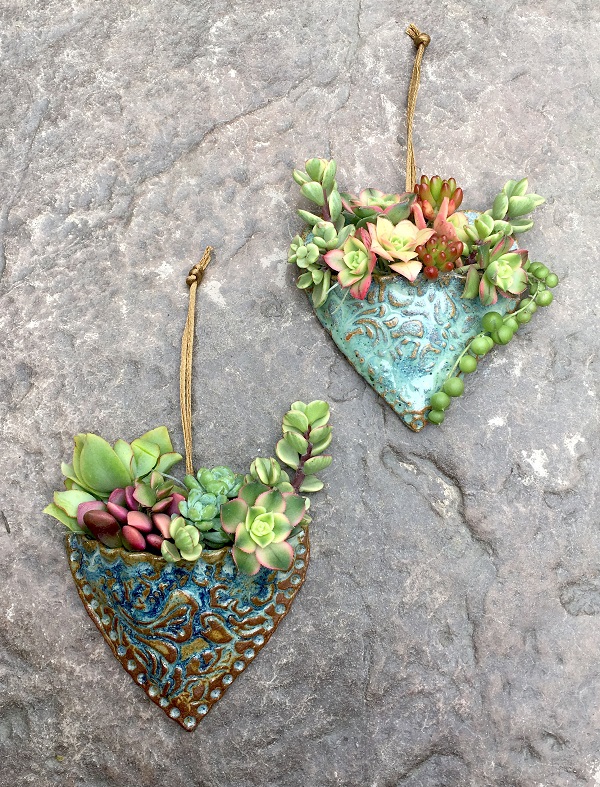
I planted the next pocket planter — the one on the upper right — with the Portulacaria, Aeonium and the Sedum rubrotinctum — the little jelly beans — with the Senecio String of Pearls trailing down.
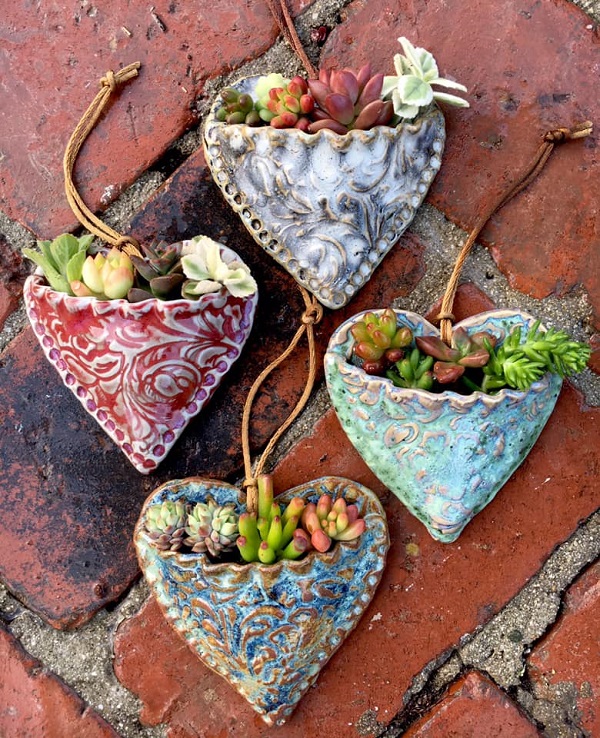
Karen of Karenmccantsart makes a wide range of art pottery for succulents. Her image above represents just a few of her gorgeous glazes. I urge you to take a look at her beautiful listings.
If you have any questions — let me know! Please leave a comment and I will get right back to you. I love hearing from you!
P.S. For more succulent DIYs — and to absolutely make my day! — please subscribe to The Succulent Eclectic! I’ll send you my FREE course, 7 Steps to Succulent Success. Thanks!