If you love the look of the cute face planters and head planters available, you’ll be pleased to learn they are perfect for succulents! But how to plant them so the succulents thrive and look right with the pot? After all, these pots have so much character of their own, it takes the right type of plant to complement the planter. But they also typically have a very deep root zone that could potentially hold too much water for healthy roots. So, this succulent DIY is part succulent care and part succulent design. We’ll start first with choosing succulents that compliment the face planter, then planting it. And finally, I’ll take you step-by-step through how I planted the head planter pot. Are you ready to get started?
{Please note, some links in this post may be affiliate links to sites that pay me a small commission if you click on the link and make a purchase. This commission is at absolutely no cost to you. I only recommend products and companies that I have worked with and truly love! ~Kat}
Choosing Plants for Face Planters and Head Planters
In this Post We'll Cover:
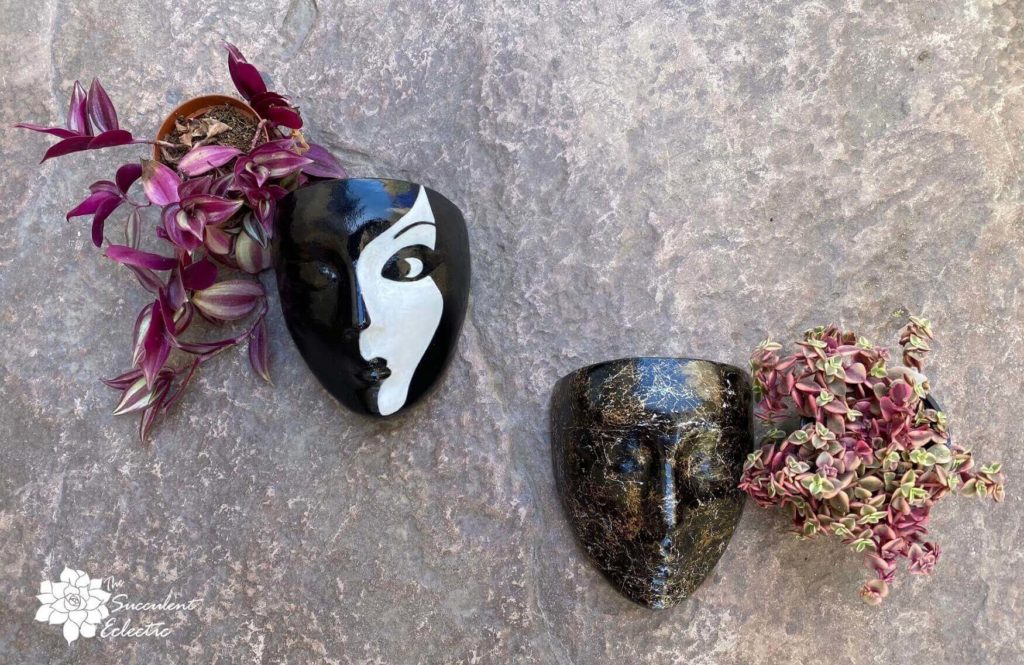
When planting succulents or any other plants in face planters, it’s critical to think of pot as an actual face, then choose the plants from there. By that, I mean that if a woman is wearing a pastel Laur Ashley dress, she’ll keep her hair simple and demure, likewise her makeup, right? But, for a slinky, bright red dress with real va-va-voom, she’ll go with a riot of curls and bold red lips, right? You want to treat the plants you choose for a face planter like the makeup and hair for an outfit. The plants and the head planter should complement one another, so they look like they belong together.
I absolutely love these handmade cement face planters I bought from a woman in my succulents Facebook group, Elena Anaxagorou. She has this fabulous Etsy shop called Head Planters, where she sells the gorgeous planters she creates and paints by hand. Her work is wonderful, the quality is exceptional, and I cannot wait to purchase more from her! But she also uses her artistic aooroach to the way she plants her work that is truly inspiring. She does a wonderful job of pairing each face planter pot with a succulent or group of succulents so the pot and the plants each bring out the best in the other. Her work looks and feels like functional art pieces.
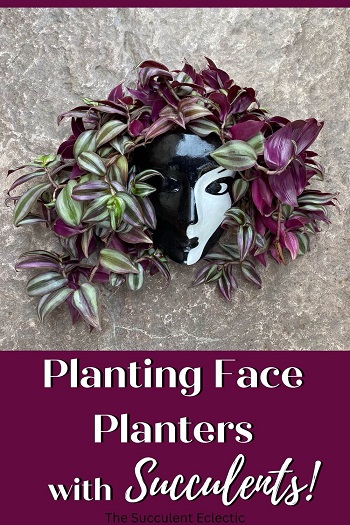
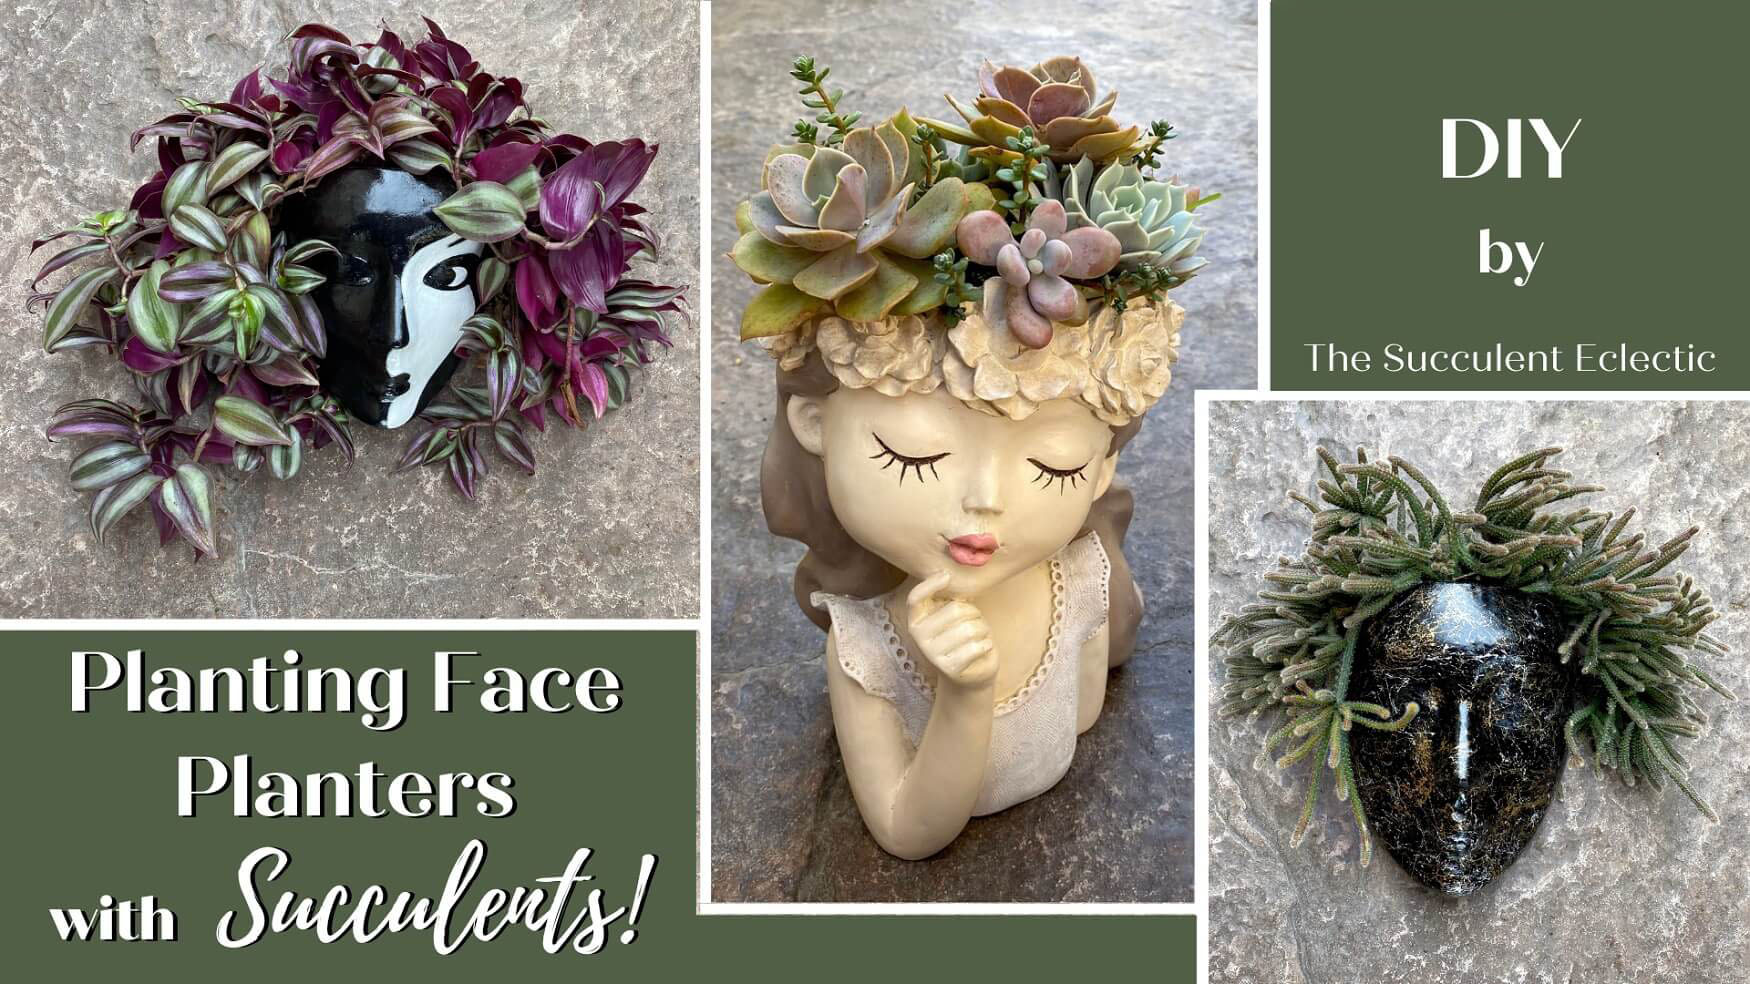
When I chose the half black, half white face planter, I already knew I wanted to plant it with the Tradescantia zebrina you see with it here. I love the drama of the face, and thought the magenta and sea green succulent would be perfect for it. You’ll note that the shape of the leaves beautifully repeat the shape of the white side of the face. Repetition is an important design principle we have discussed at length. But when I saw the bronze face, I just had to have it! Yet, I struggled to find the right plant for it. Here, I paired it with a variegated Crassula pellucida ‘Calico Kitten.’ I thought the many, small, multicolored leaves would repeat the finely painted texture in many colors.
Plant Choice is Critical for Face Planters
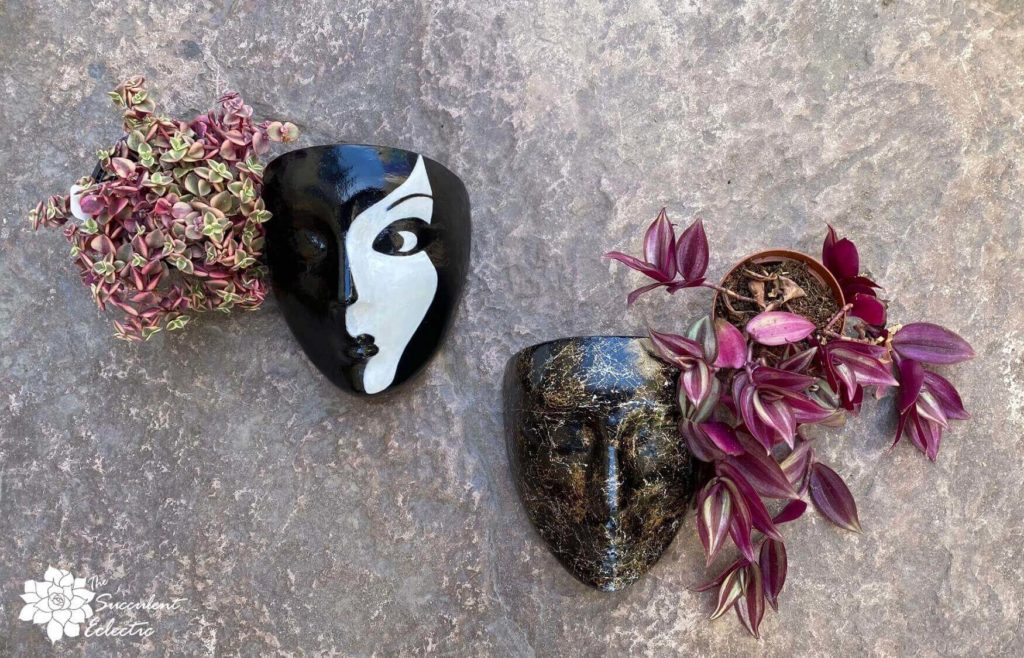
Just to further underline the point, take a look at my face planters with the intended plants switched. While neither plant looks bad for the head planter it is paired with here, do you see how neither looks at right as they did up above? And just imagine the bold, dramatic Tradescantia with the pastel head planter we’ll visit below.
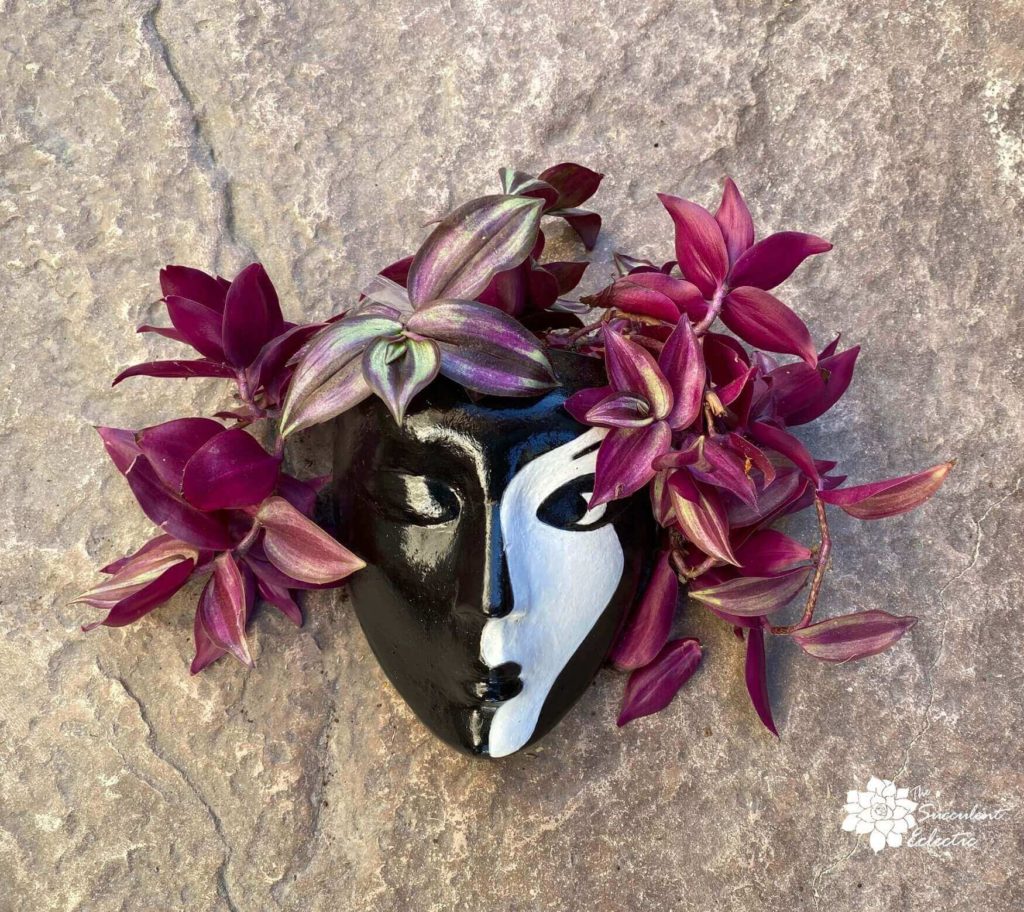
The Tradescantia turned out just as I imagined! The plant gives the black and white face planter the appearance of wild, untamed curls that suits this pot beautifully. And it only looks better as the plants grow fuller. Here, I used three Tradescantia plants to give the head planter a lush, full look right away. I am thrilled with it!
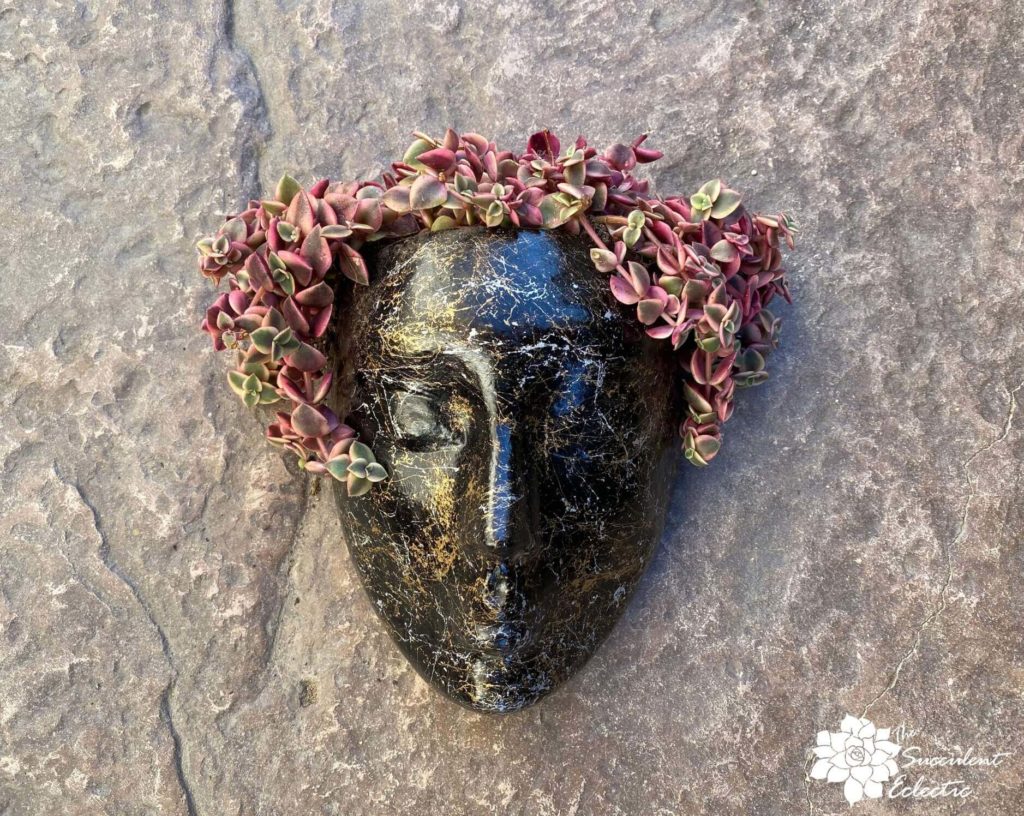
For the bronze head planter however, I wasn’t thrilled with the results. I know the Crassula would lengthen and fill in over time, but the initial look was just too… restrained for my read of this face planter. Again, I wanted something more unruly for this powerful, strong face.
Change of ‘do for Face Planter
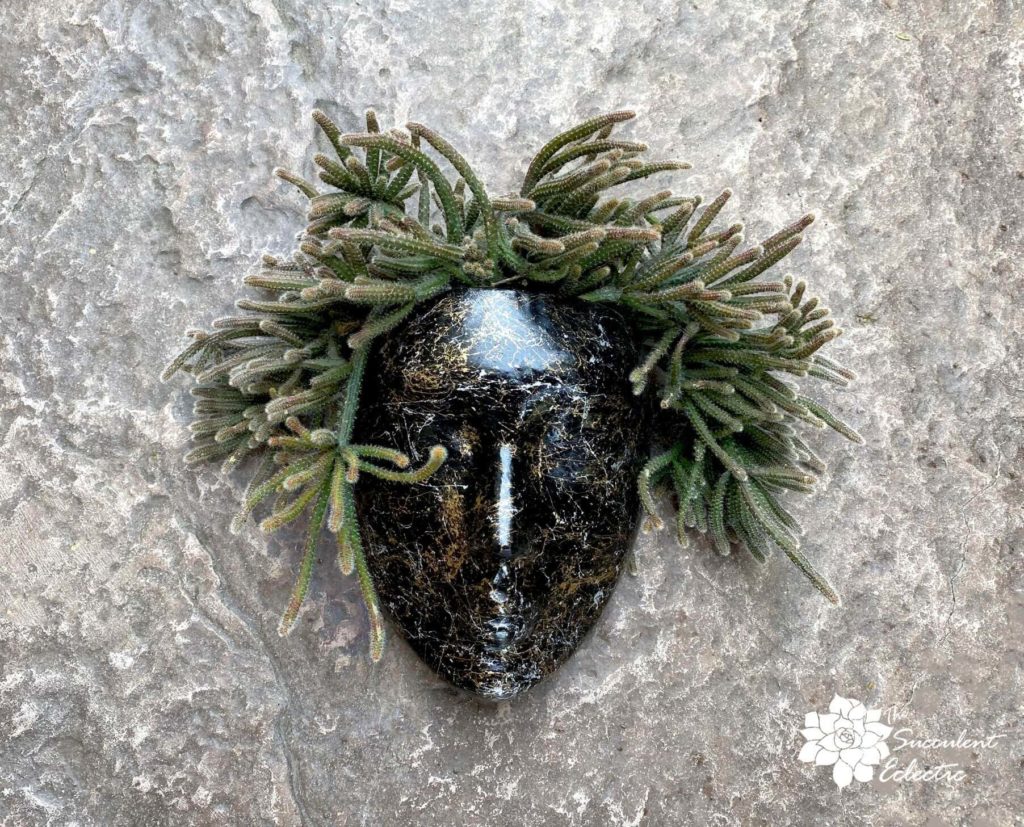
I changes course with this face plaanter, and chose the wilder hanging cactus Rhipsalis pilocarpa, that I bought from another group member, Amber Buenrostro. Her plants are always exceptional quality! I think this Rhipsalis is a far better fit for this head planter than the Crassula. But I would love to hear what you think!
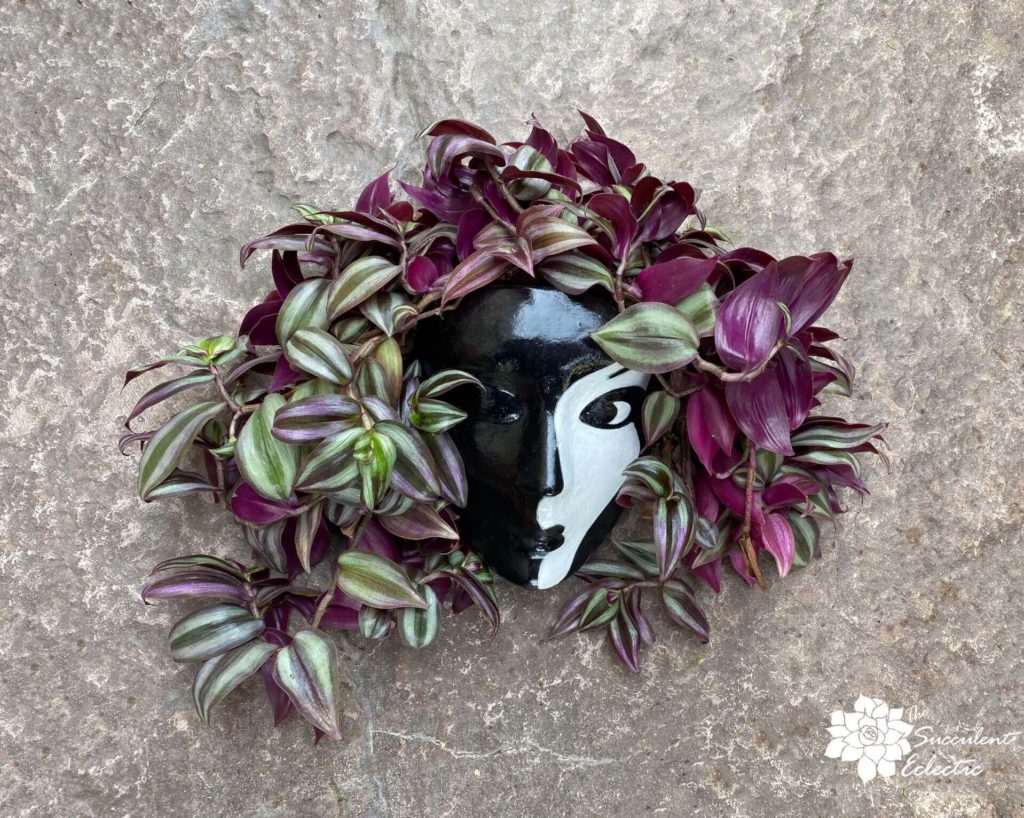
I am absolutely delighted with how this face planter turned out! The Tradescantia has been loving the cool weather and rain. I just had to post this shot with a couple of month’s worth of growth!
Tips for Planting Face Planters with Succulents
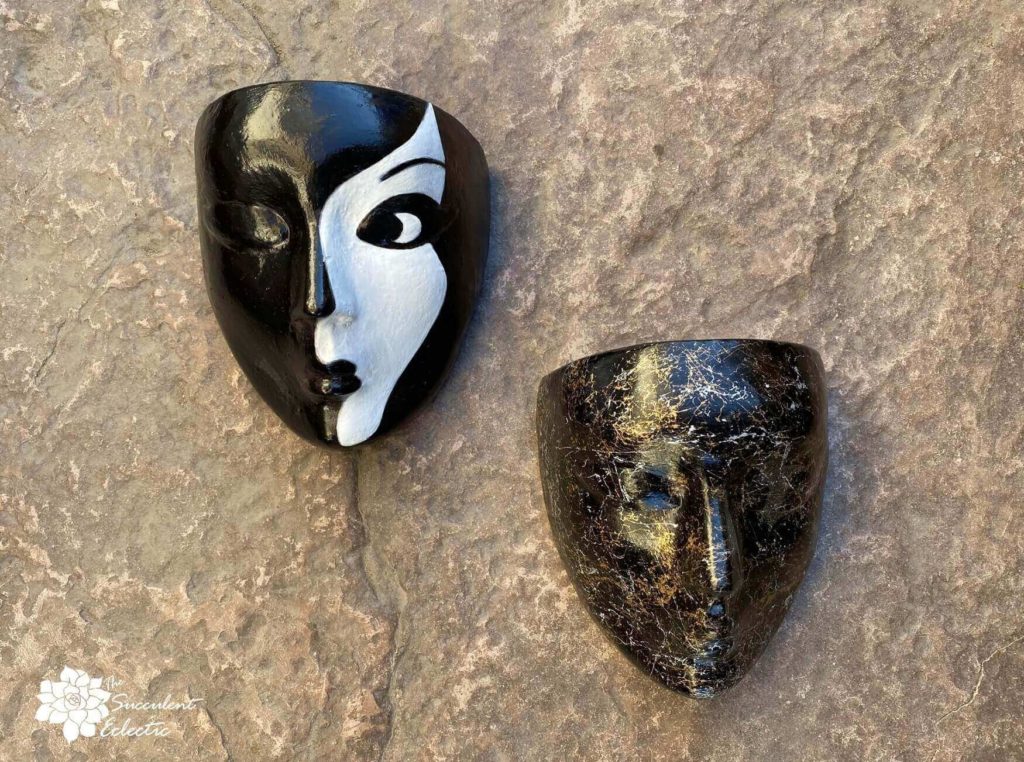
So far, I have only addressed the plant choice for face planters based on their looks. That was the fun part, but the rest matters, too. I hung these face planters in a bright, screened in porch that has excellent indirect light for most of the day. So, it was essential to select the plants that would thrive in these conditions. I planted mine very full, so I could enjoy a lush, full look from the beginning. However, if you have more patience, you can see the plants fill in beautifully over time.
These face planters have a drain hole. I filled them with good quality succulent soil, then planted my succulents. To make it easier to manage the pot, I first hung the planter on a nail, so I could use both hands for the planting. For reference, the face planter measures 6.7″ high, 6.5″ wide, 4.35″ deep. The planting space is 5.1″ x 4.35″. I felt the planting space for the roots was a good size for healthy growth.
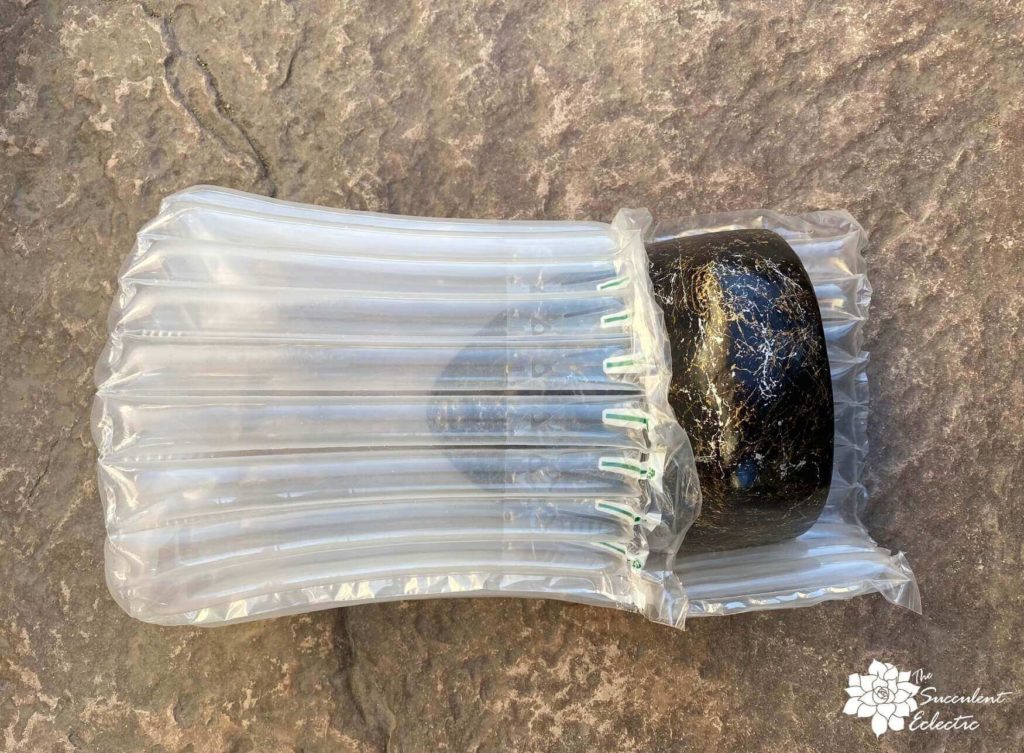
You can find so many different styles of face planters for your succulents! By all means, check out the many wonderful face planters and head planters on Amazon. But I would also highly recommend checking our Elena’s Etsy Shop Head Planters. The quality is exceptional. And I was so impressed with the heavy-duty air pillow protection that perfectly fits the cement planter. This is made from sturdy plastic and perfectly protected the wall planter in shipment. I promise – you won’t be disappointed!
How to Plant a Head Planter
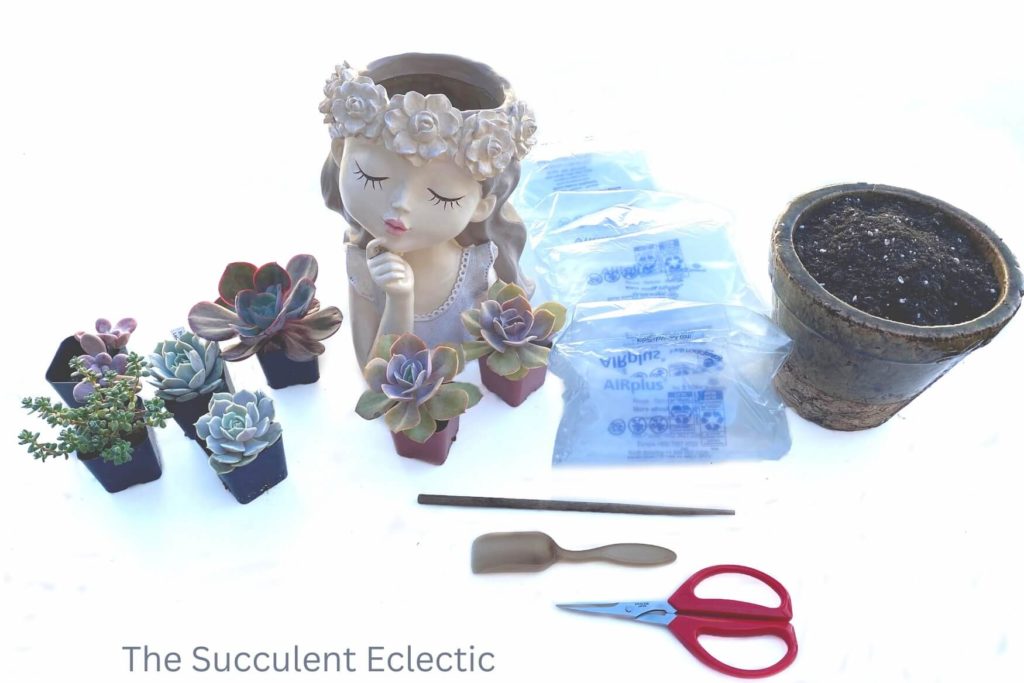
I really like this lovely lady head planter. But do you see how her soft, refined appeal would never work with the brazen colors and lines of the Tradescantia? For this, I chose rosette succulents in pastel shades that complemented the planter. I also needed succulent soil, clippers, a small scoop, and a wooden chopstick for getting the plants exactly where I wanted them. And, of course, air bags. Air pillows? You know, those air sack things that are used in packaging fragile things for shipping. Why? Read on…
Filling Excess Space in the Head Planter
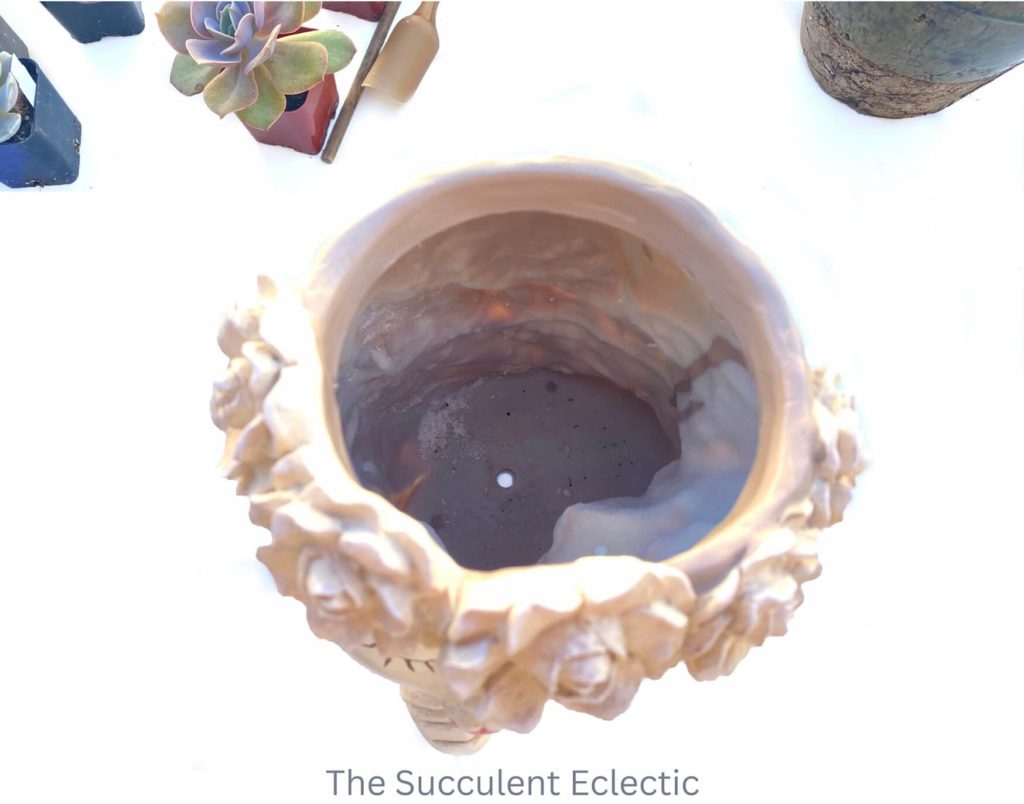
This sweet head planter measures 10.6″ high, 6.5″ wide, and 7.3″D. The full height is open inside and can hold soil and roots. For most plants, this is terrific root room. But for the succulents I chose, all that space would hold soil and water but no roots. My shallow-rooted Echeveria and Pachyphytum would never reach their roots so far down. So that would allow excess water to be held by the soil, risking eventual root rot. I want to enjoy these succulents for a long and healthy time! So, I filled up the lower portion of the pot with a lightweight, inorganic mass that would still allow water to drain out, yet would take up a lot of space so I didn’t have to fill it with soil. Makes sense? You could use styrofoam peanuts to do the same.
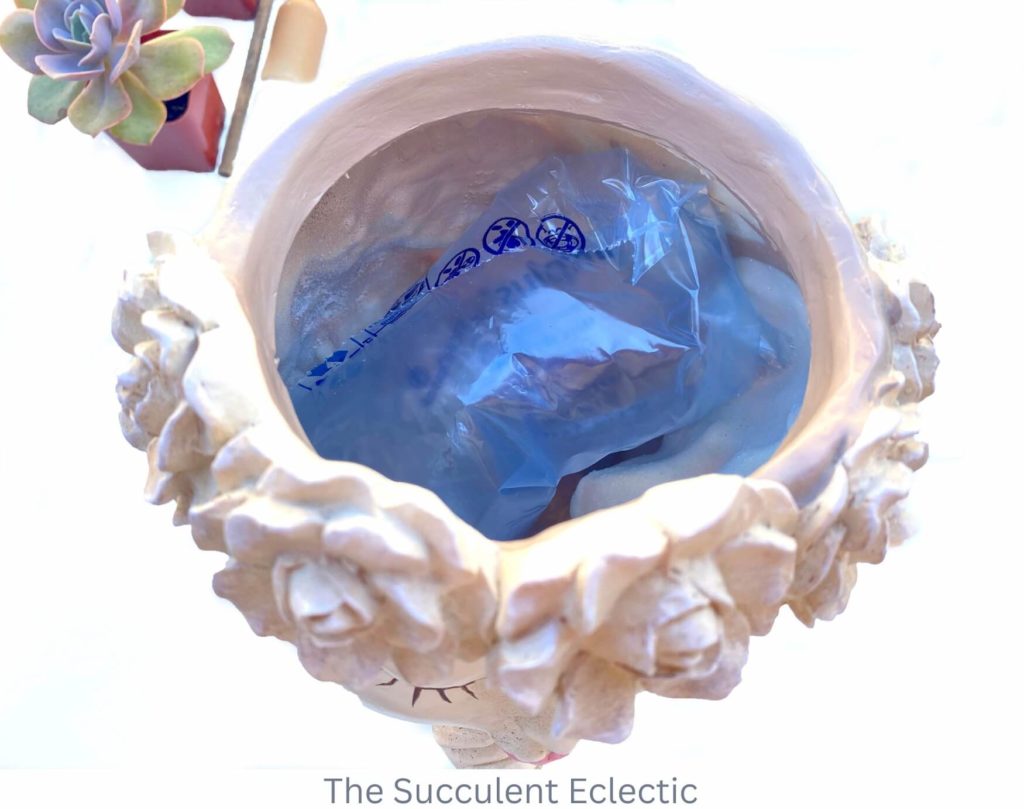
By filling the excess space in the head planter with something lightweight and inorganic, I save money on the soil, save weight, and ensure the space-user never decomposes.
Preparing Succulents for Planting a Head Planter
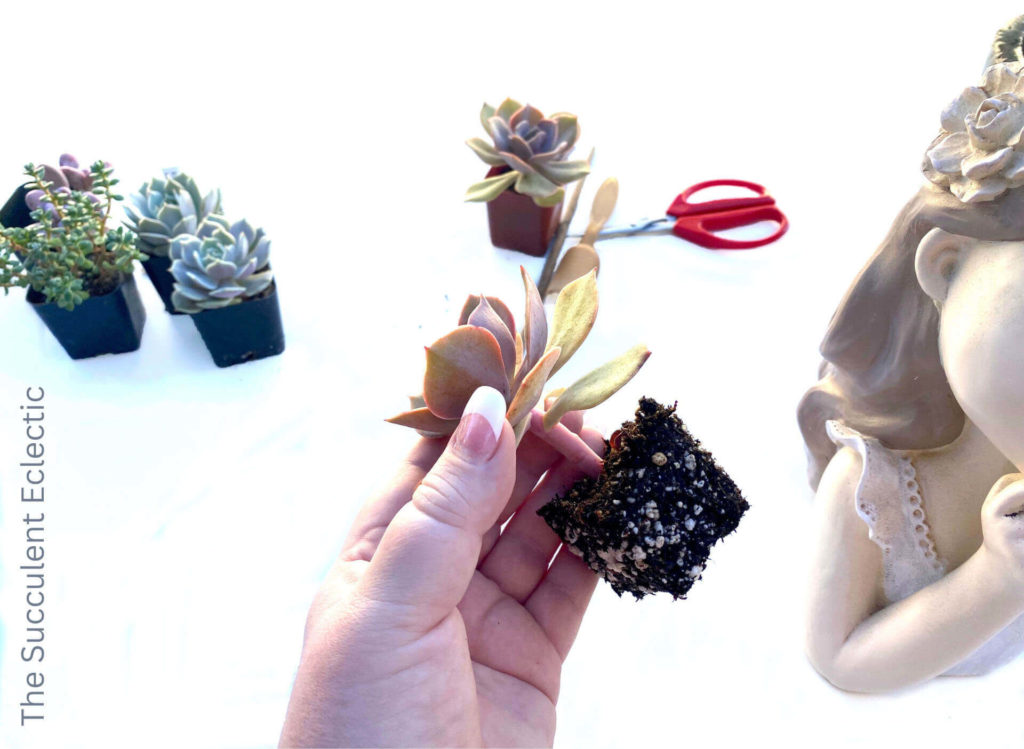
Preparing succulents for planting is the same whether you choose a head planter or a conventional pot. First, slip the plant out of the nursery pot. The soil and root ball will maintain the shape of the nursery pot.
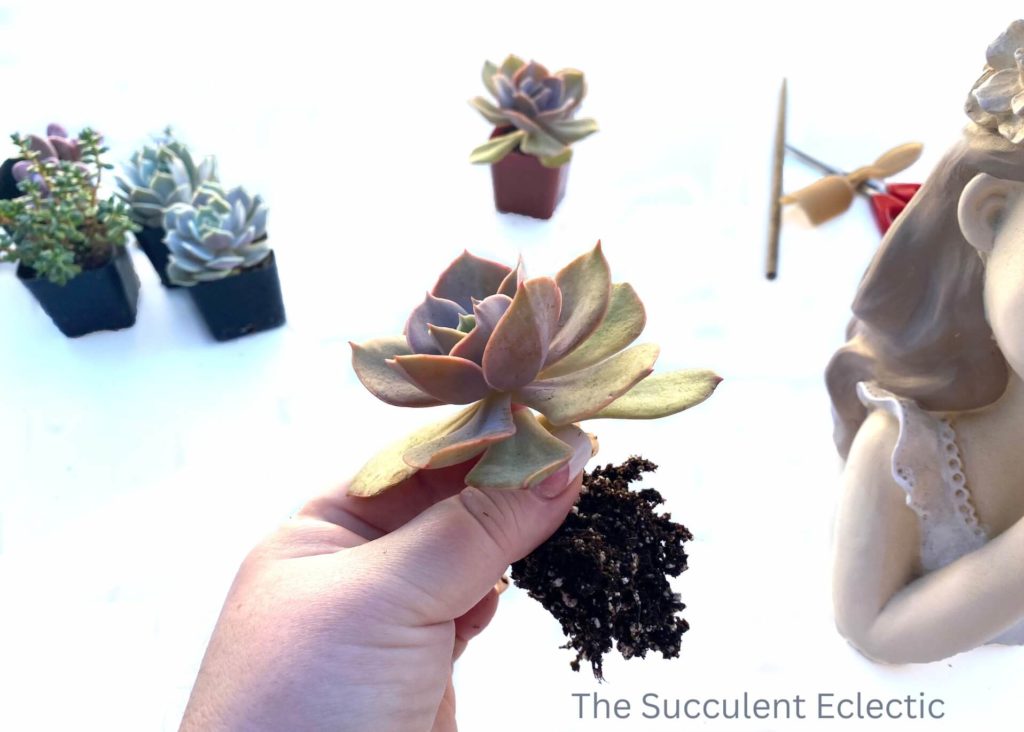
Gently massage the root ball, releasing excess soil, and loosening the roots. This does two things:
- The roots can now spread out and down, for healthier development.
- Getting rid of the excess soil lets you plant the succulents closer together! 🙂
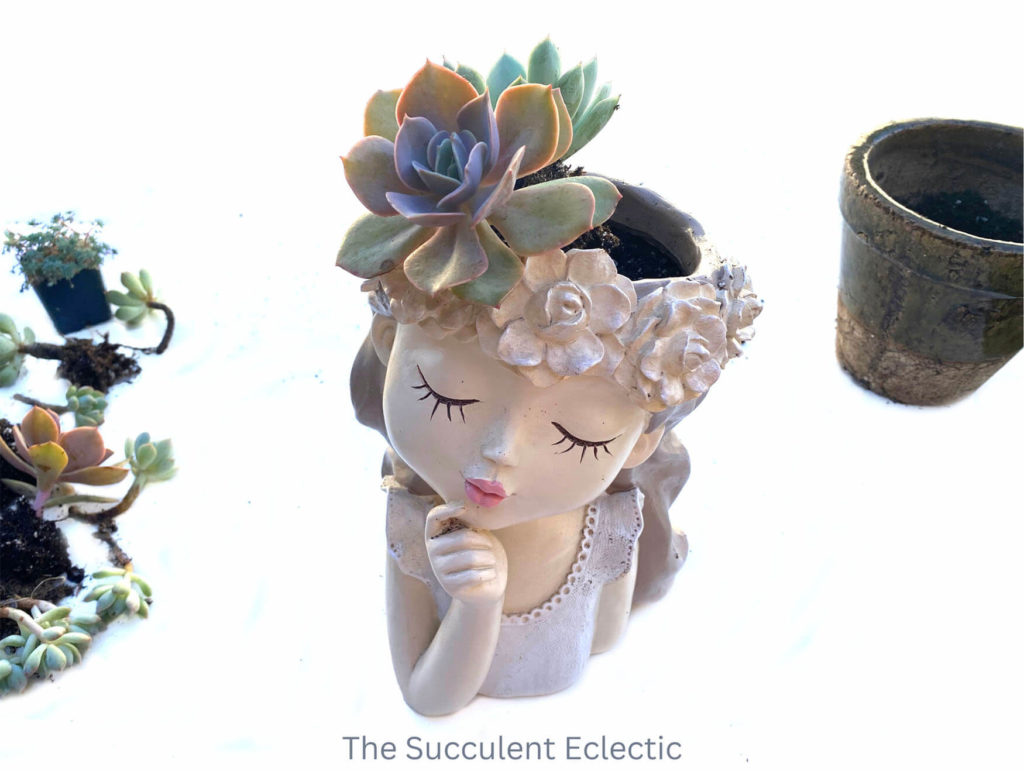
As I planted the head planter, I started with the succulents at an angle. This way, the rosettes sort of leaned over her headband, as if they were a part of it. I did this all the way around the pot. Then, the row of succulents planted inside this row faced upright. That way, from every angle, you see plants rather than the stems of plants or the sides of the rosettes. Not to worry the plants don’t mind being set at an angle like this.
Finished Planting the Head Planter? Not Quite
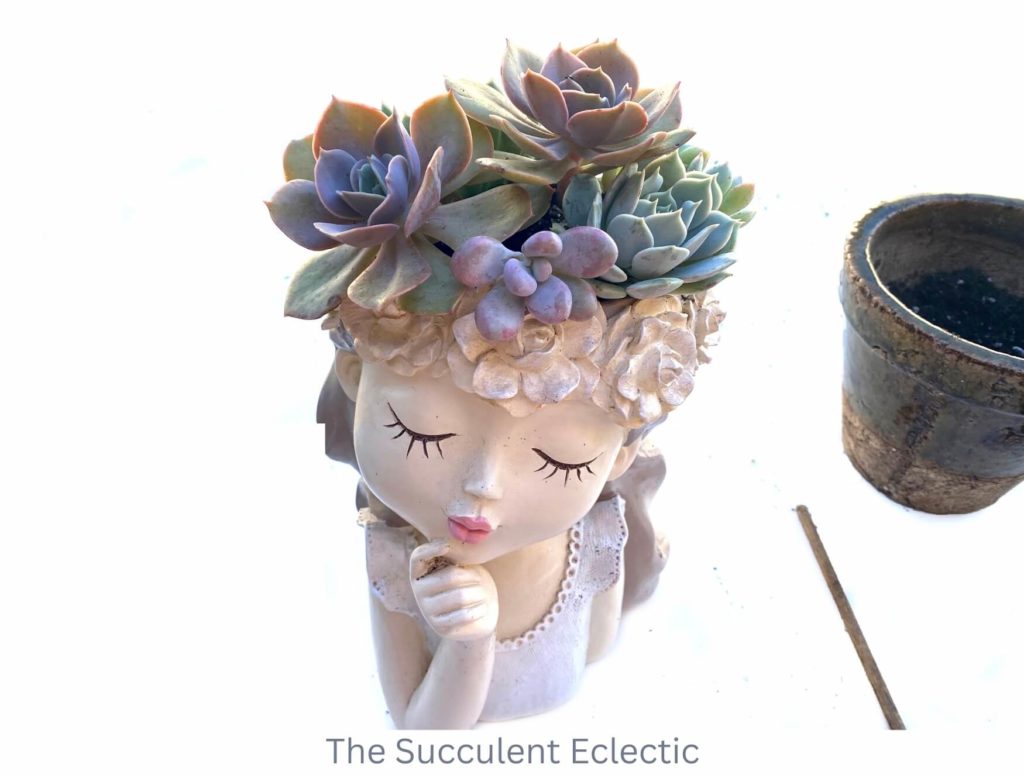
As you can see, I used several rosette succulents for this sweet faced head planter. And I liked the effect, but I thought I could make it better.
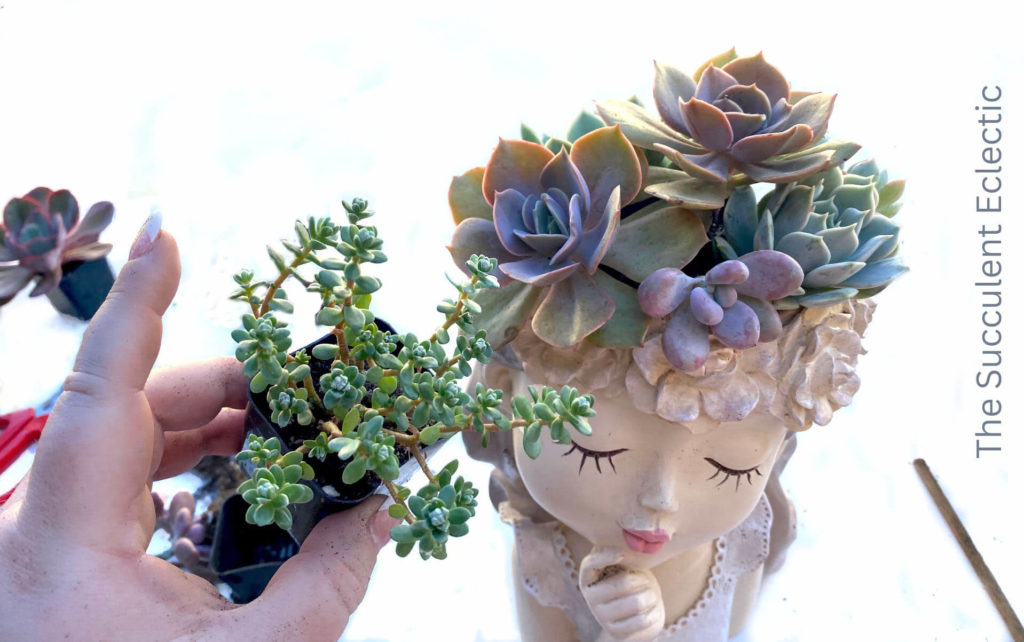
I had also picked up a couple of pots of Sedum oaxacanum, a sage green succulent with slender stems. I decided to divide the Sedum into individual stems. I inserted stems into the small spaces between the larger succulents. I wanted them to look sort of like baby’s breath in a floral arrangement. The wooden chopstick came in really handy tucking the roots into the soil between the larger succulents.
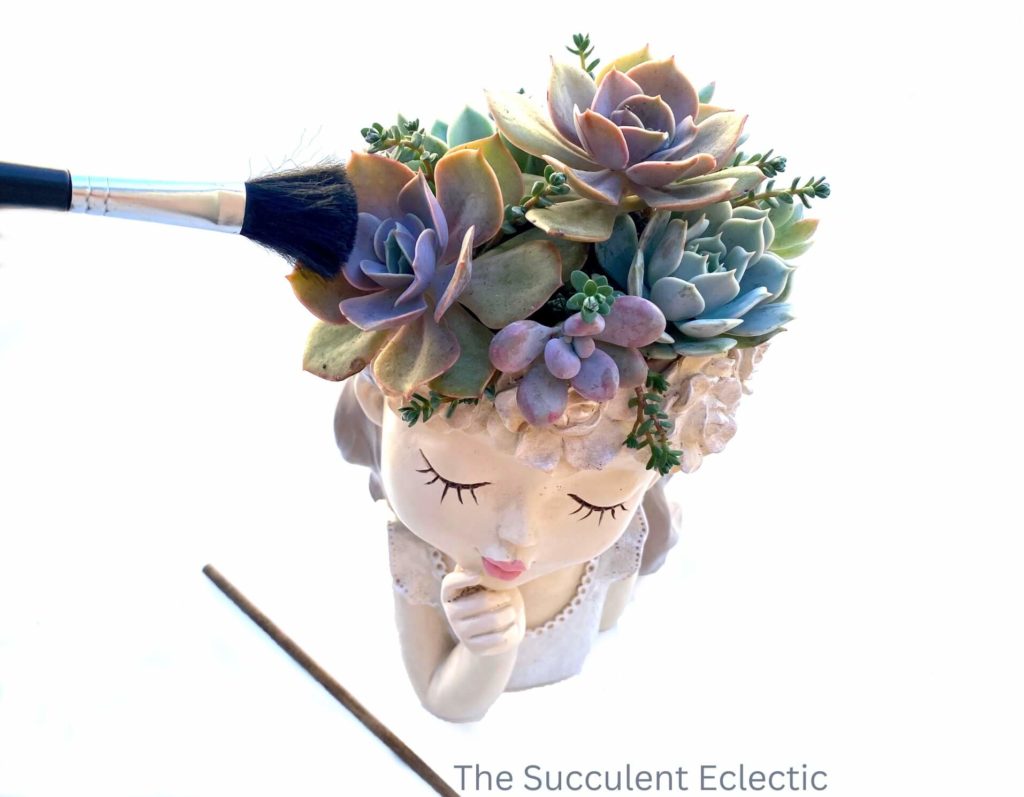
Finally, I brushed the loose soil from the succulents and planters using the soft-bristle brush from my succulent tool set.
Succulent Head Planter Review and Care
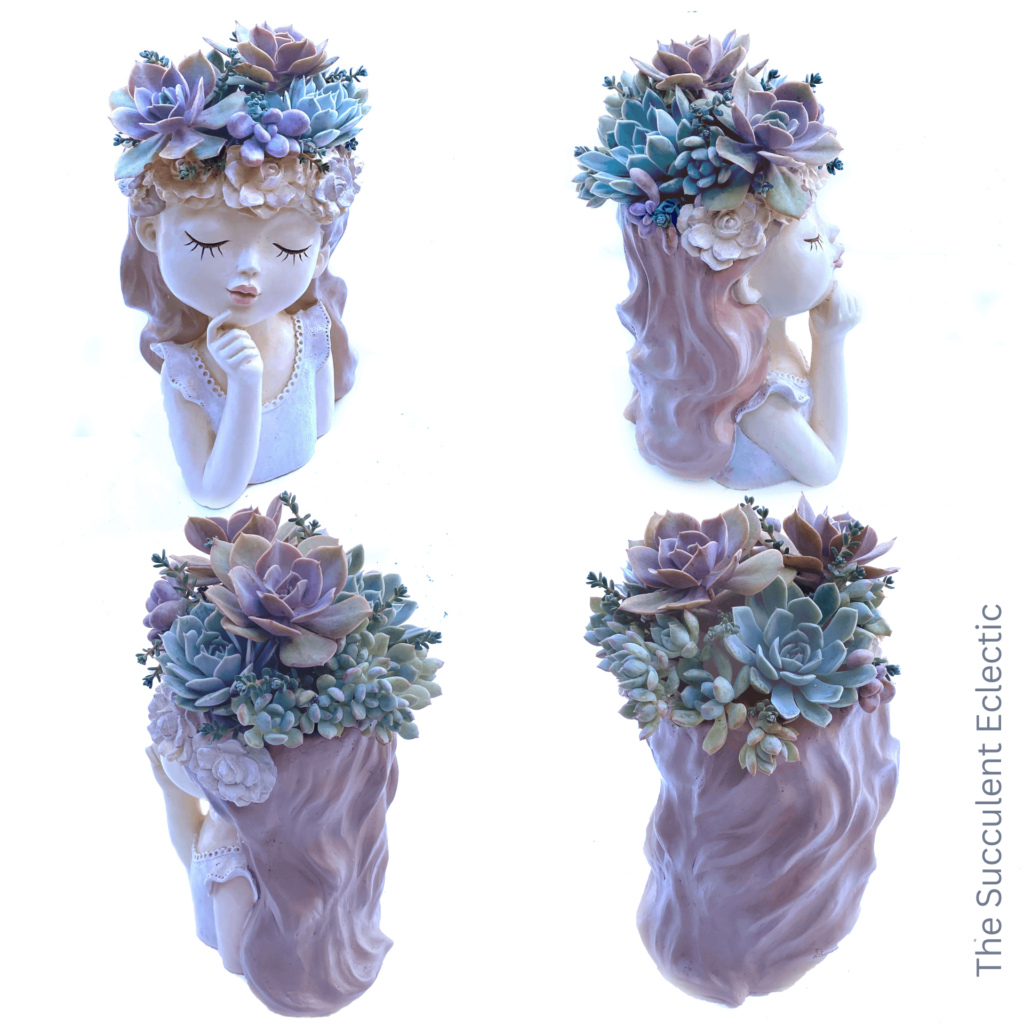
Any time you are planting a succulent arrangement in a free-standing pot, you want it to look terrific from all angles. So continue to turn your head planter as you plant, and study it from all angles before you declare it finished. The face planters I used hang on a wall, so they will never be seen from behind. Nevertheless, I want them to look good from the side, too.
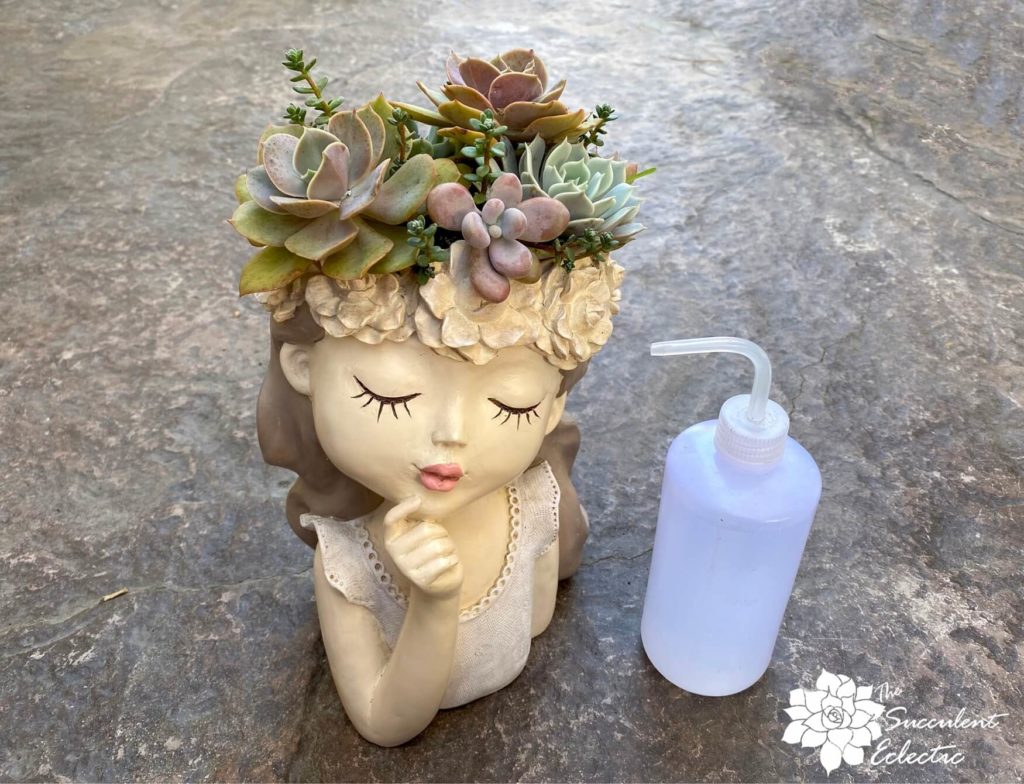
These long-necked squeeze bottles are perfect for watering my close-planted succulents. As always, water only when the succulents are thirsty. They will thrive in this sweet head planter for well over a year. I chose varieties that share common light requirements. Choosing plants with similar sun exposure needs is the essential point to choosing succulents for an arrangement.
Planting this lady head planter, I used:
- Echeveria ‘Lola’
- Echeveria ‘Lolita’
- Echeveria ‘Briar Rose’
- Echeveria prolificans
- Pachyphytum oviferum
- Sedum oaxacanum
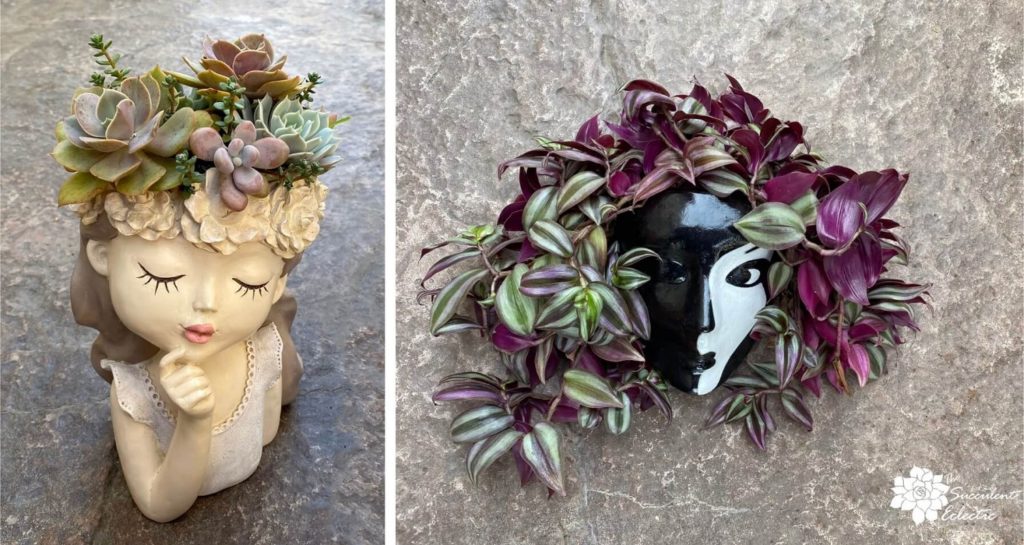
So there you have it! All about planting face planters and head planters. As you can see, the planters come in a wide range of colors and styles. Which will you choose? I’d love to hear if you have any questions, or what succulents you would use in my planters! Please take a moment to leave a comment and let me know!
‘Til next time, have fun with your succulents!

P.S. For more succulent care information, please subscribe to The Succulent Eclectic! I’ll send you my FREE e-course 7 Steps to Succulent Success!
P.P.S. Why not join my Facebook Group for succulent lovers? We talk about succulent care, propagation, succulent identification, and design. It’s a warm and welcoming group that would love to meet you!
