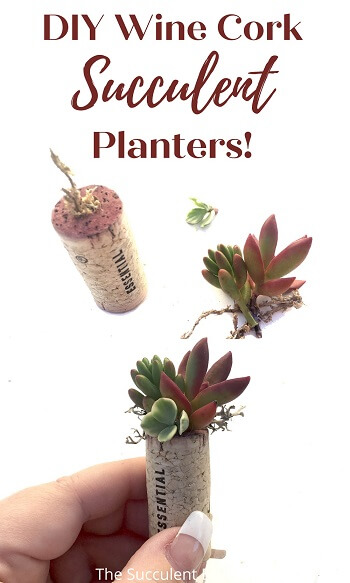
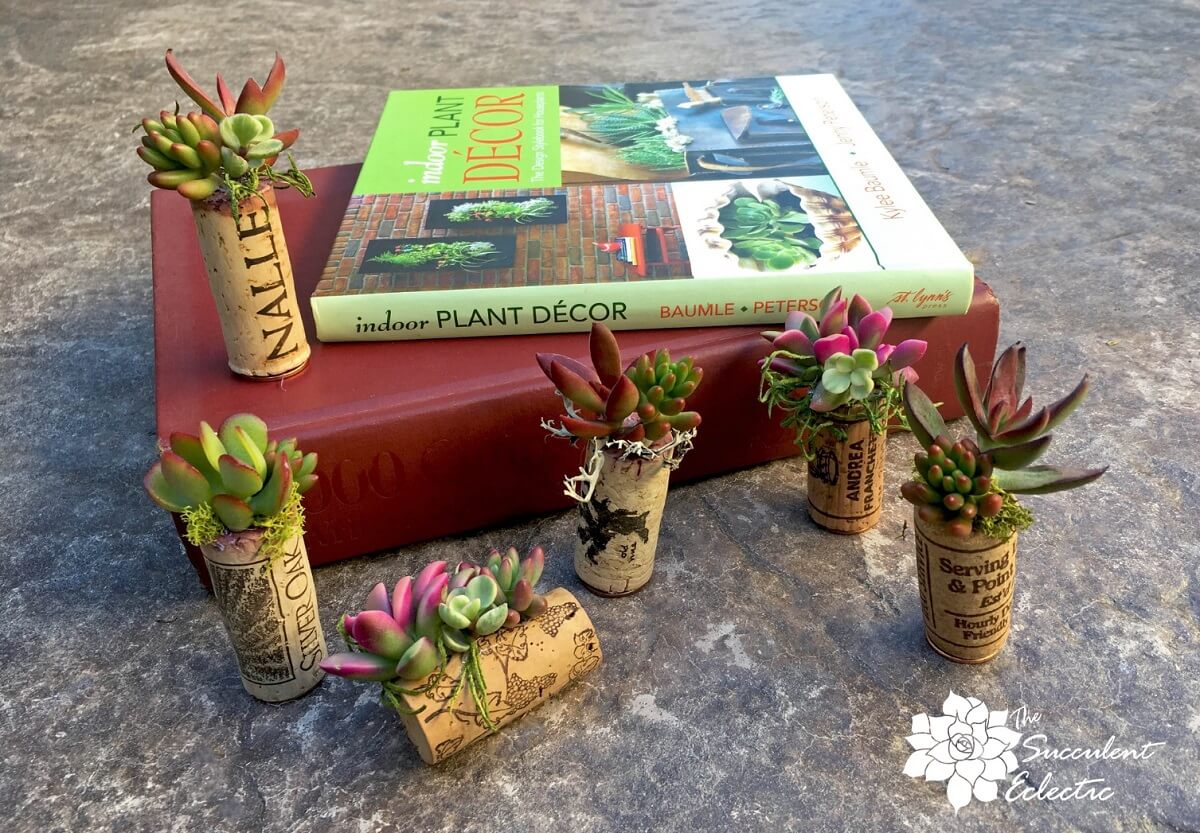
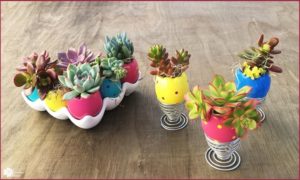
Whether you are over-wintering succulents indoors and looking for ways to enjoy gardening inside, or you are pruning and re-shaping your succulents outdoors and have extra cuttings to play with, now is the perfect time for these mini DIY succulent planters! These adorable succulent wine corks were inspired by a project in Indoor Plant Decor – The Design Stylebook for Houseplants by Kylee Baumle and Jenny Peterson. Turn these charming little succulent wine cork planters into succulent magnets, or enjoy them as mini succulent planters. Either way, they give you a fun way to add an unexpected pop of life and color to indoor spots. Perfect for teacher’s gifts, on the fridge, or on a loved one’s desk at work, these are easy to make, to give and to care for. Let me show you how to make succulent cork magnets.
How to Make Succulent Cork Magnets
In this Post We'll Cover:
{Please note, some links in this post may be affiliate links to sites that pay me a small commission if you click on the link and make a purchase. This commission is at absolutely no cost to you. I only recommend products and companies that I have worked with and truly love! ~Kat}
DIY Succulent Magnets – Gather Supplies
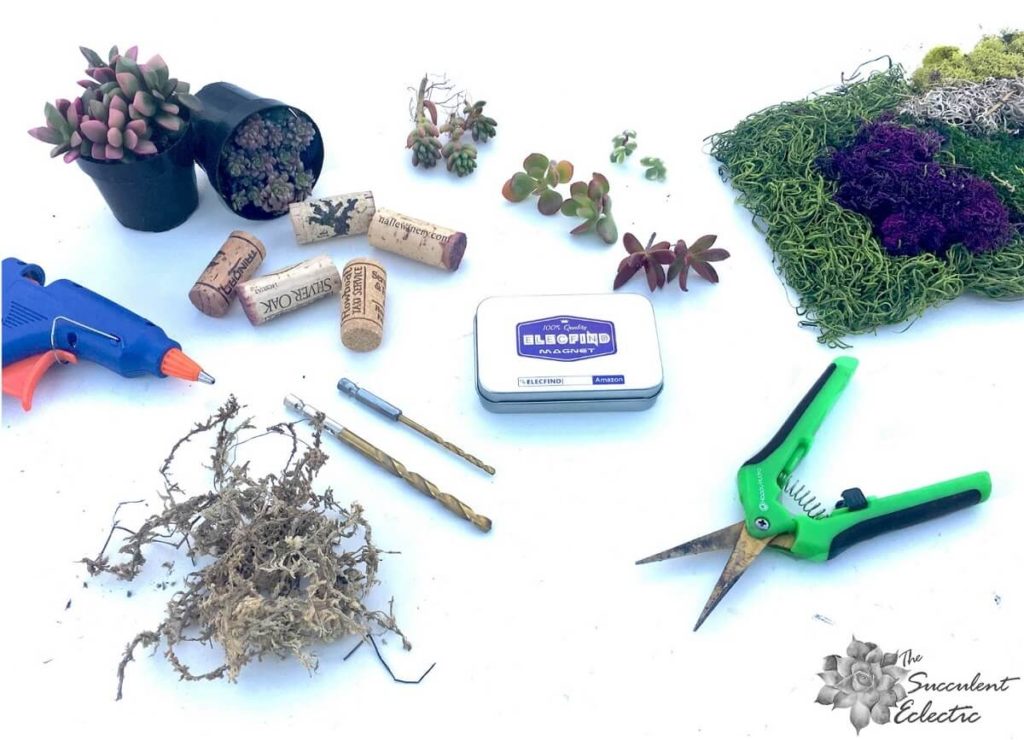
To make your own succulent cork magnets, you will need:
Sphagnum moss (I love this kind here)
Hot glue sticks
Electric drill or Exacto knife or corkscrew
Drill bits (one tiny, and one 1/4 inch)
Small magnets (I use these)
Pennies, 1 for each cork planter
Fine scissors for cuttings (these are my favorites)
Decorative moss (this is a great “sampler” pack!)
Wood skewer (not pictured, but crucial!)
Drill Wine Cork for Planting
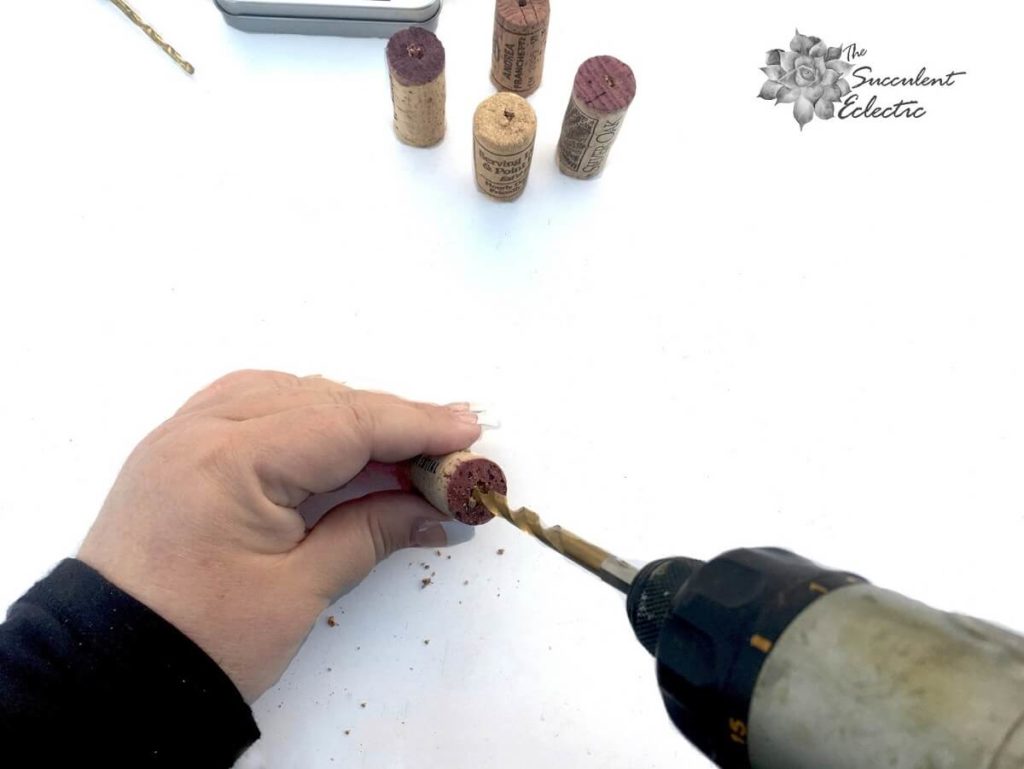
We don’t drink enough wine to save up corks, but it would certainly be a great excuse to start! 🙂 I bought these corks on Amazon, and they come in a fun assortment of styles and designs. You might also want to ask friends or neighbors to save their corks for you. Before you drill your hole, take a look at the cork, and decide which end you want to make be “up” — that is where you will drill the hole and “plant” the succulents. Whether you use a drill, an Exacto knife or a corkscrew, go slowly and take care. I started with a tiny drill bit for a pilot hole. Then I used a 1/4 inch bit for the larger hole. Make the hole about 1 – 1.5″ deep, taking care not to drill through the end.
Add Moss to Succulent Cork Planter
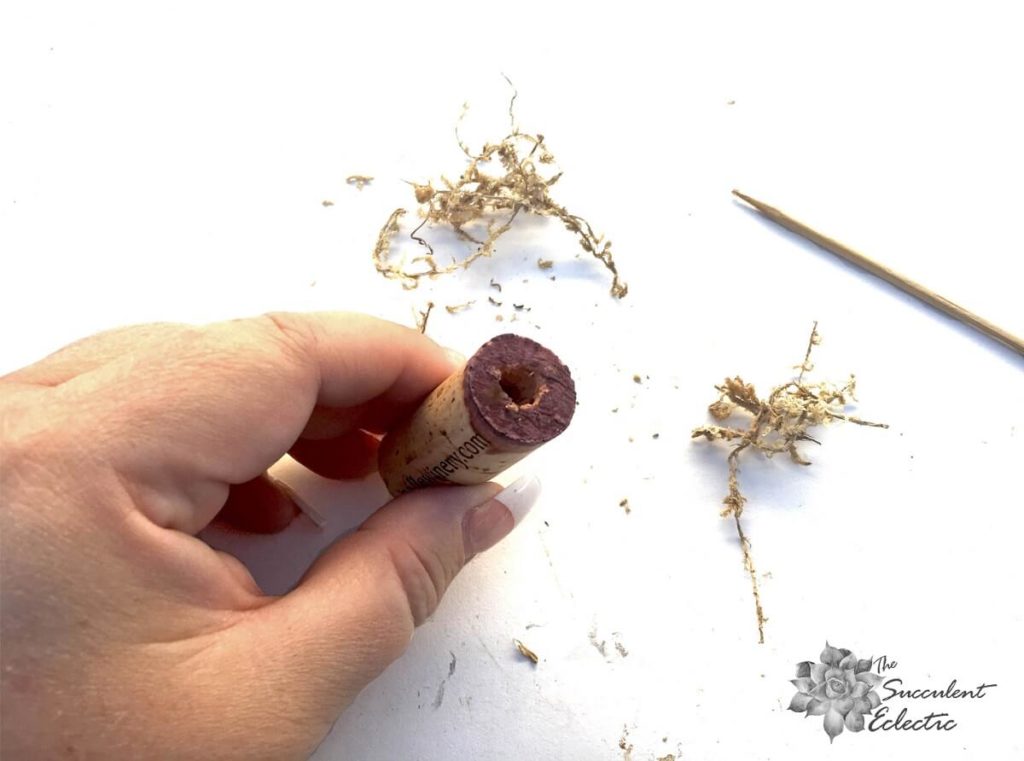
You may have seen succulent corks done by adding a tiny bit of soil to the cork. That certainly works. But with such tiny cuttings and such a small space, the natural sphagnum moss works just as well. The cuttings will root into the moss and continue to grow. Using the wooden skewer, poke strands of the sphagnum moss into the hole you drilled. Don’t pack it so tight that there is no room for the stems you will add, but fill the space well.
Add Magnet to Wine Cork for Succulent Magnets
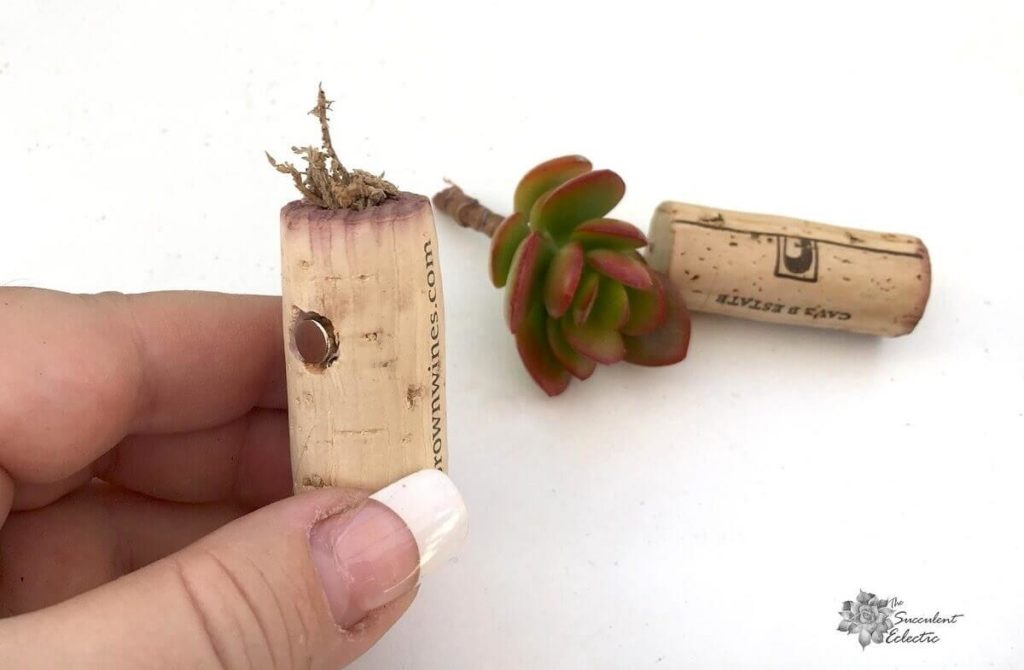
I went back and forth on which magnets to use. I decided on these strong little neodymium magnets. They are quite strong — a single magnet holds the cork planter filled with succulents easily. They don’t chip like less expensive magnets, and they are pretty! One thing I had not considered — they are strong! Yes, I thought strong was good, so I didn’t have to use 3 of the less expensive, less pretty magnets, but I did not realize they were so strong, they would cling to metal hard enough to break the glue bond! The first time I attached a fully planted succulent magnet to the fridge, the cork came off the magnet when I tried to remove it from the fridge.
Turns out, there is an easy solution. I used the drill bit to slowly drill a hole just a bit larger in diameter than the magnet, and just a bit deeper than its depth. Then I added a small amount of hot glue and set the magnet in the glue, flush with the level of the cork. This way, the glue has much more surface area to get a grip on the magnet. It works perfectly! And now, 1 is still strong enough to hold a succulent magnet on the fridge, but there is no problem removing it. Easy peasy!
Now it is time to “plant” succulents in the wine cork planter!
Choose Succulent Cuttings for Wine Cork Planter
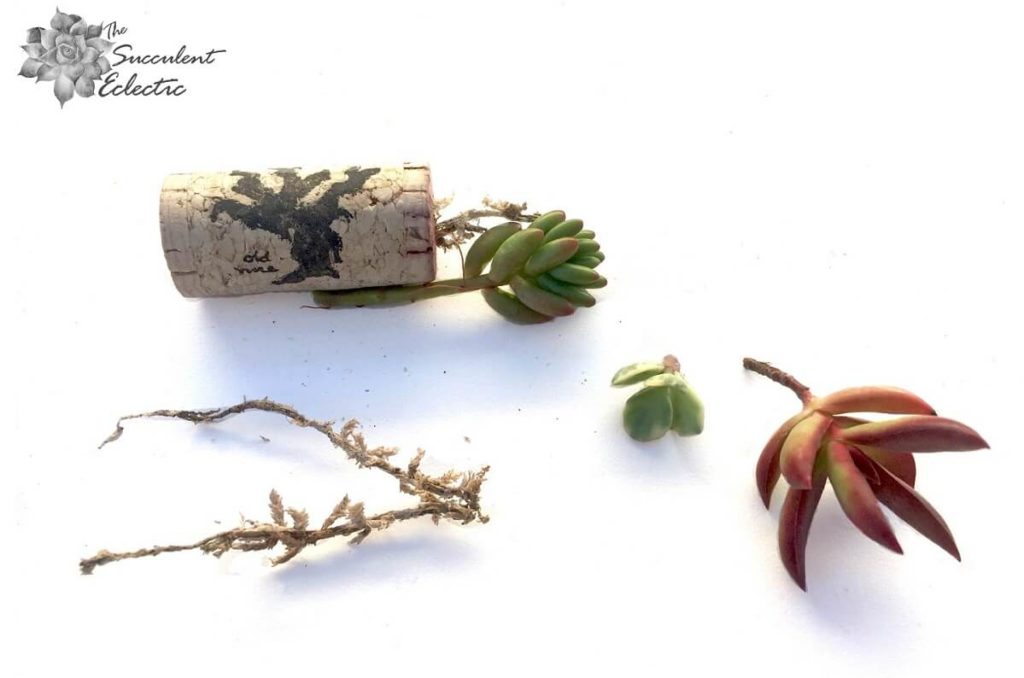
Yes, these succulent cork planters are small, but they’re not tiny. When I first tried making these, I was overly concerned with the small size of the corks, and I chose such tiny succulent cuttings that they just didn’t look right. I wish I had taken a picture to show you. I played around with it a while until I stumbled onto the solution. The rule of thirds is a wonderful guideline in photography and floral design, and as it happens, it works for these succulent magnets too! If the height of your succulents is about 1/2 the height of the cork, they will be 1/3 of the overall height of the finished planter. And they will look just right. Simple!
You can take succulent cuttings from your garden or order them online. I always like using a few different succulents that contrast and compliment one another. Here, I used a colorful sedum with beautiful red stress coloring. I paired it with some Sedum rubrotinctum that has red tips to its jellybean-like leaves, and a bit of Portulacaria afra ‘Variegata’ for a bright, variegated contrast.
Planting Succulent Cork Planter
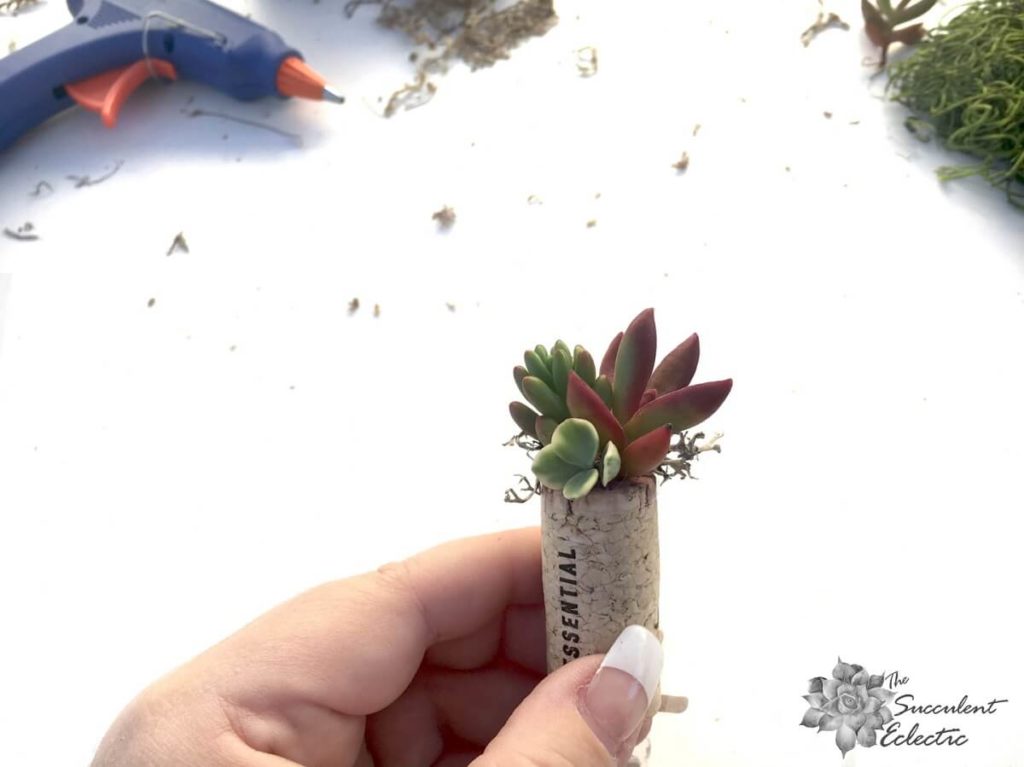
Play with the arrangement of your succulents until you are satisfied. Be sure to note the design of the cork, if you want 1 side to face front. Using your hot glue, glue the stems inside the cork, where they will insert through the moss you stuffed inside. I know — its hard to believe this doesn’t hurt the plants. I know — I used to cringe when I thought of it, and it was hard to do at first. But succulents are incredibly tough plants. The skin that protects their precious stores of moisture is more than equal to hot glue. If you peel the glue from the plant, you will see it doesn’t leave a trace of a mark. And the succulents root right through the glue — they truly are amazing!
Now add just a whisper of the decorative moss. Remember, it is to set off the succulents — not to compete. I was delighted with this sampler pack of several colors and textures of decorative moss. I just knew I would use the magenta moss — the color is amazing! But when I tried it, the moss became the focal point — not what I wanted at all. Instead, the taupe moss was the perfect accent for this succulent cork, don’t you think?
Add a Penny to Each Succulent Magnet
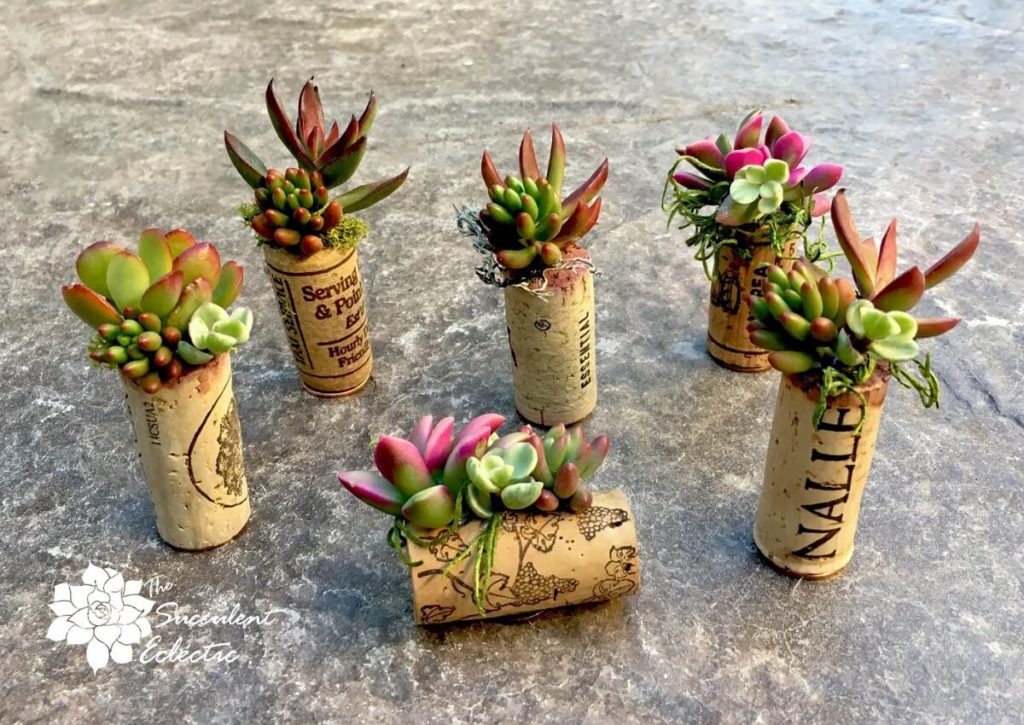
Aren’t these succulent magnets crazy cute? I wound up using 3 types of the decorative moss that came in the sampler package for these 6 planters. I like them as miniature succulent cork planters, standing on their own like this. To make them stand straight, tall and sturdy, hot glue a penny to the bottom of each cork. Then, attach to the fridge, or stand them on a bookcase, or the desk at work, maybe attach them to the lamp base at work? There are so many possibilities!
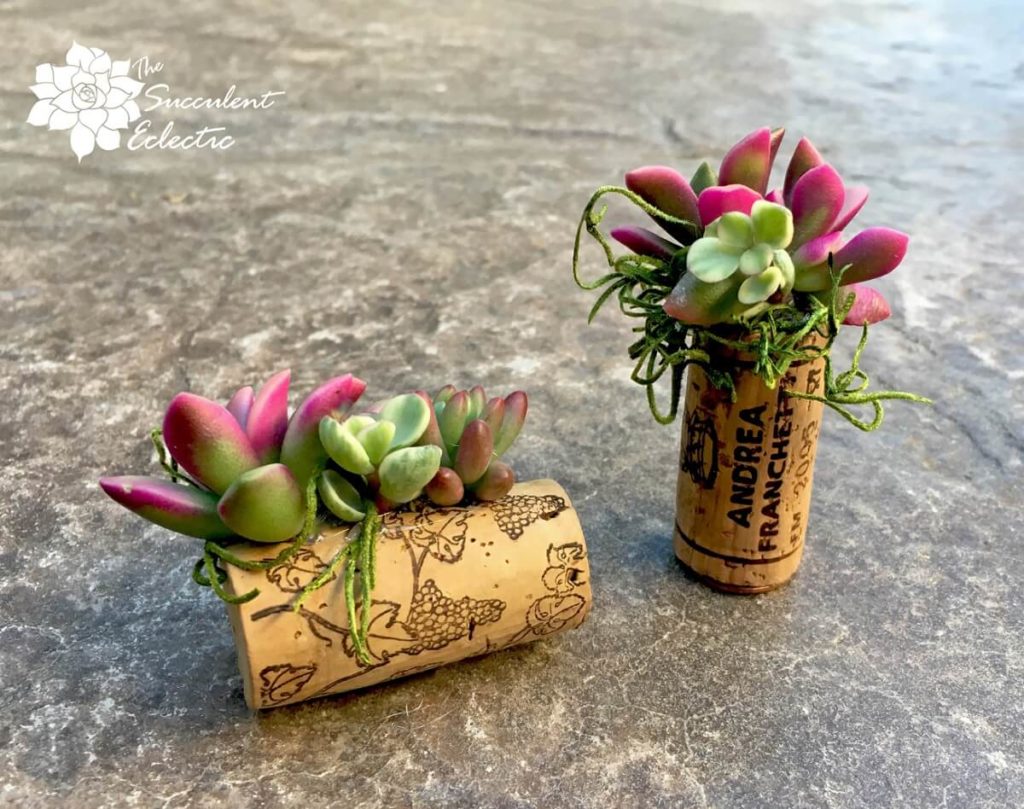
For the cork that I planted on its side, I used the blade of a utility knife to cut a slice from the side of the cork. Then I added the moss and cuttings as described above. The magnet and the penny also worked just as above.
I am going to try gluing some floral wire to the back of mine to make them hang nicely from the Christmas tree! Living succulents for natural Christmas ornaments — won’t these be perfect? Stay tuned! I will add photos of these on my tree!
(Update)
Turns out, these succulent cork planters are super cute as Christmas ornaments! Check it out:
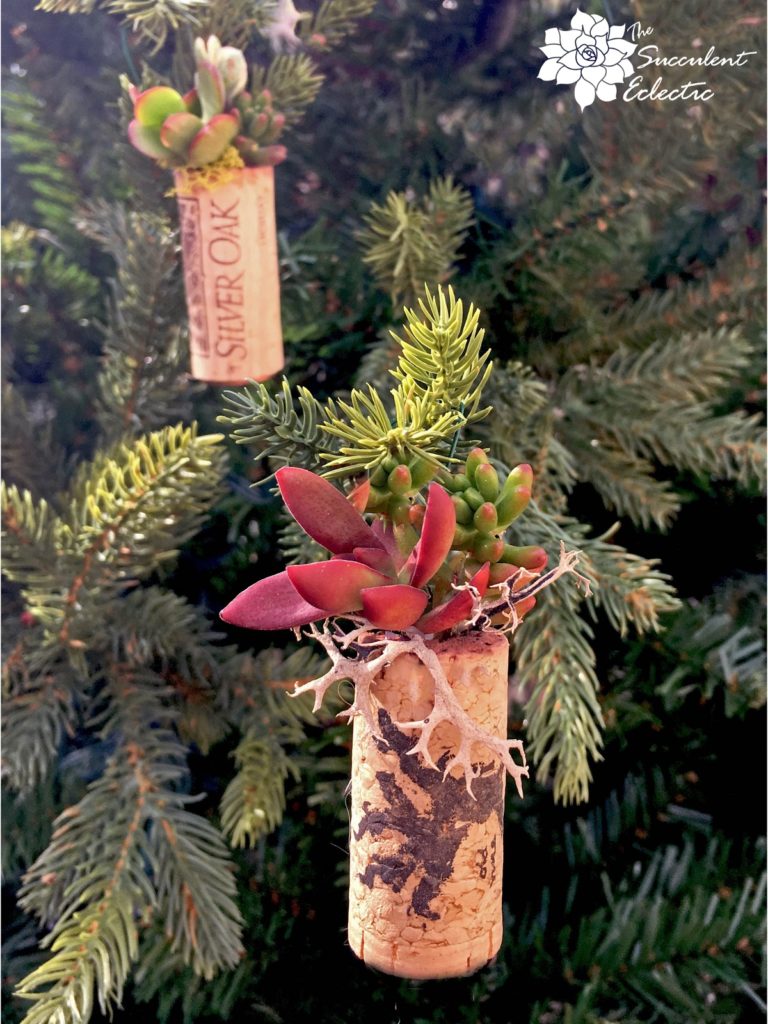
I just used a bead of hot glue to attach floral wire to the back of the succulent cork, and voila!
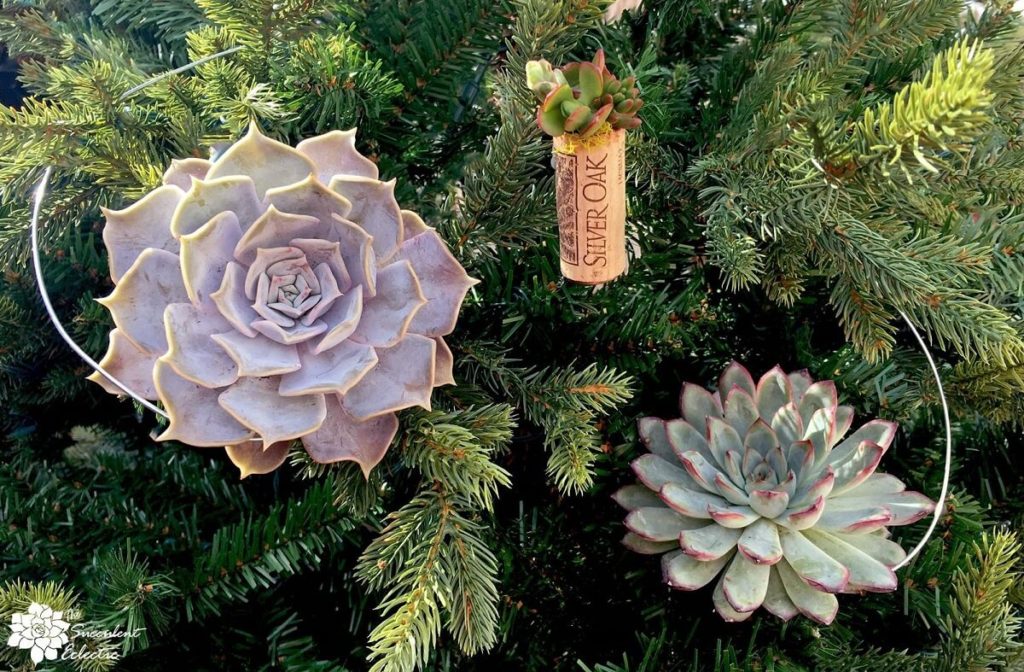
Here is my blog post for the DIY hanging succulent Christmas ornaments. Aren’t they pretty together?
The bright pink, cream and lime green succulents I used here are the jewel-like Anacampseros ‘Sunrise’. They remain just a few inches tall and form low, bright swaths of color. The pink-tipped Sedum rubrotinctum ‘Aurora’ and Portulacaria afra ‘Variegata’ compliment and accent the Anacampseros perfectly.
Caring for Succulent Magnets
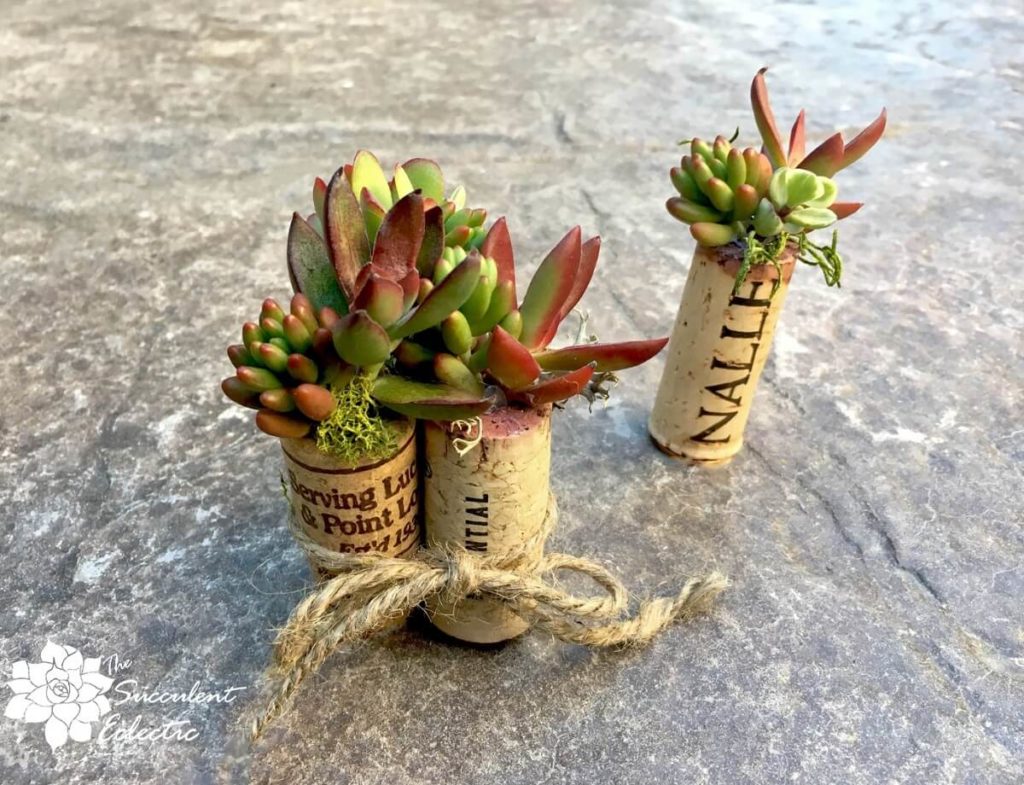
Here, I tied 3 succulent magnets together with a bit of jute twine. I think this would be a great presentation for a gift. What do you think? Wouldn’t this be fun to give (or get!) as a gift?
The succulents will root into the moss and continue to grow in their tiny planters for a good while. Certainly for several months. Provide bright light, indoors or out, but not direct sun. Simply spray them with water once a week to keep them healthy and happy. In time, you will see they need to be potted up in order to grow larger. Then, just plant as you normally would. They will grow larger, and eventually be able to supply cuttings for more succulent corks!
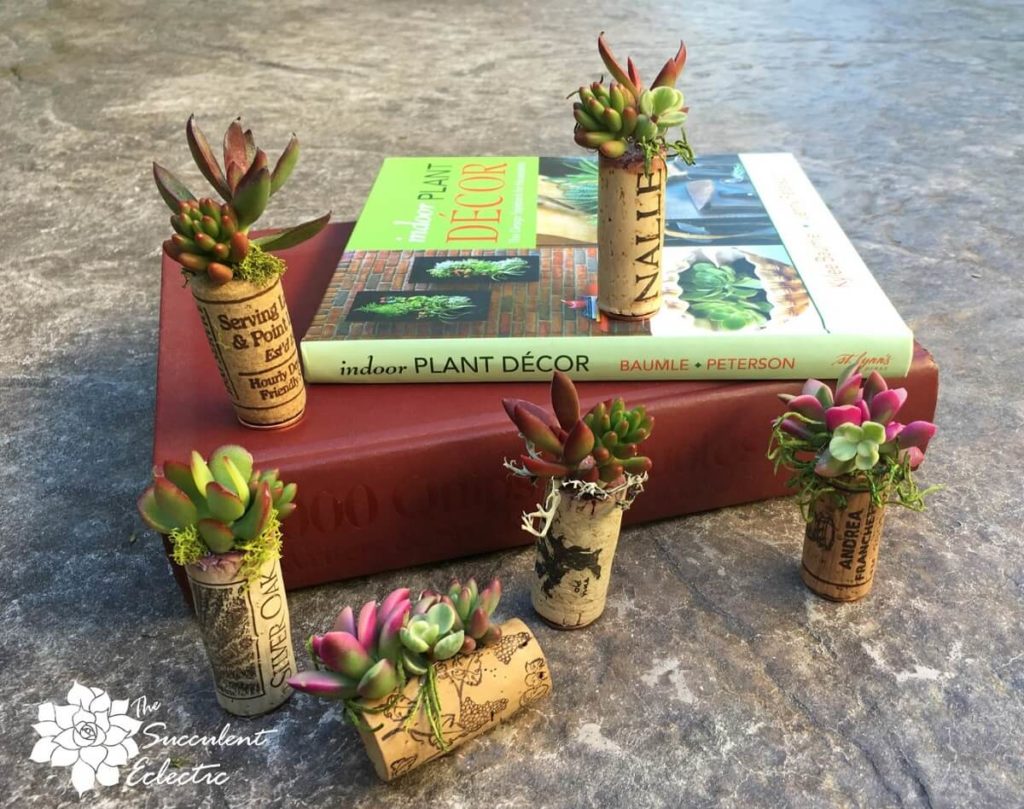
Are you as charmed by these succulent corks as I am? I highly recommend Indoor Plant Decor – The Design Stylebook for Houseplants by Kylee Baumle and Jenny Peterson. It is well written, beautifully illustrated with lush photographs and one of the most inspiring and truly useful books I have read on houseplant design. This is not about what species to use in what lighting — there are a zillion books that cover that. Instead, this is a terrific stylebook showing and explaining what types of plants and planters incorporate well into what styles of indoor decor and locations. There are many clever projects like these succulent magnets detailed and explained in the book, too.
So what do you think? Will you be making these fun succulent magnets for your home? Will you give them as gifts or use them to decorate your Christmas tree? Please take a moment and leave a comment to let me know! I love it when you include me in your plans!
Have fun!

P.S. For more succulent DIYs as well as succulent care, please subscribe to The Succulent Eclectic! You will also receive my FREE course, 7 Steps to Succulent Success!
P.P.S. Why not join my Facebook Group for succulent-lovers? We talk succulent care, propagation, identification and design. It’s a warm and welcoming group that would love to meet you!
