When you love succulents as much as I do, you are constantly on the lookout for new ways to display them. I thought a simple and inexpensive project upcycling tins cans to turn them into DIY succulent planters would be a fun project. Wouldn’t these be great for teacher appreciation gifts? Maybe for Mother’s Day? Or even inexpensive wedding centerpieces or for a garden party! Let me show you how I made these cute tin can mossy pots!
DIY Succulent Planters – Upcycling Tin Cans
In this Post We'll Cover:
{Please note, some links in this post may be affiliate links to sites that pay me a small commission if you click on the link and make a purchase. This commission is at absolutely no cost to you. I only recommend products and companies that I have worked with and truly love! ~Kat}
How to Make Tin Can Planter Mossy Pots
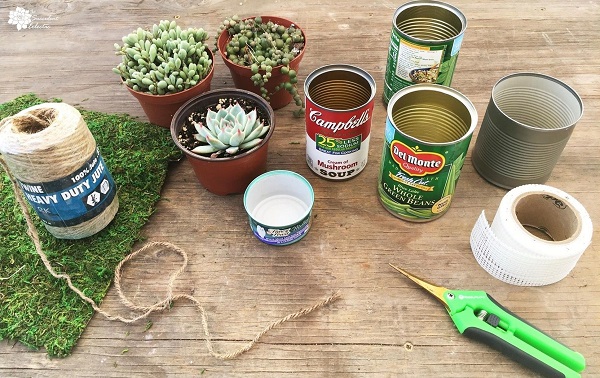
To make these DIY succulent planters, you will need:
Empty tin cans, use different sizes
Sheet moss (I love this moss with the mesh back!)
Scissors
Safety can opener (most can openers)
Drill with all-purpose bit
Decorative pebbles for top dressing
Remove Sharp Edged from Your Tin Cans
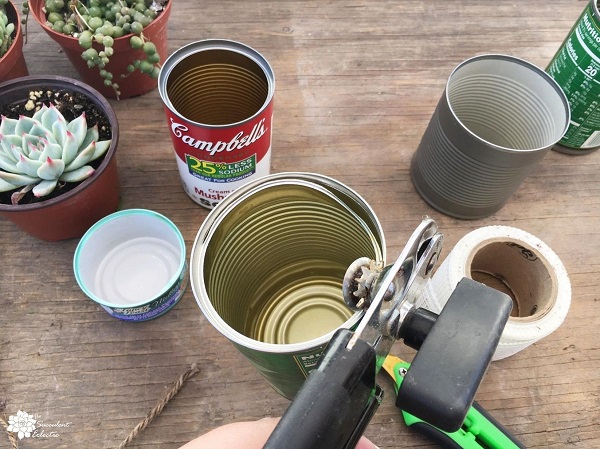
These DIY succulent planters are such a great upcycling project to do with kids! Start with empty tin cans from dinner or from the neighbors. Whether you are doing this project with kids, or to give as gifts, or to keep for yourself, let’s get rid of the sharp edges on your tin cans. The handy pull-tops leave a razor-sharp edge that you want to fix. Use your safety can opener to cut away the ring of metal left by the pull-top. Basically, it looks just like you are opening the can again. The can opener removes the sharp ring and leaves a smooth rim behind. Sweet!
Add Drainage Holes to Your Tin Can Planters
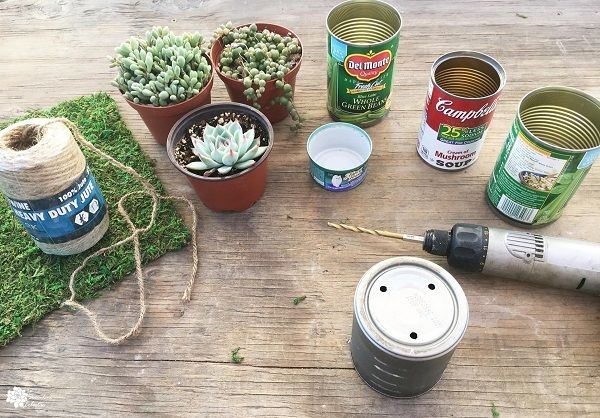
You won’t need a specialty drill bit to drill drainage holes for your tin can planters. A small, multi-purpose bit will do the job well. I added three small holes for my medium cans, a single hole for the very small one, and five for the largest.
Prepare Drainage for Tin Can Planters
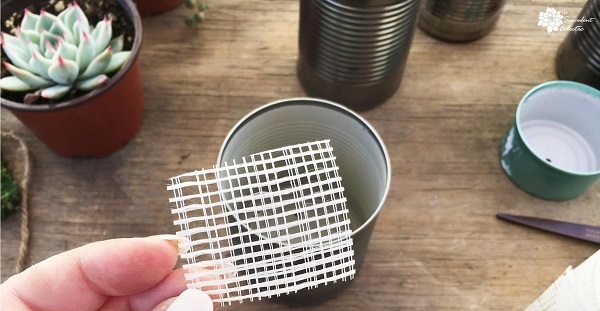
You need to block the drainage holes with something to keep the soil inside the planter. But it must let the water pass through. You can use screen or a coffee filter for this. I like to use this drywall mesh tape. I cut it to the size I need, and the light adhesive helps it to stay right where I want it. Then, the roll fits right into my succulent tool bag.
Cut Sheet Moss to Fit Tin Can Planters
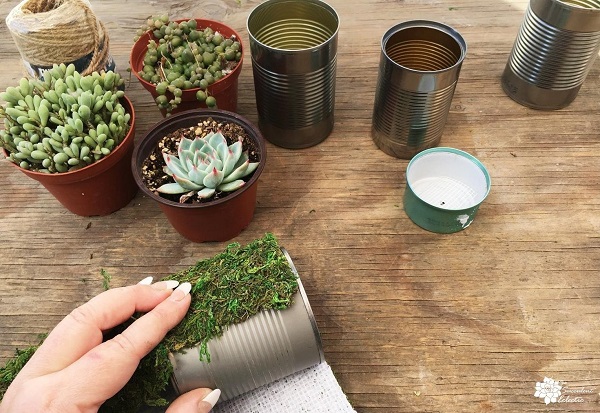
Cut the sheet moss to fit your tin can planters. I like having the slim, silver rim showing at the top. It is just a small design detail. Using the mesh-backed sheet moss I found for making Kokedama balls made this step a little easier. I just cut along the strand in the mesh, and that kept my cutting straight.
Do not attach the moss yet!
Instead, plant your tin can planters. This keeps any stray soil from getting caught in the moss. So fully plant up your tin can planters, and go ahead and water them in at this point. Now it is time to attach the moss. A single line of hot glue along the edge really attaches well to the tin can.
Add Jute Twine to Tin Can Mossy Pots
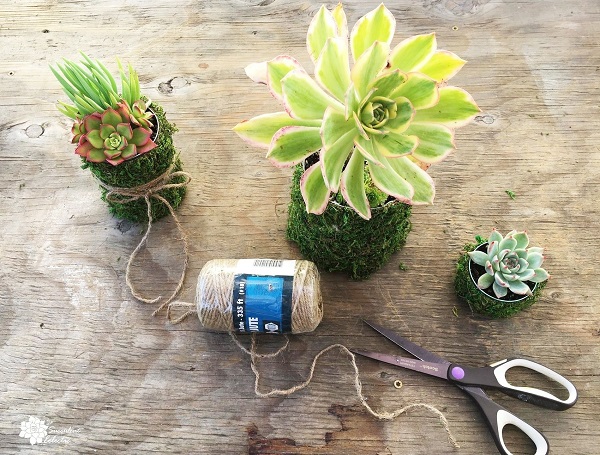
If you want to be able to re-use the moss for another project, just use the single line of hot glue. Then wrap the sheet moss around the can, and use the twine to secure it in place. Otherwise, use the hot glue to stick the free edge of the moss to the can. Then it is time to add the jute twine. Wrap it around the can a few times, and tie in a bow or a knot. I did a single line on the cat food tin can, 3 rows on the medium cans and 5 on the largest, just to keep it in visual proportion.
Add Top Dressing to Mossy Pots
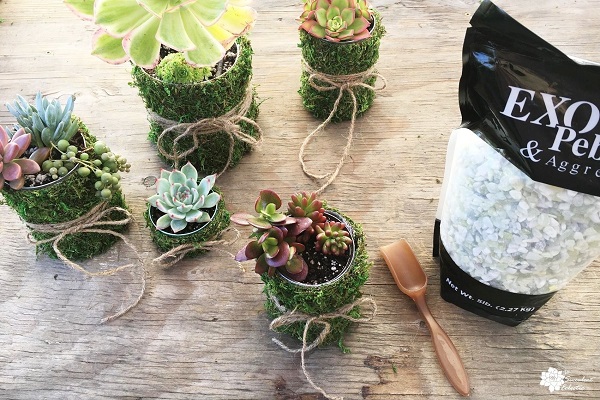
Now your tin can planters are truly mossy pots! Adding decorative pebbles to your succulent mossy pots does a few things. It keeps the soil in place, and the plants clean. It also keeps tiny insects from being able to lay their eggs in the moist, organic soil. This is an important consideration for indoor plants. It also hides the soil and pulls together the final look of your arrangement. Playing with different colored top dressing and coordinating it to your plants or the containers is a lot of fun, and somewhat addicting! I think of it as the jewelry for the outfit. It looks white in the picture, but this top dressing is actually a delicate, semi-translucent green. Lovely! The little scoop is great for getting the top dressing right where I want it, and tucked under the succulent’s leaves. It came as part of this succulent toolset that I use all the time.
Tin Can Mossy Pots
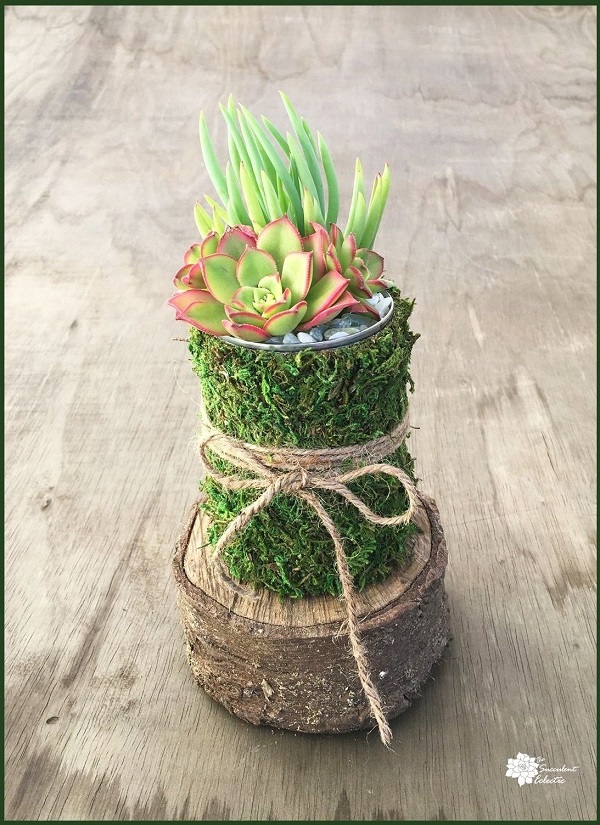
I know it’s simple, but wouldn’t this be a cute gift for a teacher?
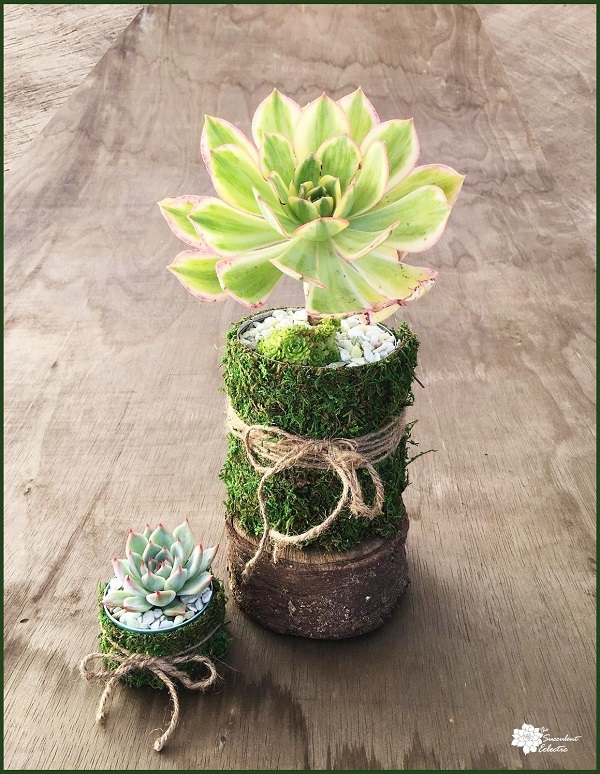
Or a pretty centerpiece or favors for a garden party?
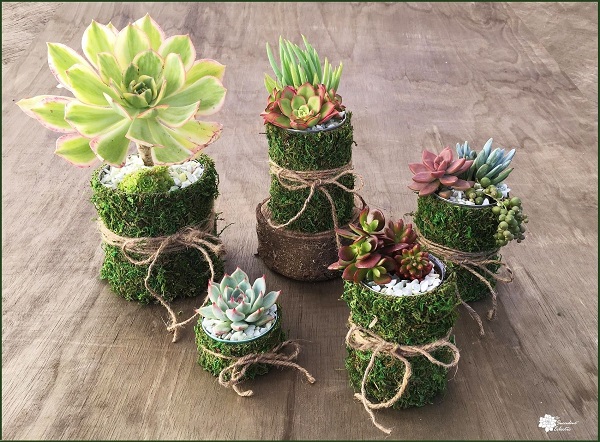
So, what do you think of these DIY succulent planters? Would you make these? I would love to know! Please take a moment to leave a comment, and tell me if you would give one as a gift or keep it for yourself? 🙂
Because life is just better with succulents!

P.S. Please check out my FREE course, 7 Steps to Succulent Success, and subscribe! Thanks so much!
P.P.S. Why not join my Facebook Group for succulent lovers? We talk about succulent care, propagation, succulent identification, and design. It’s a warm and welcoming group that would love to meet you!

