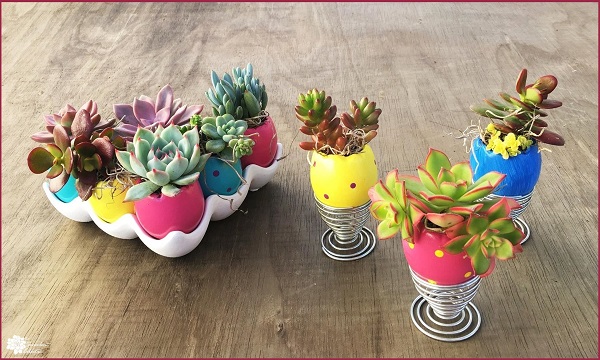
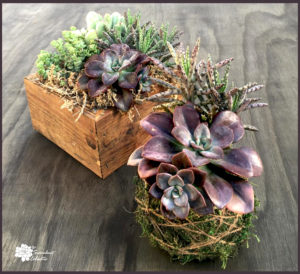
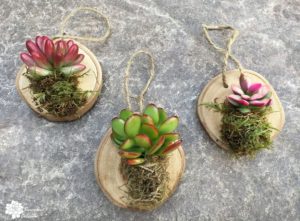
I have always loved decorating for Easter. As I was hunting for the perfect Easter DIY, my heart kept coming back to the colored eggs. Childhood memories of dying Easter eggs with Mom are deeply cherished. The smell of apple cider vinegar makes me nostalgic. There is just something about the egg that has always fascinated me. It’s magical, isn’t it? A smooth shell containing a brand new life, ready to begin. Working with that image, I decided to try something a bit different that would last all spring long. Succulent Easter eggs in these cute ceramic egg planters!
Easter DIY – Decorated Eggs with Succulents!
In this Post We'll Cover:
- Easter DIY – Decorated Eggs with Succulents!
- How to Make Succulent Easter Eggs
- Ceramic Egg Shell Planters
- Preparing the Egg Planters
- Sand Ceramic Egg Shell Planters
- No Need to Drill Drainage Holes
- Priming the Egg Shell Planters
- Make Your Egg Planter Paint Drying Rack
- Mix Your Paint Colors
- Planting Your Succulent Easter Egg Planters
- Plant Contrasting Succulents and Egg Planters
- Finished Succulent Easter Eggs
- Watering Succulent Easter Eggs
- Finishing Touches for Succulent Easter Eggs
- Easter DIY – Succulent Easter Eggs
- How to Make Succulent Easter Eggs
{Please note, some links in this post may be affiliate links to sites that pay me a small commission if you click on the link and make a purchase. This commission is at absolutely no cost to you. I only recommend products and companies that I have worked with and truly love! ~Kat}
How to Make Succulent Easter Eggs
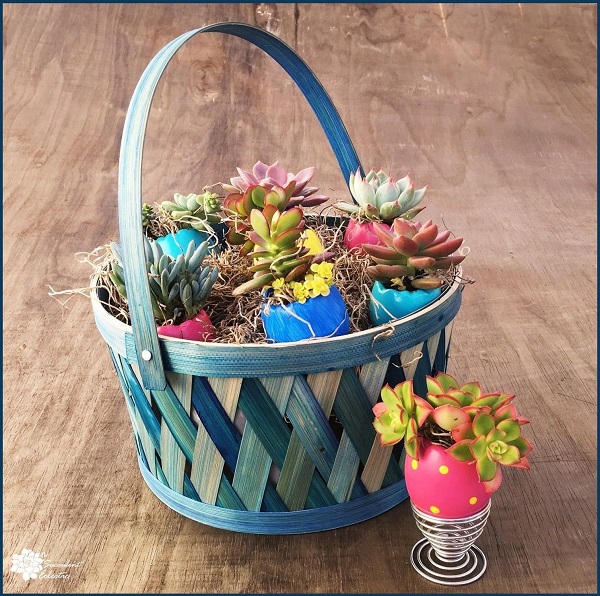
I so enjoyed this Easter DIY! And I really love my fun basket filled with its whimsically decorated succulent Easter eggs. I will be able to enjoy them for months! Let me show you exactly what I did.
To make your own succulent Easter eggs, you will need:
1 set ceramic egg planters with carton
Assorted paints in festive colors
Small paintbrushes or foam brushes
Small bowls or pie tin for mixing paint
Newspaper
Wax paper
Scrap wood
9 3.5″+ utility screws
Drill or screwdriver
Assorted small colorful succulents
Syringe or squeeze bottle for watering
Easter basket
Ceramic Egg Shell Planters
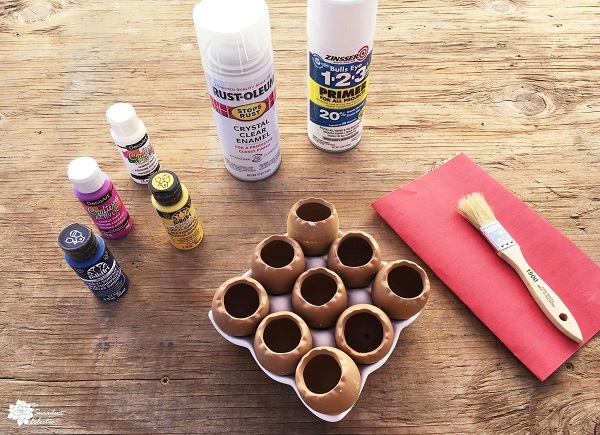
I was so excited to find this cute set of ceramic egg shell planters and carton saucer! While there is a set available in an off-white color, the egg planters in it are much smaller than in this set that I used. I had already planned on spraying the eggs with white primer paint, to make a good foundation for the colors to come.
Preparing the Egg Planters
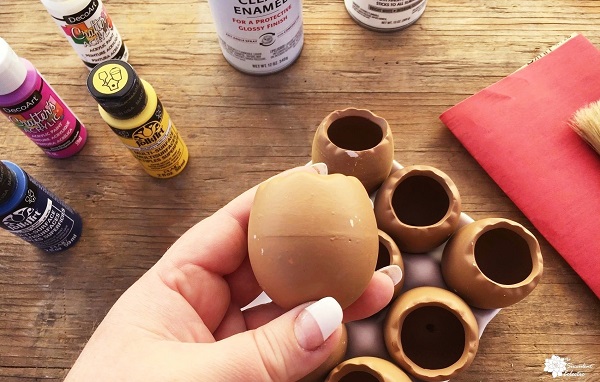
Some of the reviews had mentioned disappointment in the painting on the planters. Since I knew I would paint them – I wasn’t worried. But they did have a few bumps and ridges I wanted to smooth out, first. So I took a page of fine sandpaper to each of the egg planters.
Sand Ceramic Egg Shell Planters
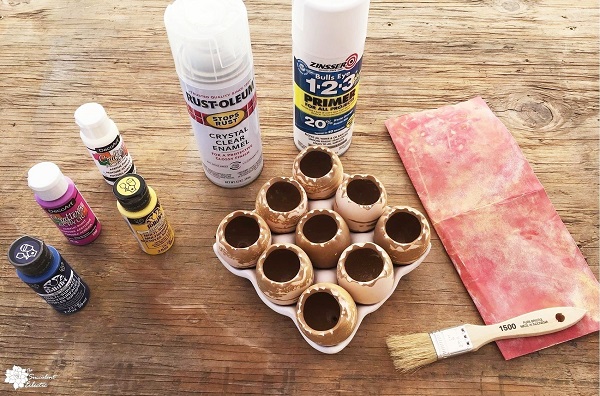
After 30 minutes of sanding, all of the egg planters were ready for the primer. Since I was sanding already, I made the openings a bit more jagged and more random using the sandpaper. The planters sanded down nice and smooth quite easily.
No Need to Drill Drainage Holes
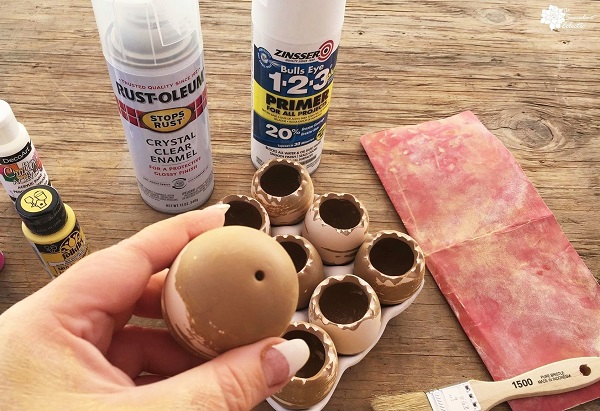
As you can see, each egg shell planter already has its own drainage hole, too! When they are sitting in their egg carton saucer, the water can drain out the hole, and be caught in the carton. So perfect.
Priming the Egg Shell Planters
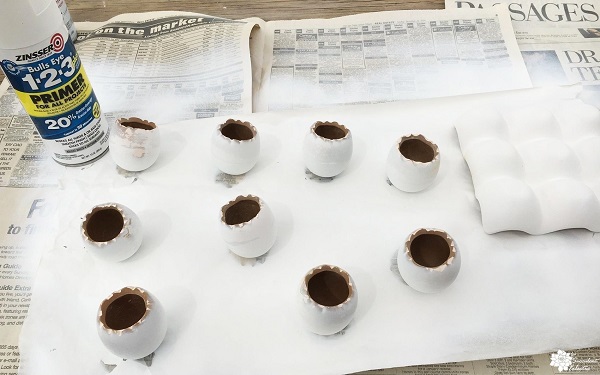
Although the egg carton saucer was already white, I decided it could use a freshening up. So I sprayed it along with each of the ceramic egg planters with white primer spray paint. The primer made the saucer a bright, crisp white. And it gets the planters ready for their paint jobs. Use a few, light dusting coats, rather than a single, heavy spray. That way, the color goes on even, and doesn’t bead up or drip. I used newspaper to protect the table but set the eggs on the wax paper, so they would not stick to it. I started with the cups upside down. Then, when that coat dried, I sprayed them upright. Be sure to spray the inside of each egg shell planter.
Make Your Egg Planter Paint Drying Rack
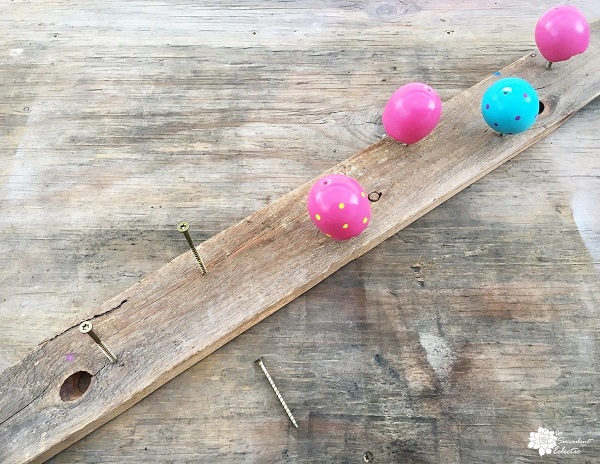
While the egg planters and saucer primer coats are drying, go ahead and make this rack to hold the decorated eggs. I took a strip of scrap wood and screwed each screw in about 1/3 of an inch. A pilot hole drilled first made it a snap. Space the screws 3-4 inches apart, to leave enough room between the drying egg planters for you to move each without disturbing its neighbor. The nice thing about using screws, instead of nails, is that the screws are reusable when this project is done.
Mix Your Paint Colors
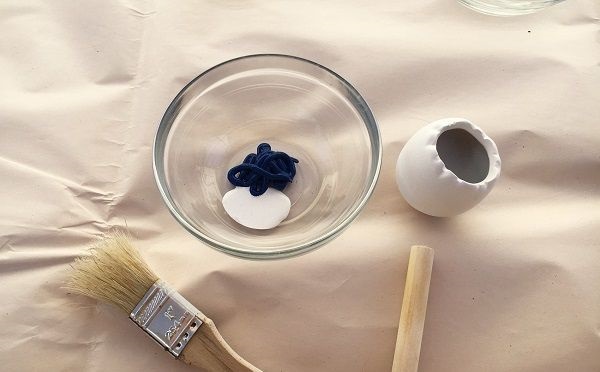
The paints I chose were a super dark blue, bright yellow, magenta and white. I planned to adjust the color of each to suit my taste for this project. So I lightened the blue, toned the yellow down a tad, made a green, and left the magenta the way it was. I love the shade of blue that I got, but it went on very streaky. Rather than fight with it – I decided to embrace the Starry Night-esque brush strokes, and consider it artistic! The yellow is lovely, but I just hated the greens I was coming up with. And the magenta just wouldn’t go on nicely for me. So, I opted to use a couple of spray paints from another project, and I just love the way they came out. I used this teal and this magenta spray paint. I added a few random and contrasting polka dots in magenta and yellow on just four of the nine egg planters, because I didn’t want it to look too busy.
Once all of the planters are decorated, give a few light coats of your glossy spray to the egg carton saucer, and each egg. Now, you are ready to plant your succulents!
Planting Your Succulent Easter Egg Planters
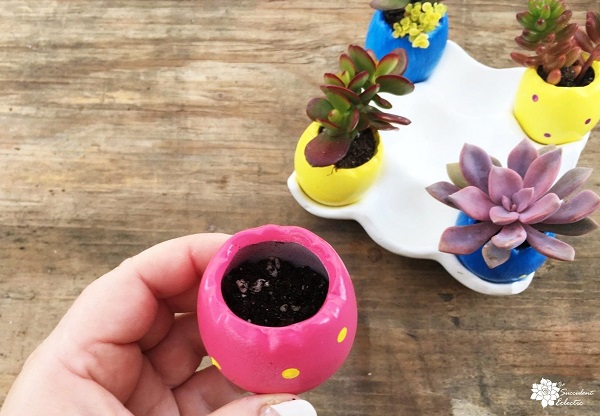
Add succulent soil to each egg shell planter. Then, tuck the roots of the succulent plant in, and add a bit more soil.
Plant Contrasting Succulents and Egg Planters
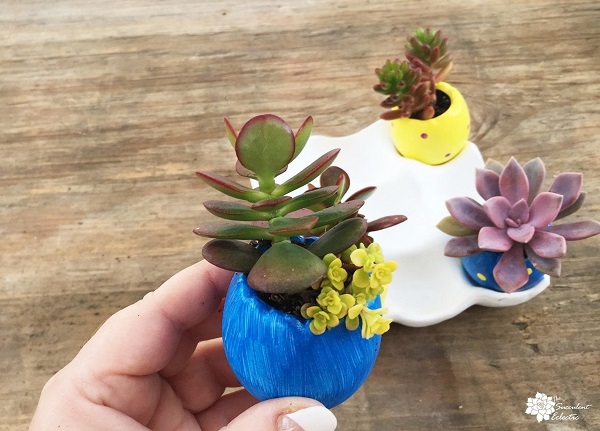
Choose brightly colored succulents for this Easter DIY. And take some care with coordinating of your Easter egg and succulent. For instance, I didn’t plant the senecio blue chalk sticks succulent in the blue egg, where the bright blue paint would overwhelm the delicate blue shading of the plant. Instead, I went with a beautifully red-tinged crassula ovata jade and a pale green sedum. The vivid blue of the painted egg planter makes the sedum glow yellow. Lovely! You can see how to blue also brings out the pink tones of echeveria Perle von Nurnberg. And the yellow egg was a good choice for the red and yellow of the sedum jelly bean plant. (I just had to use the jelly bean plant for Easter!)
Although I would not pair a pink echeveria with a pink egg shell planter, I do think the pink points of echeveria Blue Bird, and its bluish leaves are complemented by the pink shell. And the magenta margins of the aeonium kiwi really pick up the pink color of its egg.
Finished Succulent Easter Eggs
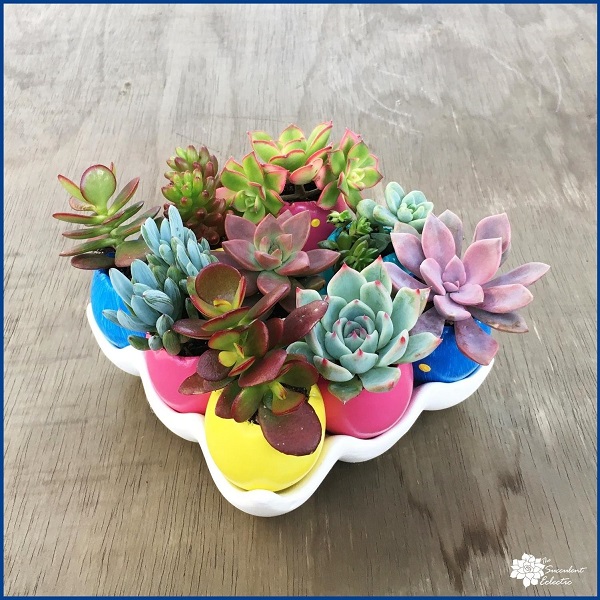
Once you have fully planted your succulent Easter eggs, step back and enjoy! So pretty, and they will happily live and thrive in these egg planters for months! Just be sure to give them the light they need, and to water once every couple of weeks.
Watering Succulent Easter Eggs
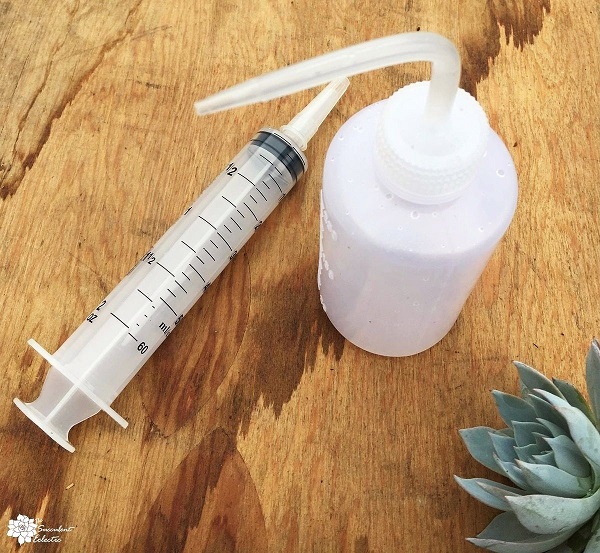
I use this syringe to water my succulent crafts that are really difficult to reach. The squeeze bottle is my go-to solution for most of my unconventional plantings. It holds more water than the syringe and is an easy solution. The spout lets me get the water right to the soil and roots where I need it. These succulent Easter eggs should be watered every 2-3 weeks, depending upon how quickly they dry out.
Finishing Touches for Succulent Easter Eggs
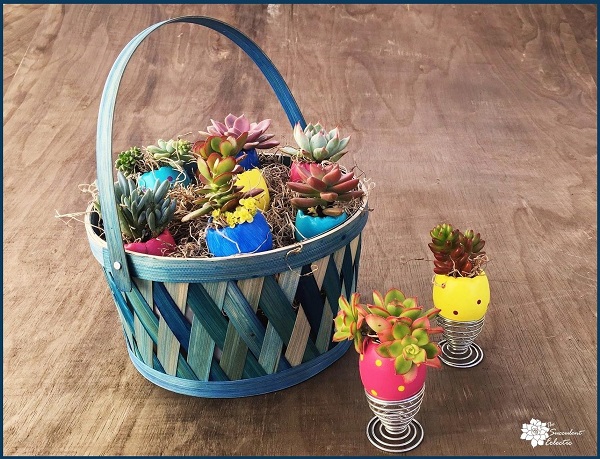
For the final, finishing touch for your succulent Easter eggs, add just a whisper of natural Spanish moss to the mouth of each egg shell planter. This is not so much to completely cover the soil as to distract the eye from the soil. It gives that perfect, little touch. If you decide to display the results of your Easter egg decorating in an Easter basket, use the Spanish moss as the filler. it adds a nice, natural look and texture, and it will tie the display together. And I am crazy for these fun little spiraling egg cups!
Easter DIY – Succulent Easter Eggs
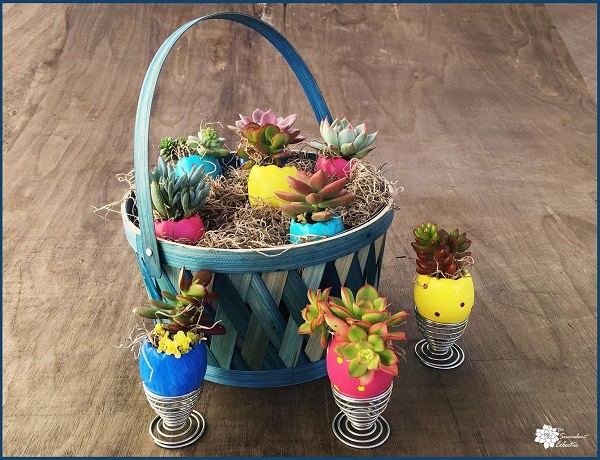
So, what do you think of my Easter DIY? Anytime you can add succulents, you make it better, in my opinion! (No matter what “it” is!) I’d love to know if you will be making your own succulent Easter eggs. Even better – I hope you will share your photos! Please ask me any questions – I am happy to help. Just leave a comment, or send me an email. You can do this! 🙂
Have a Happy Easter!

P.S. Subscribe and receive my FREE course, 7 Steps to Succulent Success. Thanks so much!
P.P.S. Why not join my Facebook Group for succulent lovers? We talk about succulent care, propagation, succulent identification, and design. It’s a warm and welcoming group that would love to meet you!

