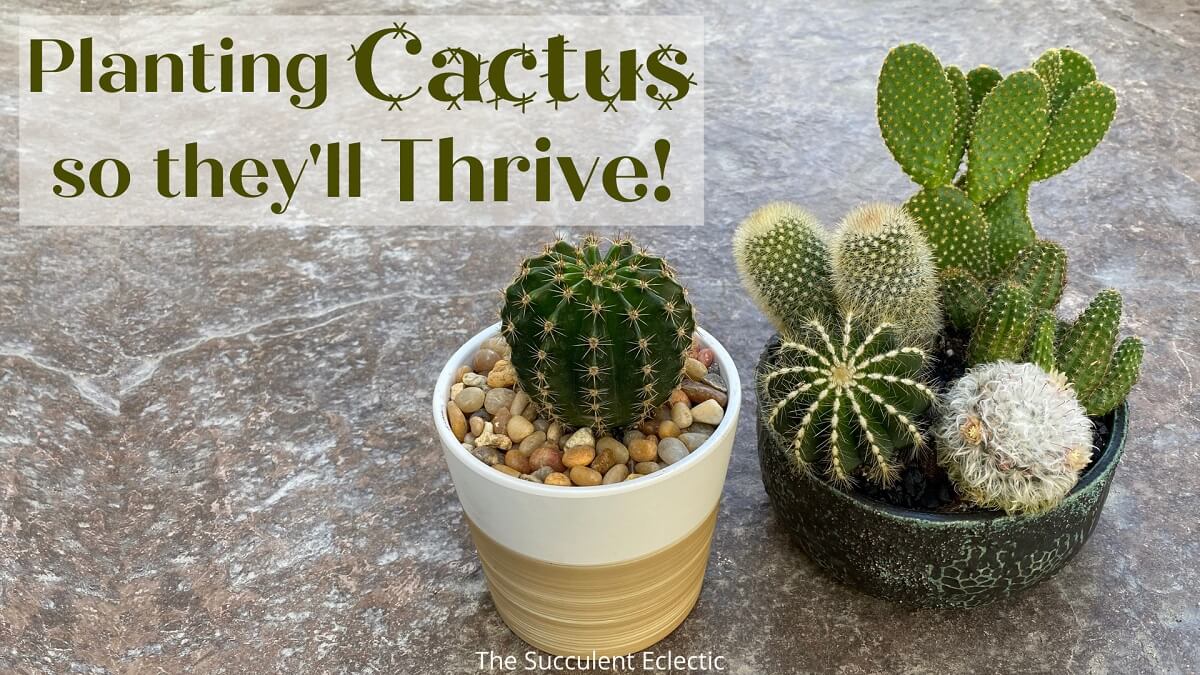
Most people fall in love with rosette succulents, first. They love their flower-like form and pastel shades. Soon, they become seduced by the many remarkable forms of the other varieties they meet. No matter the route our succulent journeys take, eventually, we become enchanted by cacti. Cactus plants are a subset of succulents, with a number of specific characteristics all their own. At first, we may be intimidated by those long, pain-inducing spines. But the cacti’s unusual forms and colored spines are so intriguing, we cannot resist for long. So, let’s see exactly how to plant cactus so the plants will thrive. (You might want to learn first how to handle cactus safely, so you don’t get poked!) I’ll show you step by step as I am planting cactus in pots, but the same techniques apply to planting cactus in the ground.
How to Plant Cactus
In this Post We'll Cover:
{Please note, some links in this post may be affiliate links to sites that pay me a small commission if you click on the link and make a purchase. This commission is at absolutely no cost to you. I only recommend products and companies that I have worked with and truly love! ~Kat}
Supplies for Planting Cactus
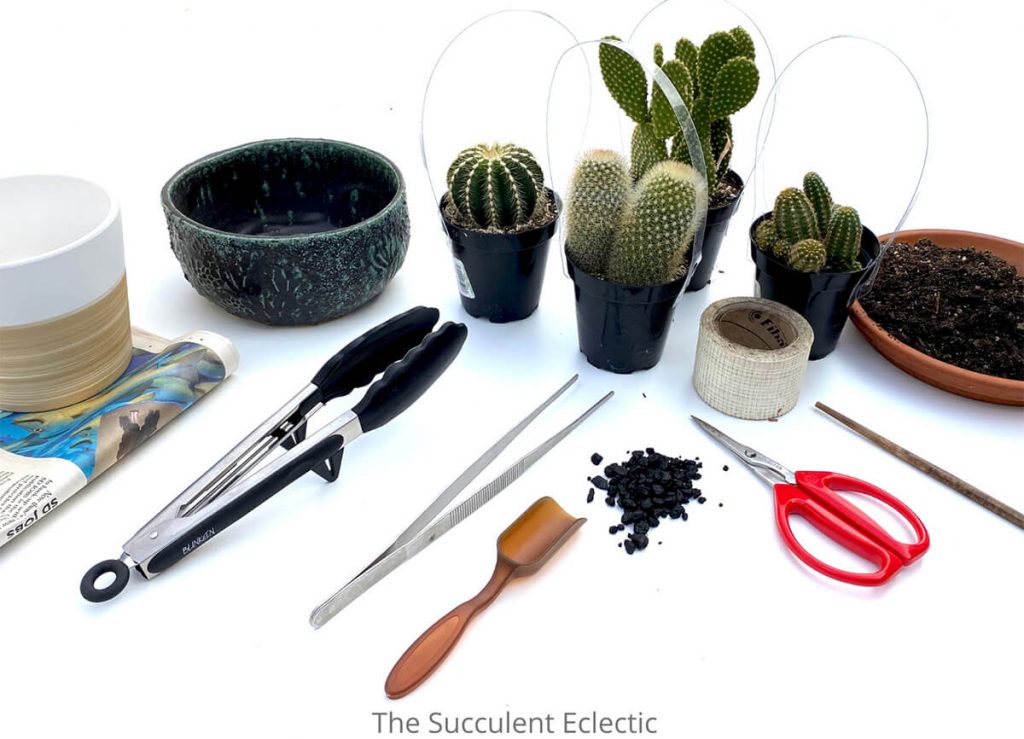
I decided to show you how to plant cactus first singly in a pot, then planting cactus arrangements, with several plants in the same pot. When planting cactus, you will need:
- A succulent pot with great drainage
- Fast-draining succulent soil with extra grit
- Worm castings
- Drywall mesh tape
- Scissors
- Silicone-tipped tongs and/or long tweezers
- Chopstick
- Top dressing
- Small scoop
- Newspaper
- Cactus!
If your cactus doesn’t have spines (some don’t), you won’t need the tongs or long tweezers. I find both to be very helpful tools for planting cactus plants. You might also want to wear a pair of gloves to protect your hands. Although I don’t use them, my research tells me these are the very best gloves for working with cactus.
How to Plant a Cactus
When learning how to plant cactus, the single most important consideration is the soil you choose. If you don’t use fast-draining succulent soil, assume your cactus will die. It’s that important. I typically work in extra grit into my succulent soil to plant a cactus. I use roughly 7 parts succulent soil to 3 parts additional grit (pumice, crushed granite, etc). Next, I work in a couple tablespoons of worm castings. Worm castings are a boon to succulents and cactus. They not only provide excellent, organic succulent food, but worm castings work to prevent insects from preying upon your plants!
The next most important consideration when planting cactus is the container. Always, always choose a pot with good drainage holes. And when your pot has no drainage, as this one didn’t, drill your own drain holes! Read more about choosing the best pots for succulents, but know that great drainage is not optional.
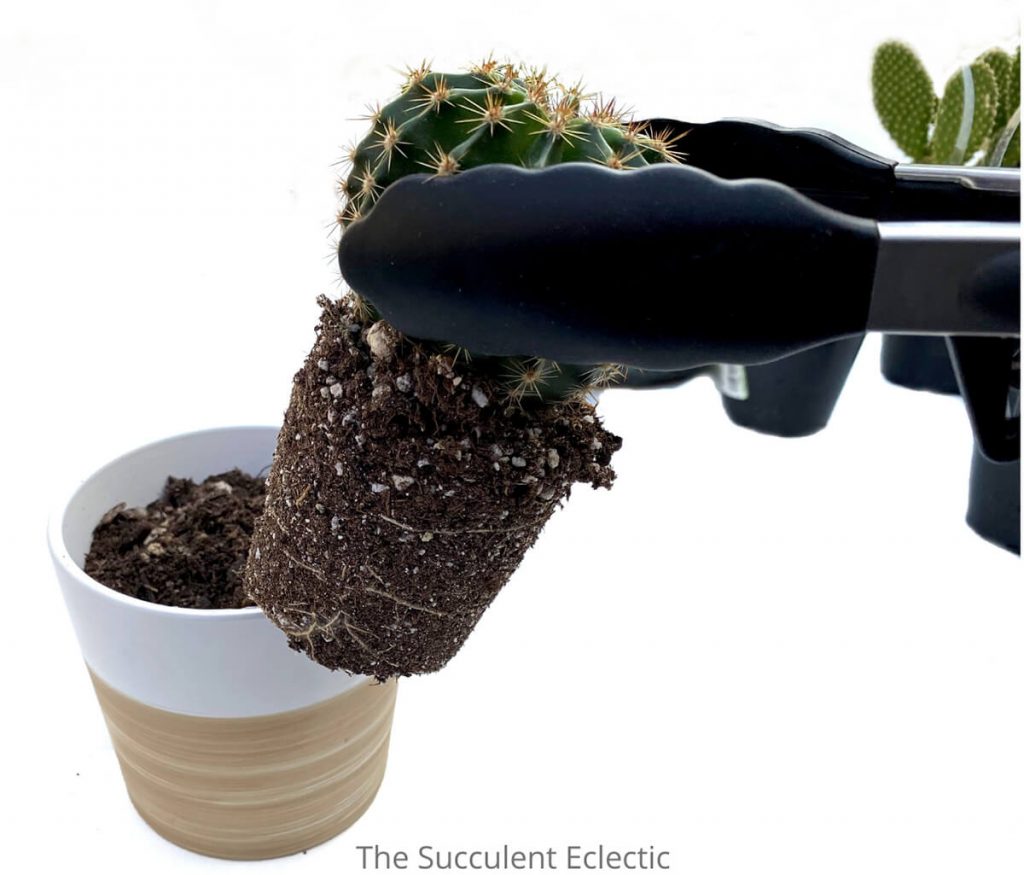
Always handle cactus with great care. I use these silicone-tipped tongs to protect my fingers and to protect the cactus. You don’t want to break or crush the spines or the areoles they sprout from.
Loosen the Cactus Roots
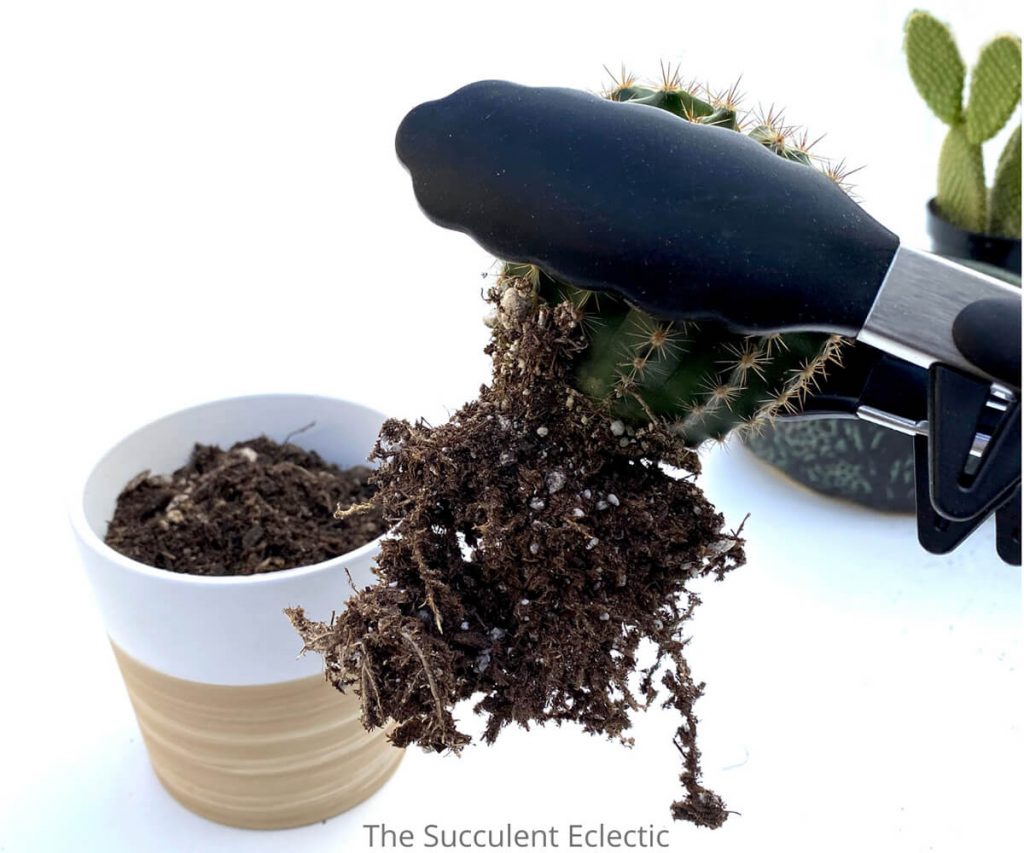
Whether planting cactus in pots or in the ground, gently loosen the roots from the root ball. See how the root zone originally held the shape of the pot? While holding the cactus by the tongs in one hand, use your other hand the loosen the roots from the dried soil. There are no cactus spines below the soil line, so don’t be afraid to dig in there, but work gently. You don’t want to break the roots too much, just to loosen them from the dried soil, so they can stretch out and root into the fresh succulent soil.
Planting a Cactus
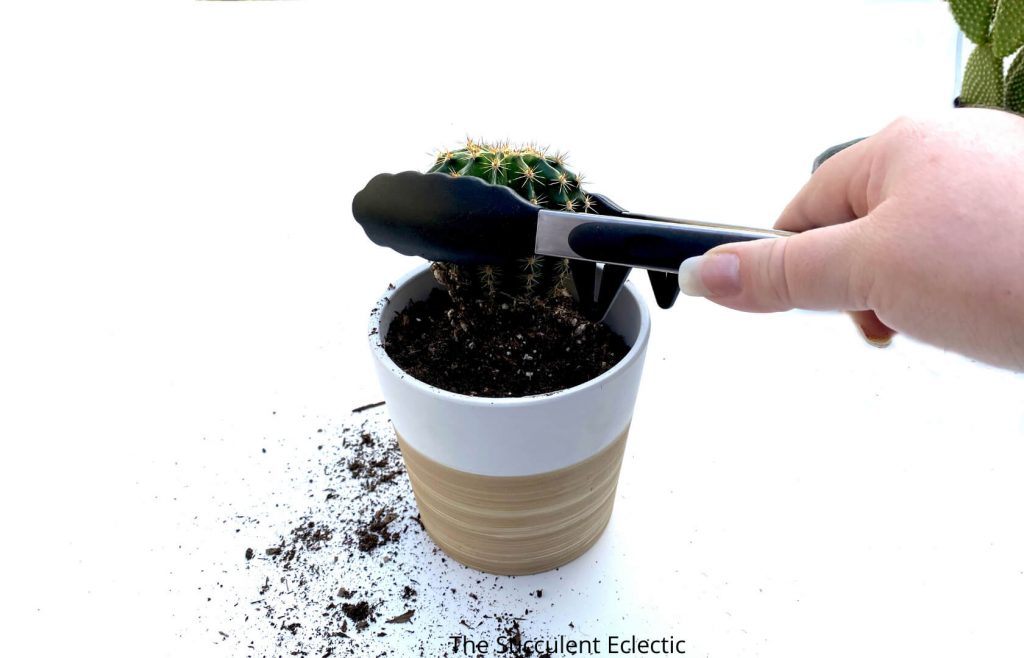
Note the current soil line on your cactus. You do not want to plant cactus too deep, or it will risk rotting out the cactus. Aim for the soil in the new pot to come no higher than the current soil line.
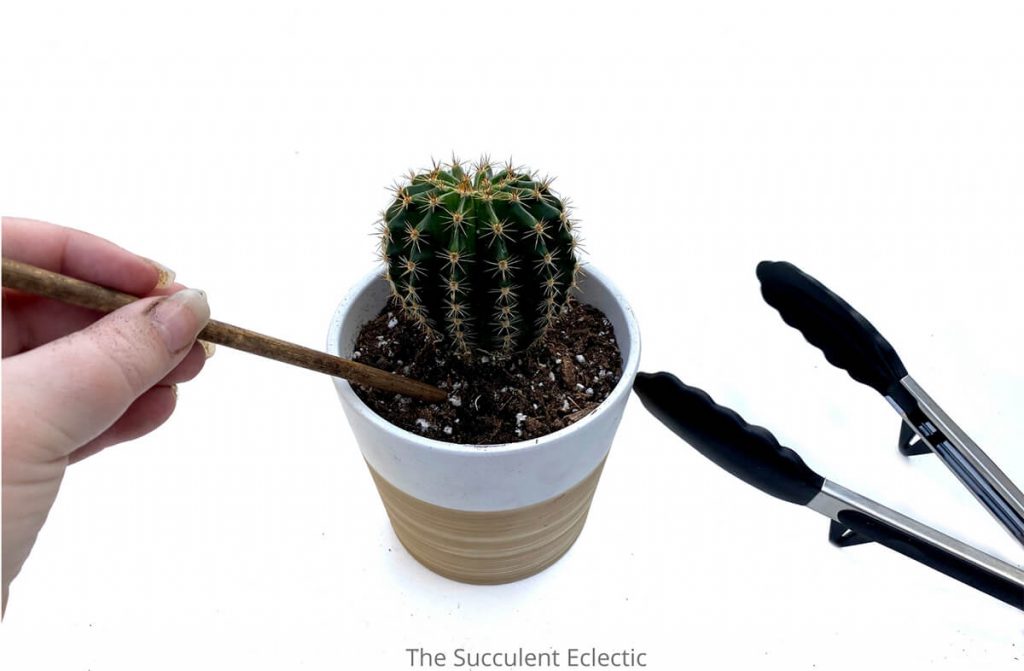
When planting cactus, allow the roots to spread out and down in the pot. I use a wooden chopstick to tuck the roots into place and to gently firm up the soil around the roots. Aim for the soil line to be within a half inch – no more – of the rim of the pot. When planted too deeply, the sides of the pot will shade part of the plant.
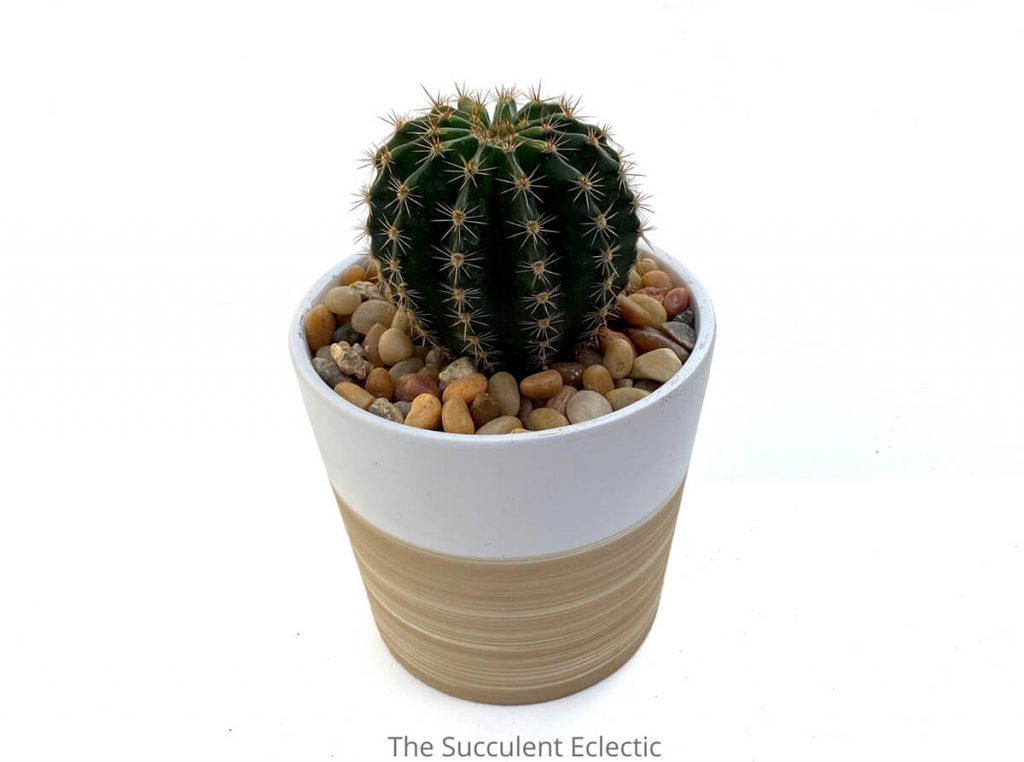
Finally, add top dressing. A layer of inorganic top dressing provides many benefits. And, you have to admit, it does give your planted cactus an attractive and finished look. But maybe not quite “finished” enough!
Squidactus Cactapus
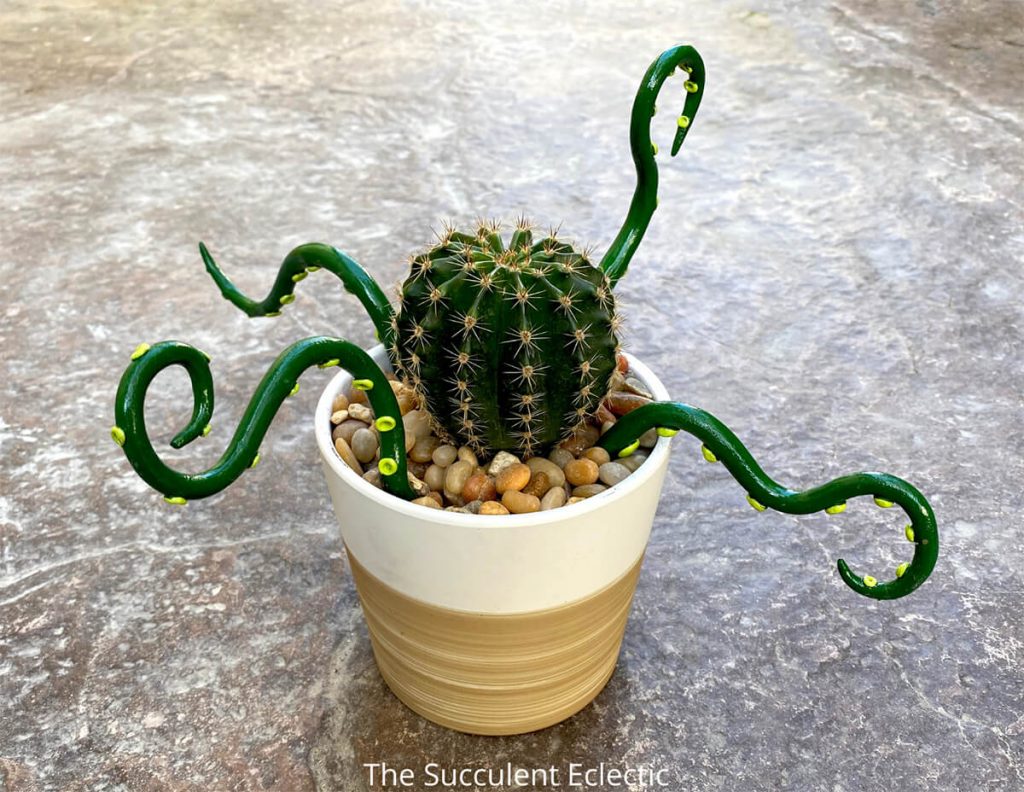
I just couldn’t resist adding these cool, clay tentacles to my handsome Echinobivia ‘Rainbow Burst’ cactus, thereby creating a Squidactus cactapus! 🙂 Isn’t he awesome? A member of The Succulent Eclectic Community on Facebook sent me these amazing tentacles, and I absolutely love them! What do you think? You can find your own tentacles here.
Now, let’s see how to plant cactus arrangements.
Planting Cactus Arrangement
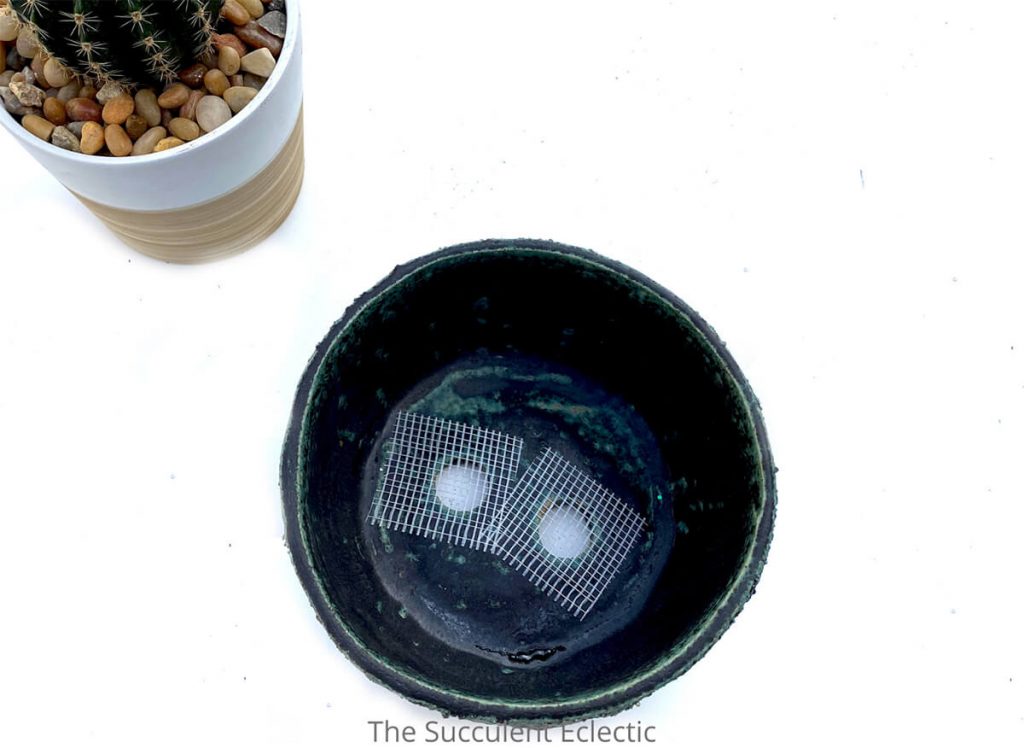
I just love using pottery by Susan Aach to plant cactus and succulents. Each is hand made and I love her aesthetic! And you can see she always includes large, generous drainage holes. I use drywall mesh tape to cover the holes to keep the soil in while letting the water flow right through. The tape is lightly adhesive, keeping it in place as I add the soil. One roll handles hundreds (or thousands) of pots, and the roll stashes neatly in my succulent tools kit bag.
Plan Your Cactus Arrangement
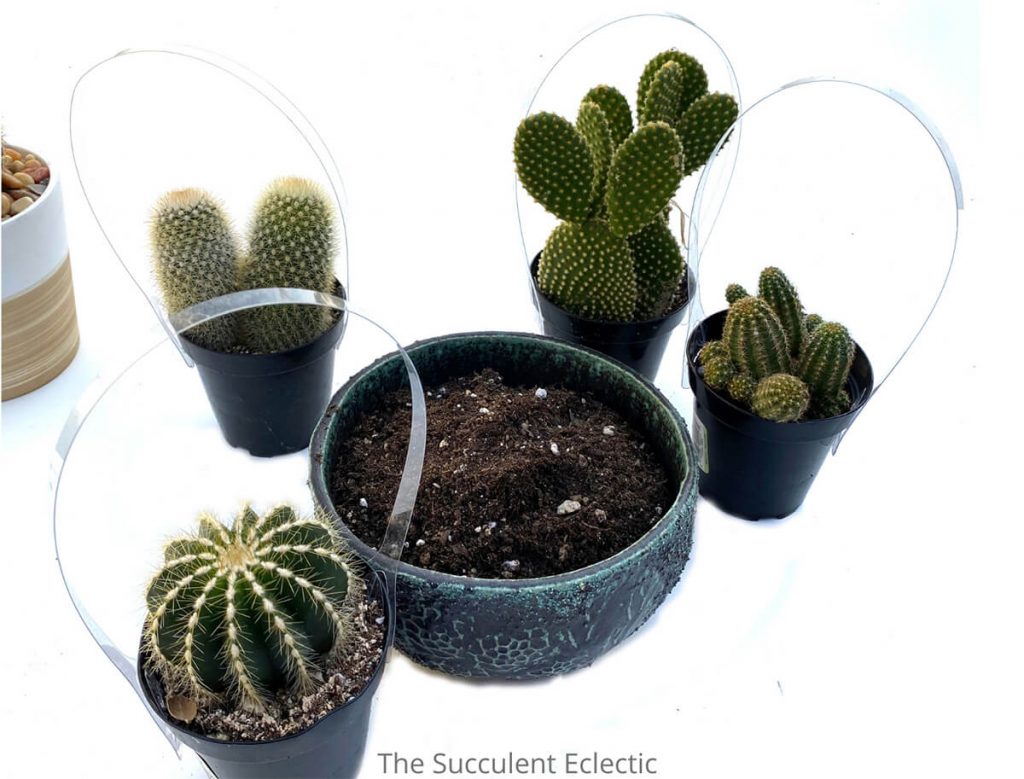
Always take care to protect yourself from the spines when planting cactus. I chose cactus varieties with similar coloring but very different shapes, so they would go well together but provide some contrast, as well. I leave them in their nursery pots to make handling them easy, while I try to envision the placement that will work best. In this case, I chose the Opuntia microdasys for its height and cool form. I wanted it in the back of the arrangement, so that’s the cactus I planted first.
Planting Opuntia microdasys
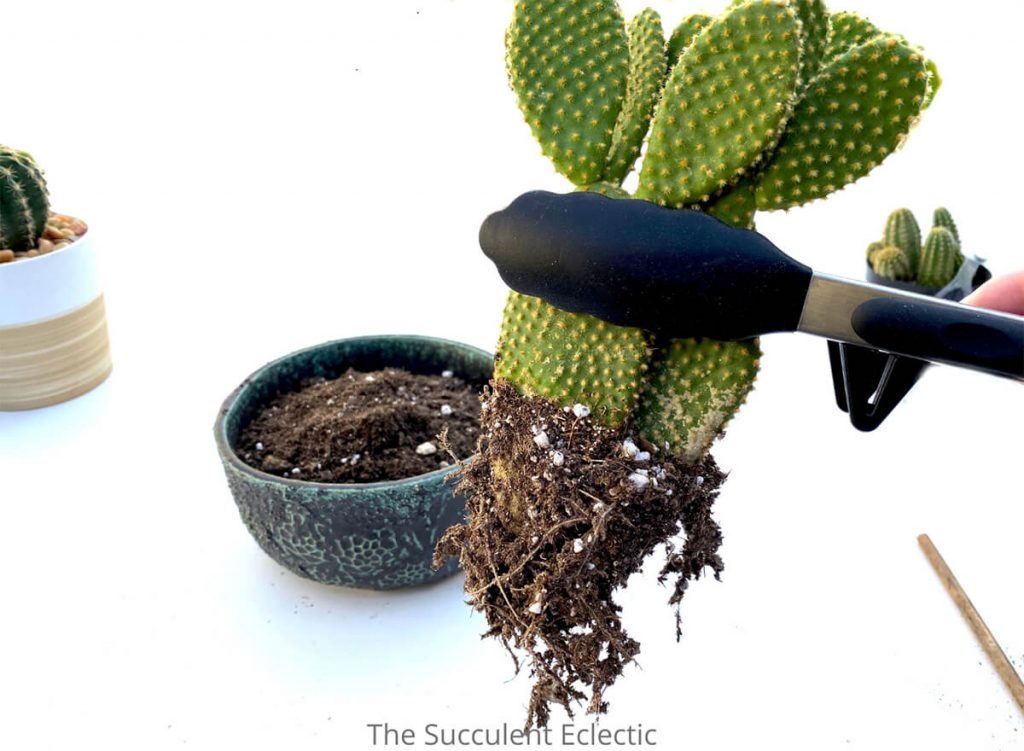
Just like before, I used silicone-tipped tongs to handle this Opuntia microdasys. Those spines may look small and innocuous, but in fact, they are tipped with tiny, backward-facing spines, so once they get into your skin, it’s tough to get them to let go! Simply lightly brushing past an Opuntia is enough to get scores of the glochids (the spines of an Opuntia) lodged into your skin. They don’t cause a lot of pain, but they are terribly annoying and difficult to remove. The best way to get glochids out of your skin is to use duct tape or heavy-duty packing tape. Smooth the tape on over the glochids, then remove, fold the tape over the glochids and dispose of it in the trash.
See how there were two Opuntia cactus plants in the same nursery pot? You can divide multiple plants for your arrangement if you choose. I kept the two together.
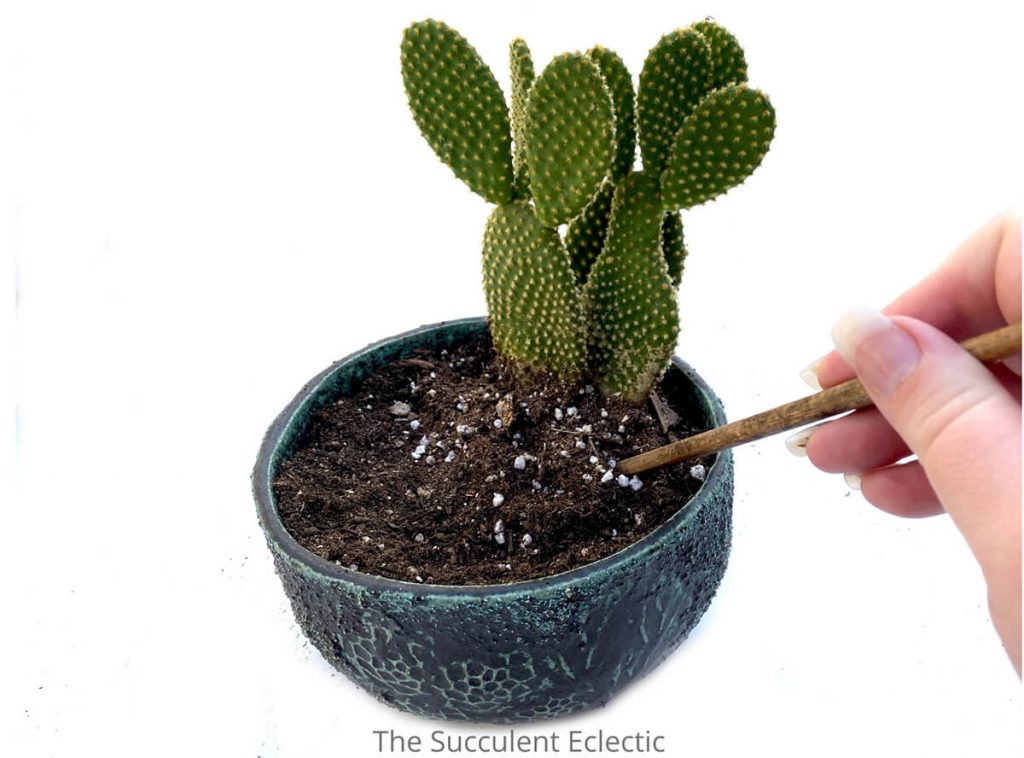
Again, when planting cactus, always loosen the roots, discarding the excess soil. Then, spread the roots out and down in the new container. I used a cop stick for tucking the roots into place and gently firming the soil without risking those glochids in my hands. But how to plant cactus near the Opuntia without risking those glochids? That’s where the newspaper comes in.
Planting Cactus Plants Together – Safely
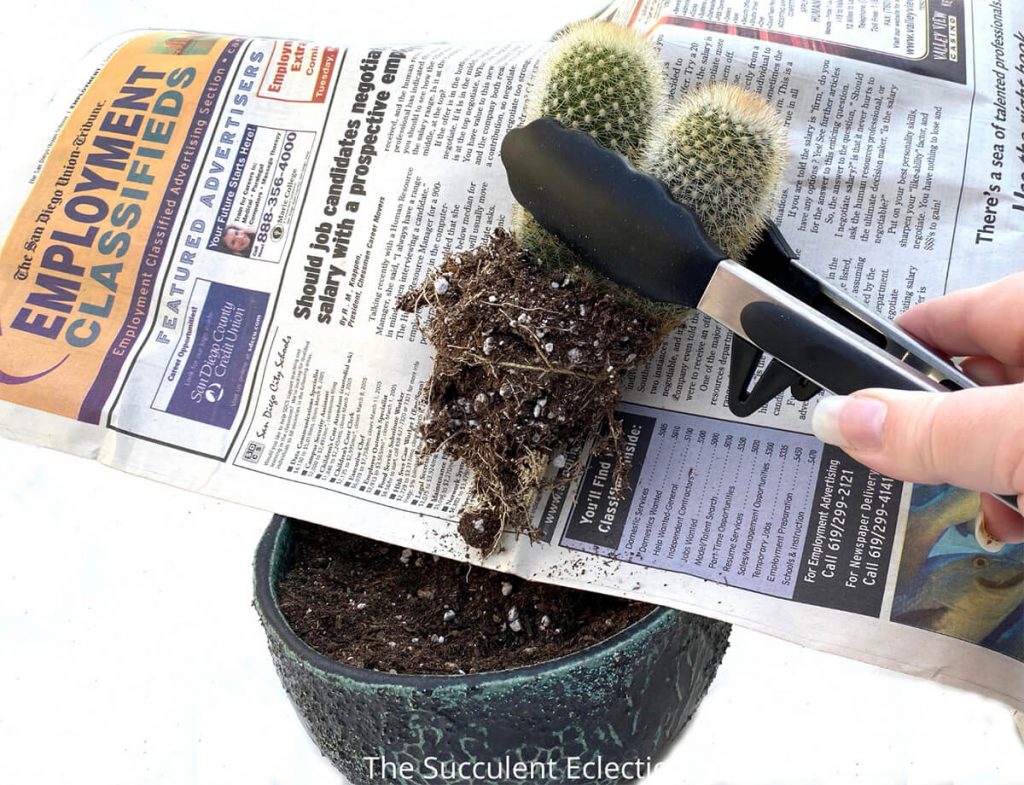
Use the newspaper to form a barrier between the spines of one cactus and your hand as you plant the next one. I often use newspaper to handle cactus while protecting myself and the plant. Here, I have the doubled newspaper between my hand and the glochids as I am planting cactus Mammillaria pilcayensis into close beside the Opuntia.
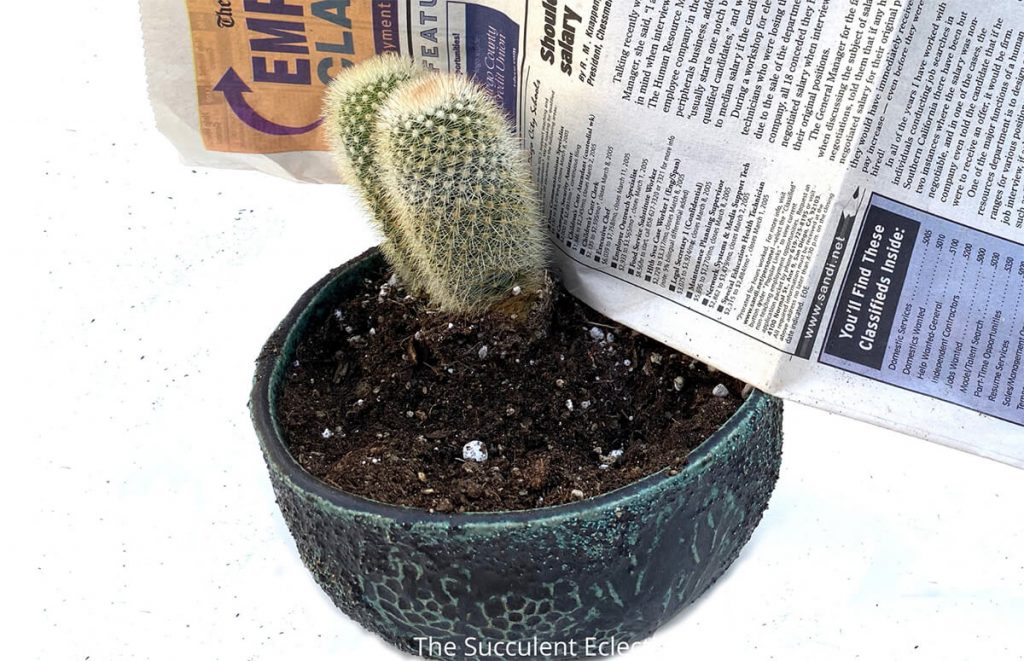
With the newspaper protecting both my hands and the cactus plants, I can continue planting cactus varieties quite closely in perfect safety.
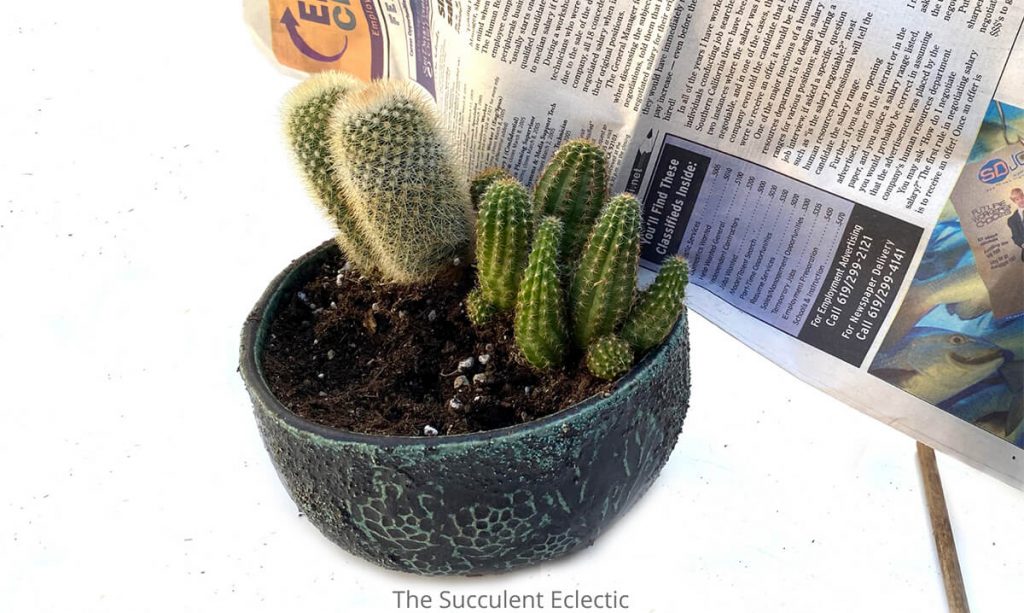
Next, I added in this Echinopsis chamaecereus, (peanut cactus). And, as it turns out, this is the only downside to using newspaper as protection when planting cactus. I did not recognize at this point that the Opuntia and the Echinopsis looked so similar. I wish I had included a plant with more contrast between them. You’ll see what I mean later on. Continue planting cactus, using the newspaper barrier as needed.
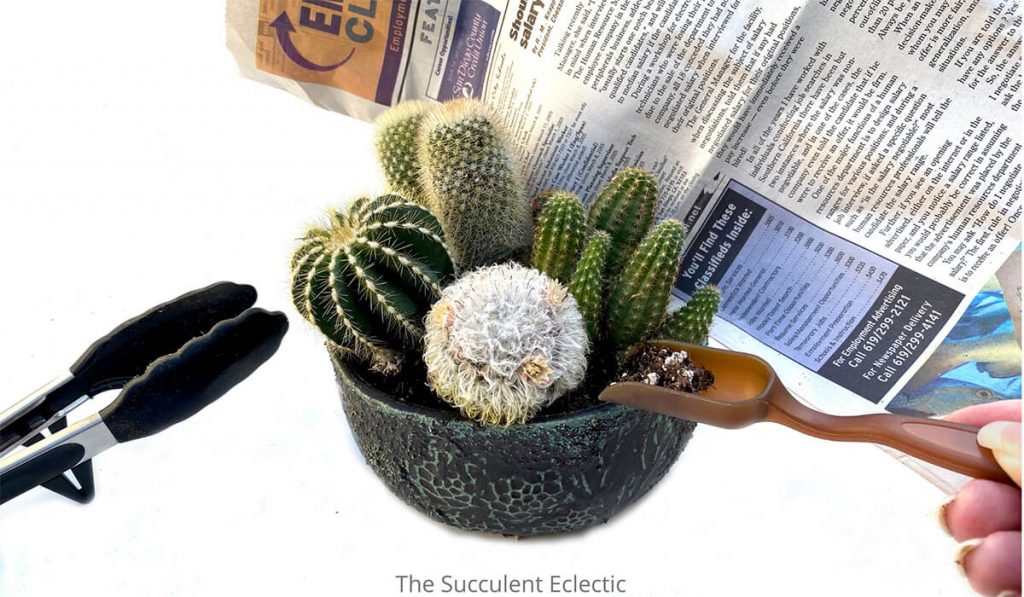
The small scoop from my favorite set of succulent tools is perfect for adding more soil as you go.
Design a Cactus Arrangement from All Sides
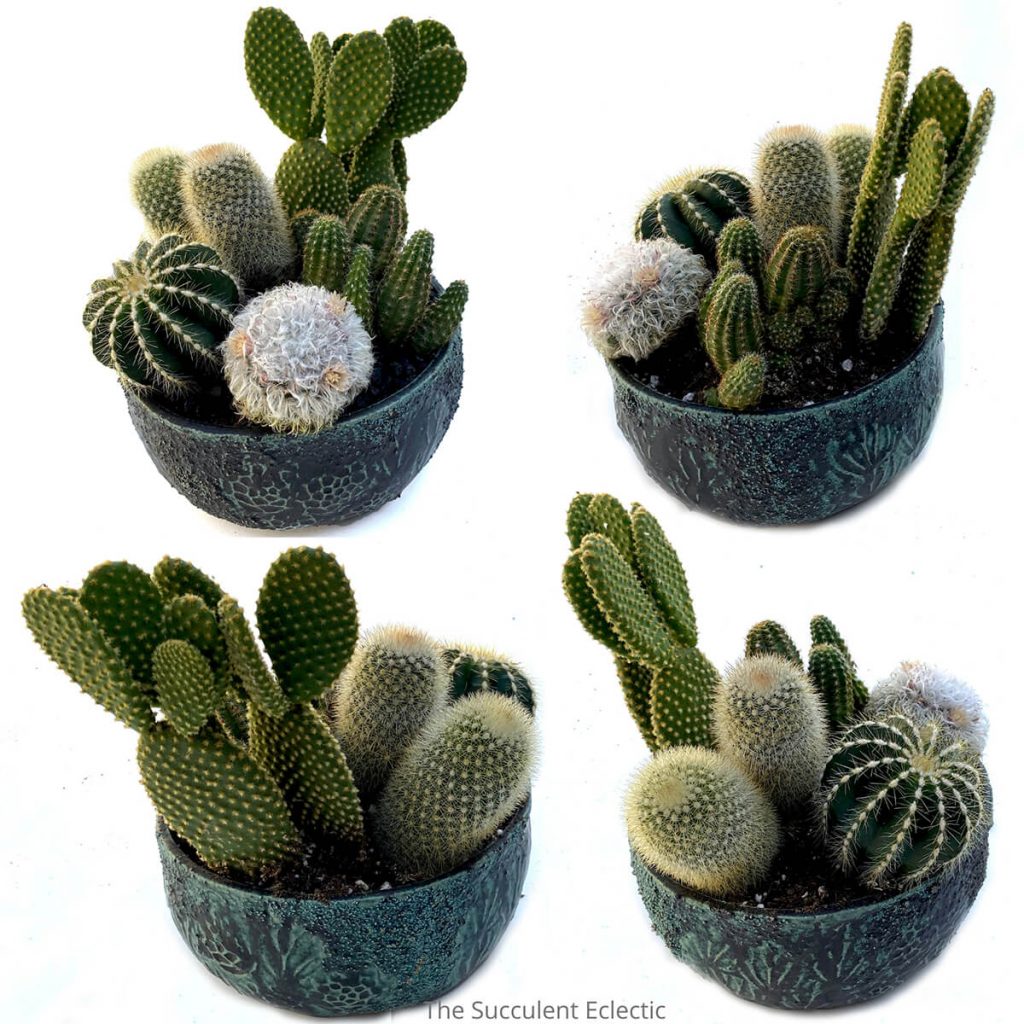
When planting cactus planters, you always want the finished piece to look attractive from all sides. Even though I designed my cactus arrangement to have a definite front and back, I took care to make sure every vantage point was attractive. (BTW – isn’t this pot gorgeous? I just love the color and textures!)
Finishing Your Cactus Arrangement
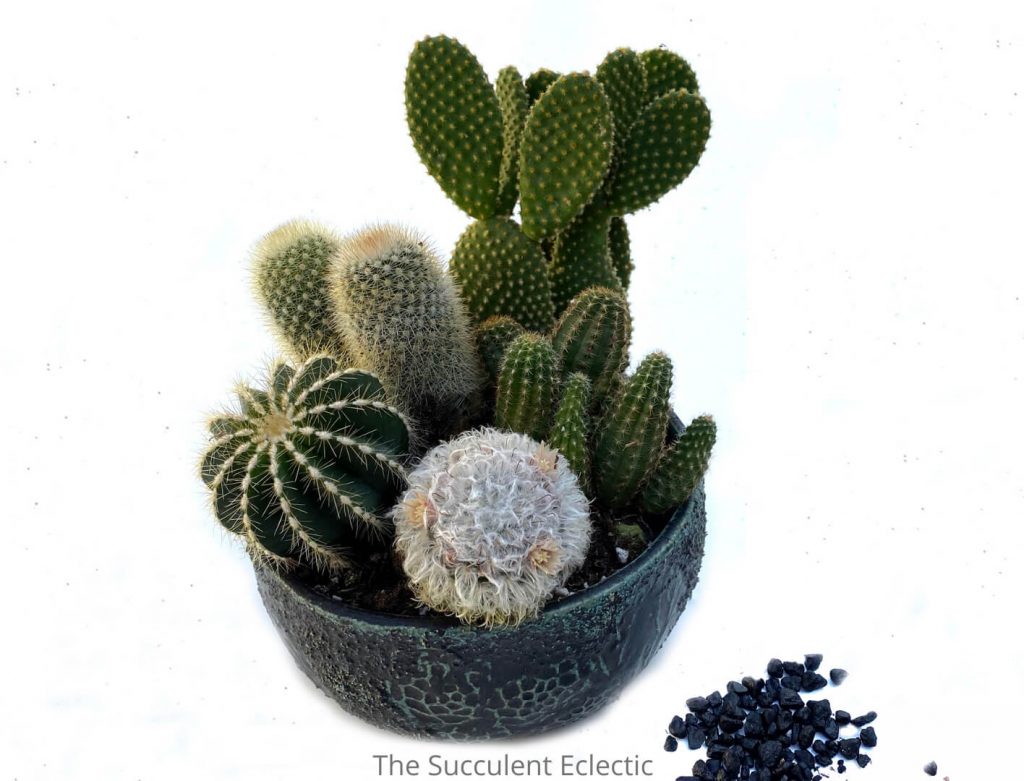
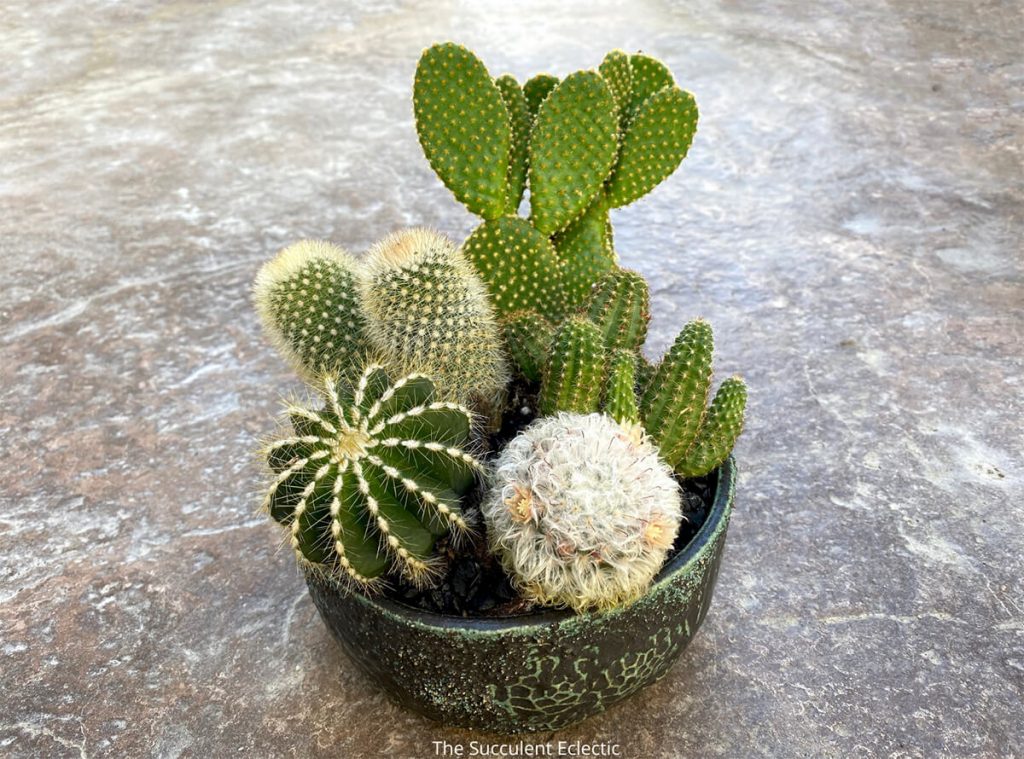
I’m quite pleased with my cactus arrangement, though you see what I mean about the Opuntia microdasys and the Echinopsis chamaecereus right beside it. Although the shapes are so different, the colors and textures are so similar, both would have looked better beside a more different variety.
The Opuntia is in the back, the very tallest. To the right is the Echinopsis chamaecereus, and to the left are the two Mammillaria pilcayensis. In front of that, on the left is a Notocactus magnificus, and the creamy white, furry Mammillaria schwarzii. Despite the sweet, furry look, Mammillaria schwarzii can have sharp spines, so treat it with respect.
Remember to add top dressing when you’re finished planting cactus. I chose black, so it would not distract from the gorgeous Susan Aach pot, and to keep the focus on the beautiful cactus plants.
Caring for Planted Cactus
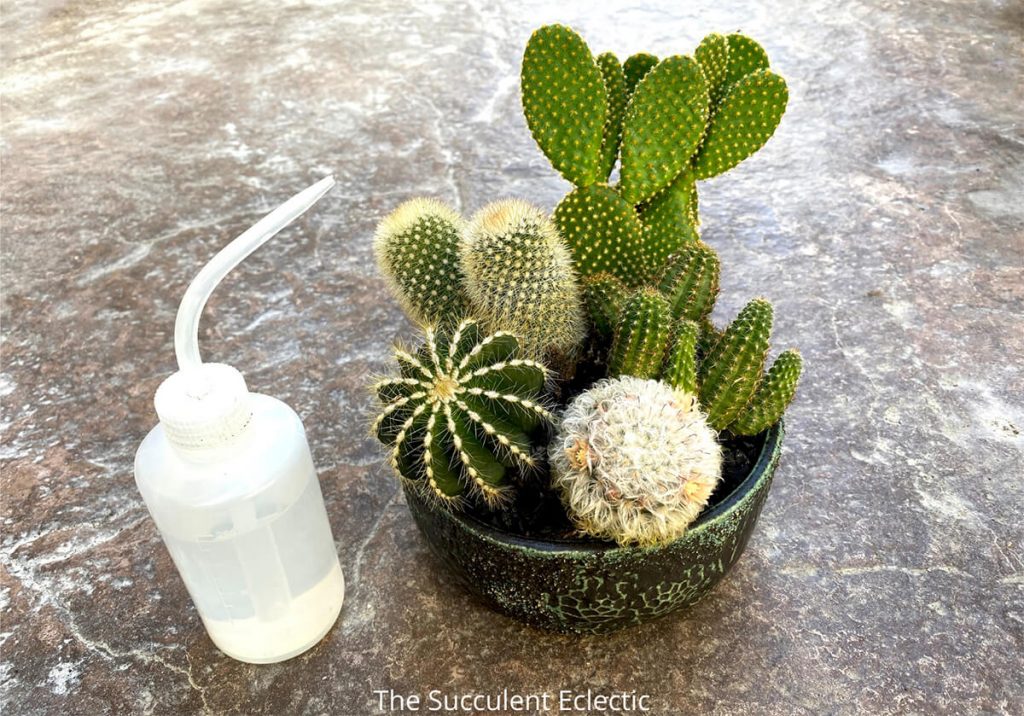
See how the black top dressing just makes the soil disappear? I find these narrow-necked squeeze bottles are perfect for watering closely planted cactus and succulent arrangements. But don’t water right away. I prefer planting cactus with dry root zones because they are easier to handle. But no matter how gentle you were loosening up the roots and removing the excess soil, some roots will have been bruised or broken. We want to give those damaged roots several days to heal and callous over before watering. I plan to wait about 10 days before watering this cactus arrangement.
Watering a cactus is much like the proper watering for succulents, only more so. Only water when the soil is dry. Because cactus store so much water in those thick, succulent stems, they can go weeks, sometimes months between waterings. Watch your plants closely to look for signs they are thirsty before watering. And when in doubt — leave them dry.
Now you know how to plant cactus and cactus arrangements! What do you think? Are you ready to learn how to plant cactus and succulents together in the same arrangement? If you’d like to learn more about Susan Aach’s beautiful pottery, explore her website or follow her business page on Facebook. To learn more about succulent and cactus arrangements and design, please join my Facebook group The Succulent Eclectic Community!
If you have any questions or comments about how to plant cactus, please take a moment and leave me a comment. I promise I’ll get right back to you. And it truly does make my day when I hear from you! And stay tuned for more cactus-specific posts!
Because life is just better with succulents (and cactus!)
P.S. For more great cactus information, please subscribe to The Succulent Eclectic! I’ll send you my free e-course, 7 Steps to Succulent Success! Thanks!
P.P.S. Why not join my Facebook Group for succulent lovers? We talk about succulent care, propagation, succulent identification, and design. It’s a warm and welcoming group that would love to meet you!

Hello there,
I’m trying to care for (revive?) a cactus I inherited from a friend- Mammillaria elongata. It may sound strange, I keep debating if it is even alive. May I send you pictures? To the best of my research, the entire cactus is covered in corking, also the owners had it in their low-light bedroom and forgot about it. On Day 1 the cactus has no visible green stems, more of a beige look. After I repotted it, it seems to have stretched out and lean towards the sun. After an accident with a toddler, I repotted him a second time in 1year and made sure to look at its roots – look plump and light-colored. I‘m looking for advice on its revival – can I expect new growth? If so, can I expect it to have a green stem? When do I know it is a lost cause? Thanks so much – thrilled to have found this website today 🙂
Hi Tricia,
Absolutely! Please feel free to send me your photos to: Kat [at] TheSucculentEclectic [dot] com
I will be happy to take a look and discuss it with you.
~Kat