Even in sunny San Diego, the advent of fall means all-things pumpkin! Chai pumpkin latte at Starbucks, yummy pumpkin ravioli from Trader Joe’s, and of course — living succulent pumpkins! These make wonderful gifts, and a dazzling place setting for Thanksgiving. When the pumpkins finally fade, you can still plant and grow the succulents! I have shown you my no-glue succulent pumpkins before. But it only works for the full-sized pumpkins. And you certainly can carve the pumpkin, and plant your succulents inside. That’s is a fun approach, but it doesn’t last long. The pumpkin starts decaying the moment you cut into it. So today, I am going to show you how to make classic, long-lasting, succulent topped pumpkins. (And, at the end, I’ve got a short cut for you!)
How to Make Succulent Pumpkins!
In this Post We'll Cover:
{Please note, some links in this post may be affiliate links to sites that pay me a small commission if you click on the link and make a purchase. This commission is at absolutely no cost to you. I only recommend products and companies that I have worked with and truly love! ~Kat}
DIY Succulent Topped Pumpkins
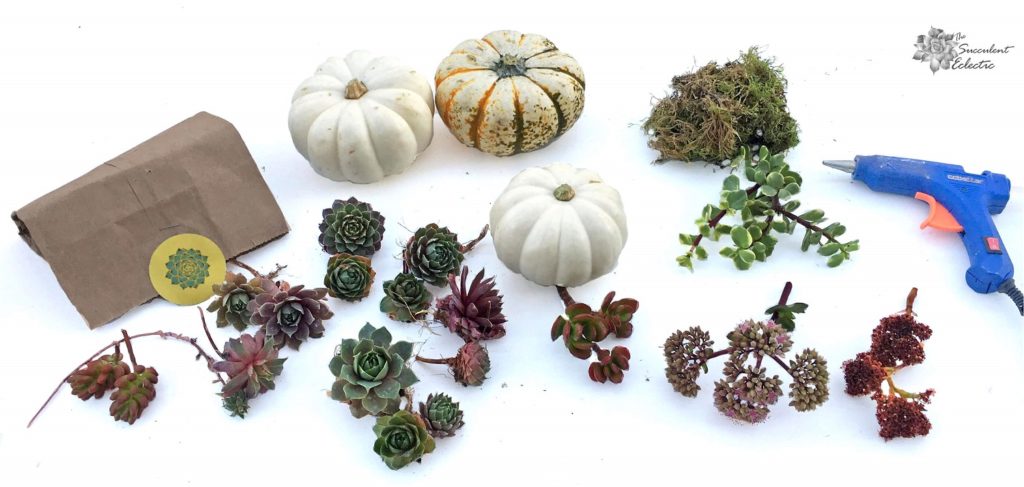
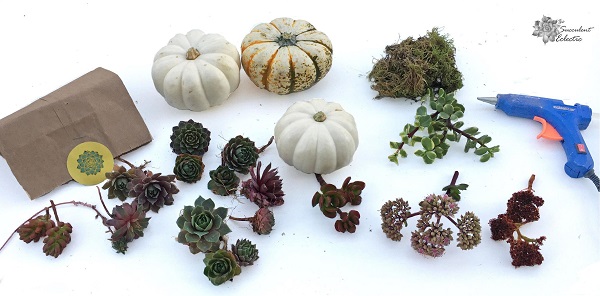
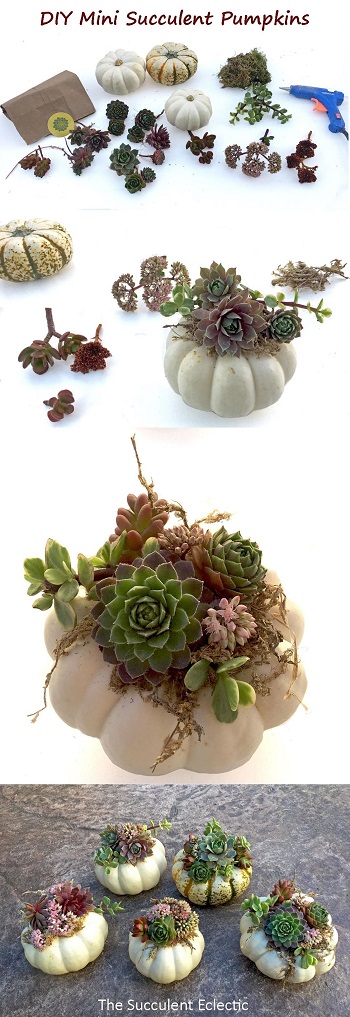
To make your succulent topped mini pumpkins, you will need:
Mini pumpkins
Natural moss (I love this one!)
Sharp clipping shears (This is my favorite)
Hot glue gun (yes, really. But it doesn’t hurt the plants — I promise!)
Succulents! (Small plants, or cuttings)
When choosing your pumpkins, examine each carefully. Do not choose any with soft spots or any gouges — they will not last as long. You want a fresh, unblemished pumpkin. For my succulents, I was delighted to receive these beautiful, bare-root Sempervivum clusters from Mountain Crest Gardens. The quality is exceptional! These Sempervivums are a perfect choice for this project. They are exquisite rosettes, blushed with a rich burgundy color. They make a wonderful focal point for each arrangement. And, in several months, when the pumpkins are finished, you can plant them in nearly any climate to thrive outdoors, year-round.
I made the Sempervivum rosette the focal point of each of my succulent pumpkin arrangements, and selected burgundy tinged cuttings from my garden to fill out each arrangement. I used Crassula ovata cuttings, bloom stems from Sedum ‘Autumn Joy’, Sedum rubrotinctum ‘Aurora‘ and Portulacaria afra ‘Variegata’ for some bright and lovely contrast.
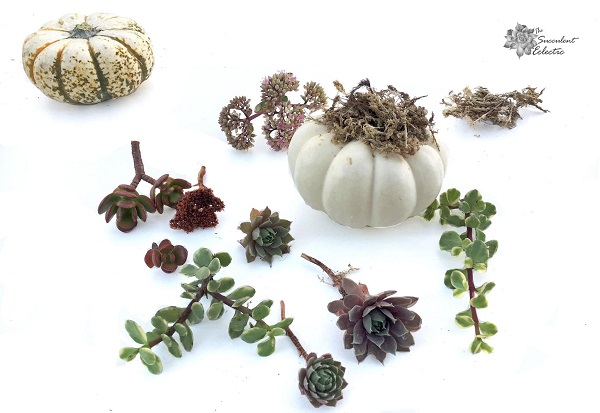
Succulent Pumpkins — Glue the Moss
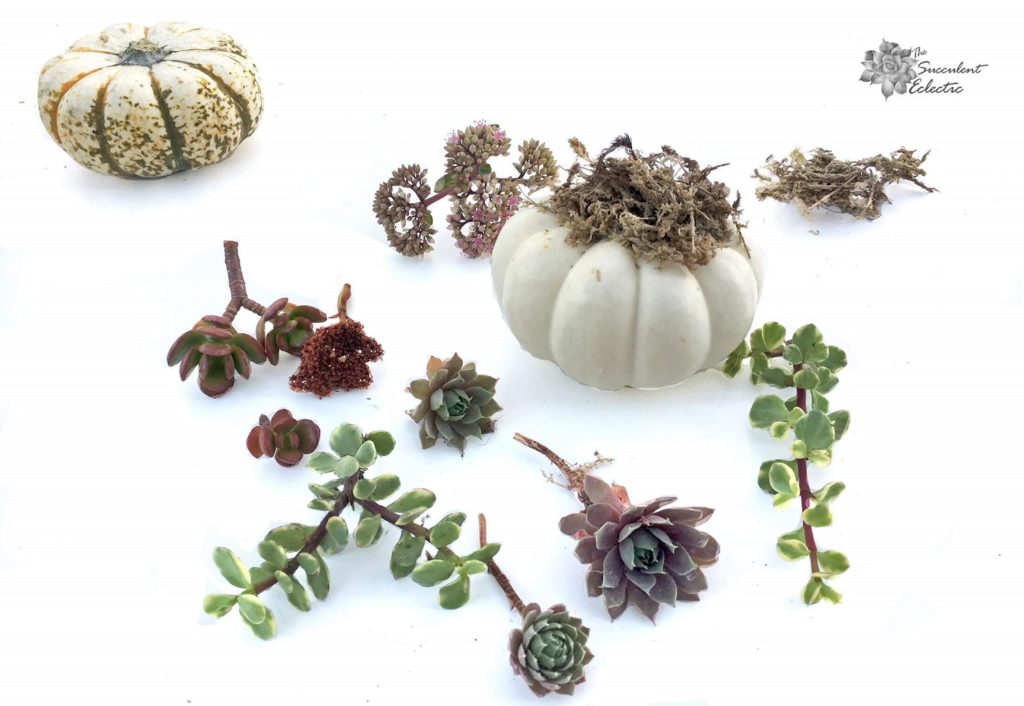
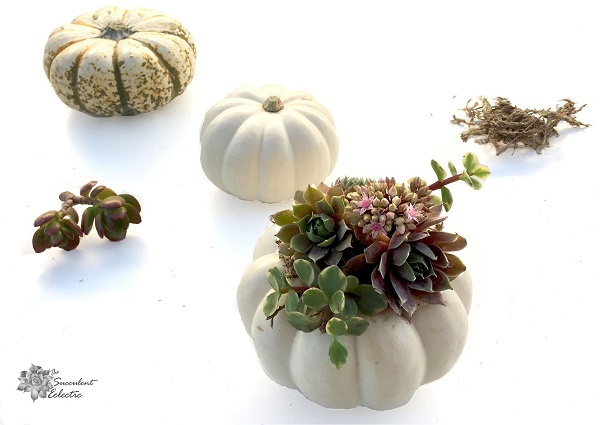
Pull some of your sphagnum moss, and tease it apart. The moss will provide a medium for your succulent cuttings to root into. The fine strands of moss will collect water when you spray them, and release it to the succulents as they root. This is the secret to your succulent pumpkin remaining lush and full for months at a time. I use a high quality, long-strand sphagnum moss for most of my projects with succulents. I really love the quality of this moss.
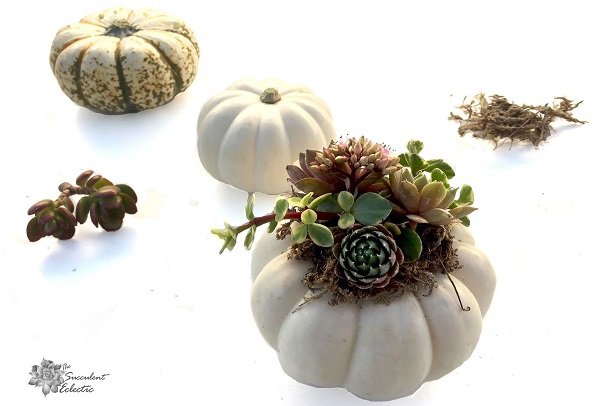
Take the amount of moss you intend to use, and shake it a bit. You want all the tiny pieces that will come off to be away from your pumpkin. Now wipe any dust or dirt from your pumpkin. Apply hot glue to the pumpkin and press the moss to the top. Take care not to burn your fingers! Even on low heat, it is not fun.
Play With the Arrangement of Your Succulent Pumpkin
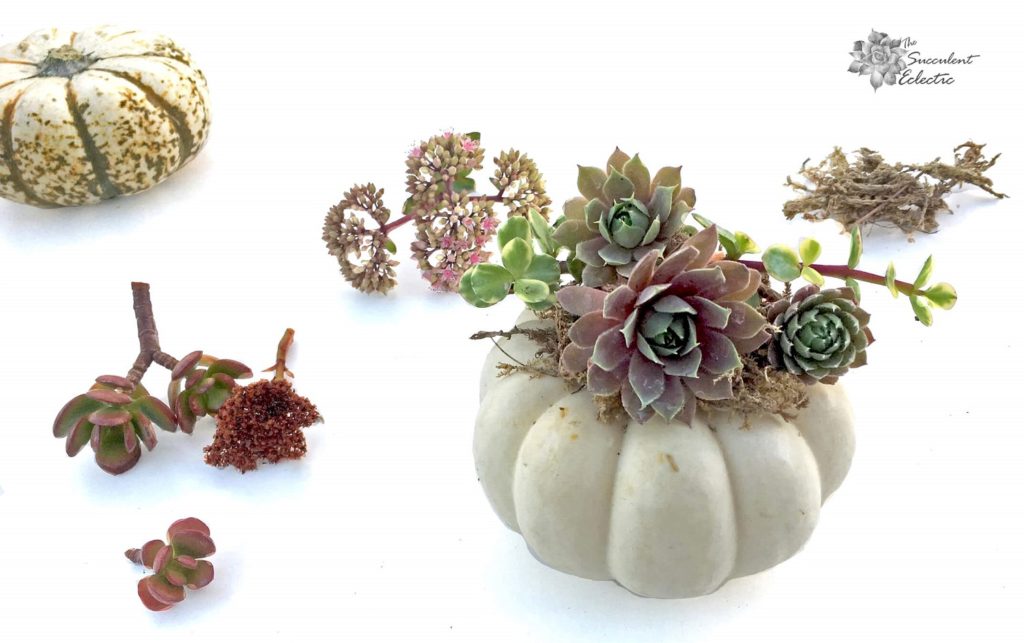
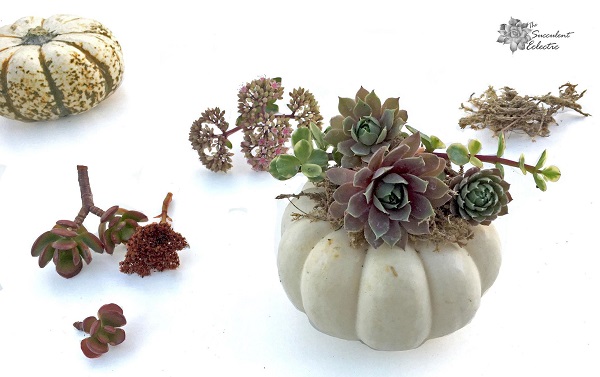
The difference between just another pumpkin with a bunch of succulents plopped on top and one that looks really special is in the care taken with the arrangement of the plant material. Even though it is so small, you want to use the basic elements of good floral design for a pleasing arrangement. Choose a main plant to be the focal point, and work the rest of your plants around it. Even though you will be gluing cuttings on top, arrange your succulents to look as if they are growing together. I play with the positioning of my succulents before I ever reach for the glue. And be sure to turn your pumpkin as you work. You want it to be pretty from all sides. Take your time with this stage. Most important — have fun with it!
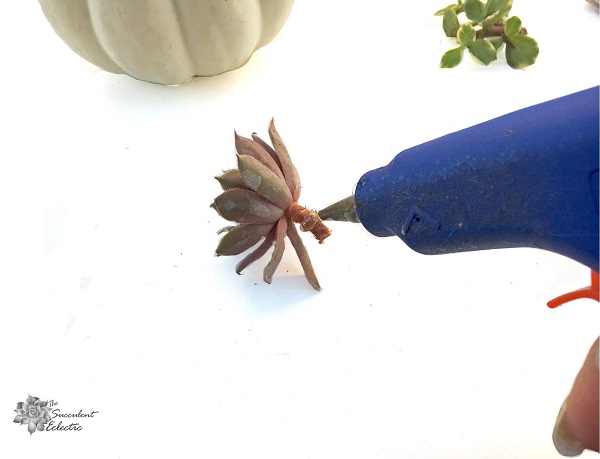
Apply Hot Glue for Succulent Topped Pumpkins
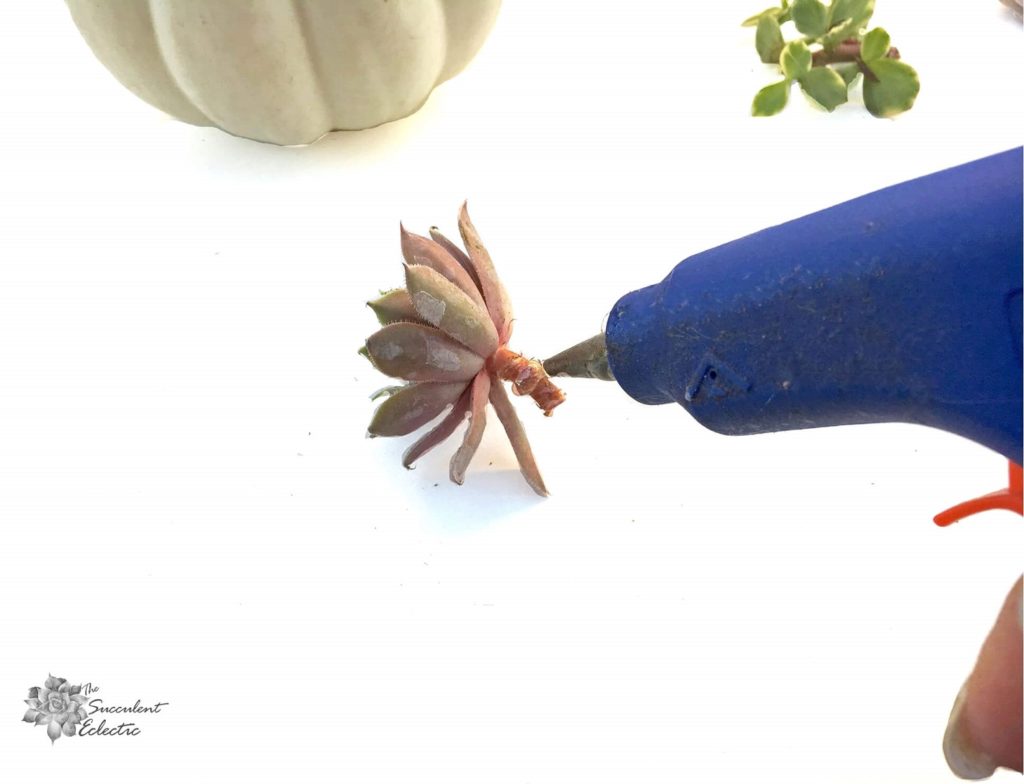
I know you must be worried about the effects of the hot glue on the succulents, right? I confess — I was too, once upon a time. But alllll of the experts kept saying it doesn’t bother the plants. Even more — they insisted the cuttings would root right through the glue and live on happily. As hard as it is to believe, this is exactly what happens. The very thick skin succulents have developed to prevent the loss of their precious water stores seems completely impervious to the hot glue. Apply sufficient glue to really anchor your stem in place. If you need to add glue to the leaves themselves, go right ahead. You want the cuttings to stay in place. If you wind up having to remove cooled glue from your cutting in order to re-attach it, you will see that the glue leaves no mark on the plant.
As you glue each succulent into place, take a moment to check your design. Turn the pumpkin to add new cuttings from different directions, to give the succulent pumpkin a full look that is pretty from all sides.
Design Succulent Pumpkins From All Sides
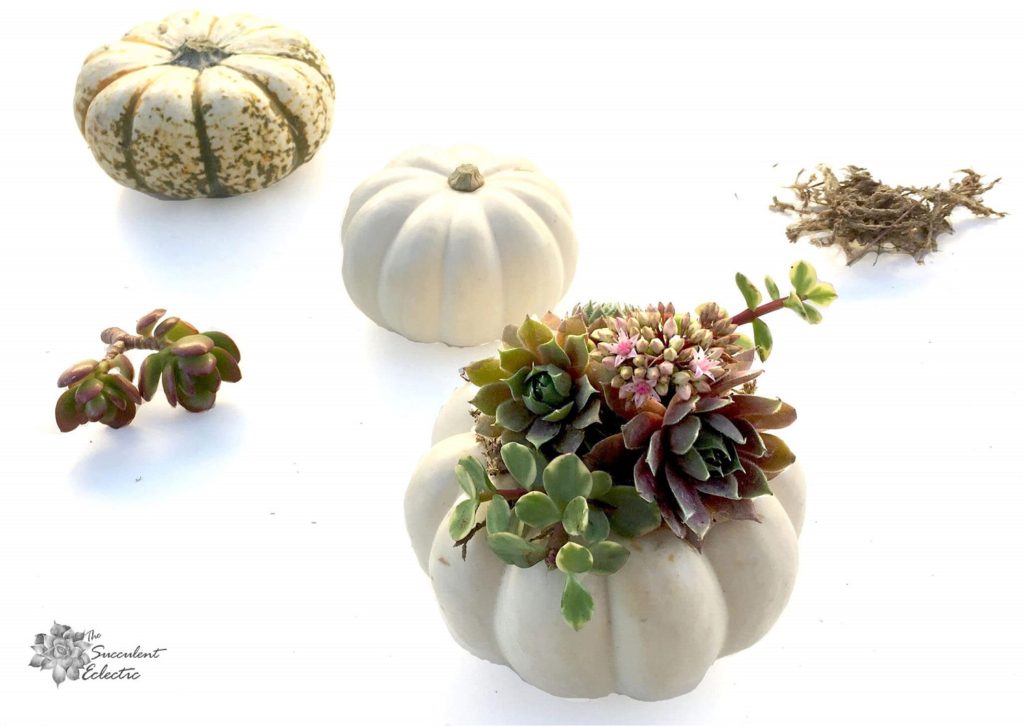
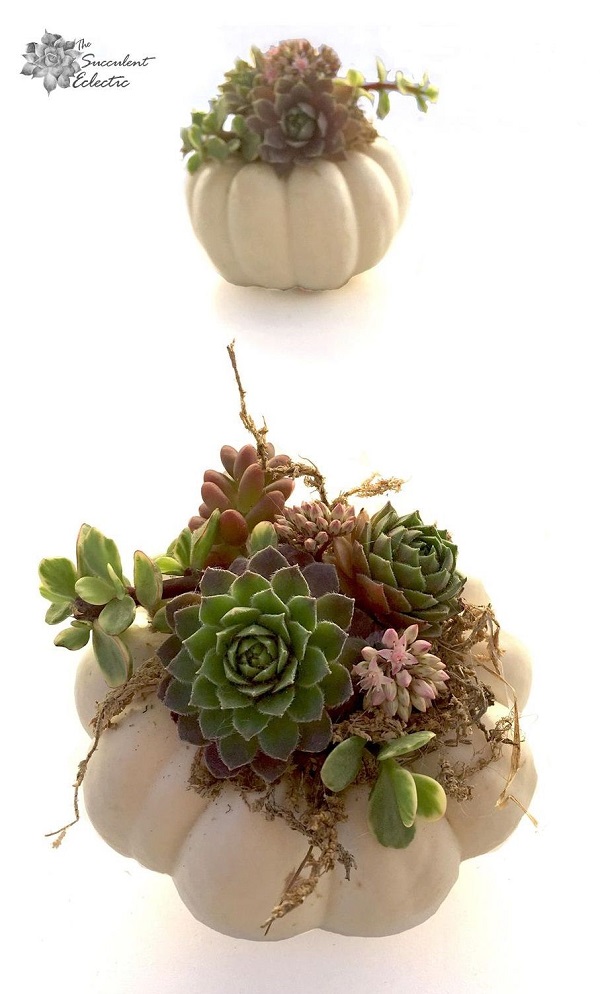
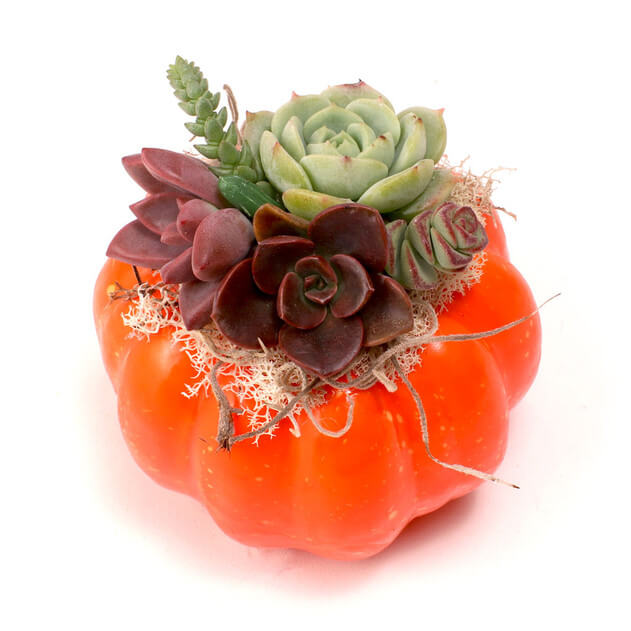
Here is my first, finished succulent topped pumpkin. Isn’t it cute? You see the two Sempervivum rosettes. A blossom stem from my Sedum ‘Autumn Joy’ is at the top, with three small sprigs of Portulacaria afra variegata adding some bright, cream tipped contrast along with its lovely burgundy stems.
2nd Look at Succulent Topped Pumpkin
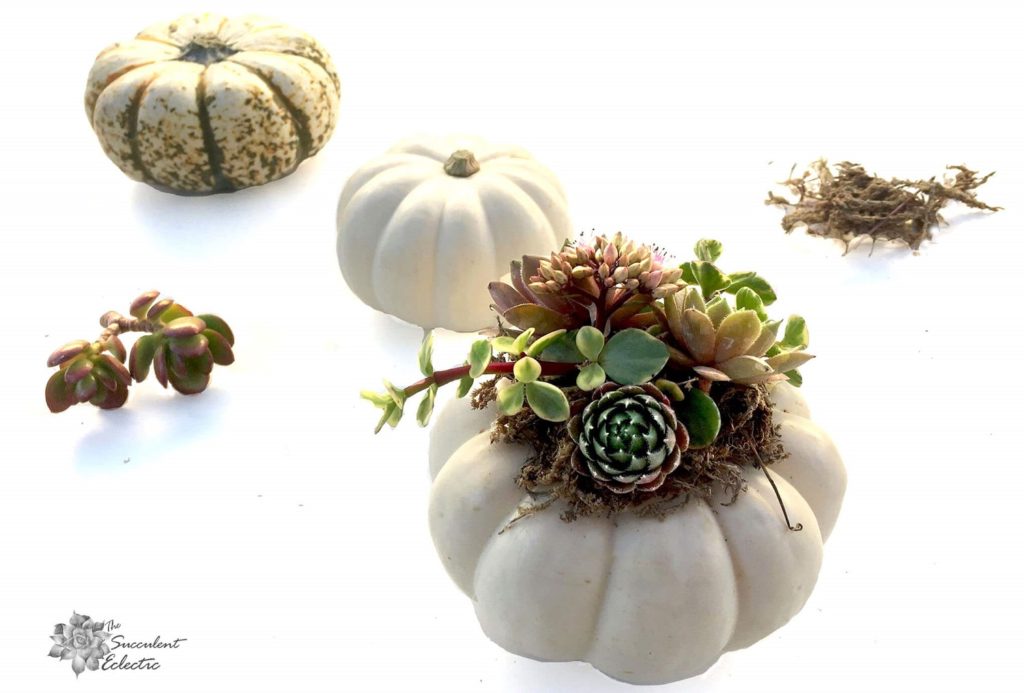
This is the “backside” of my mini succulent pumpkin. I used another Sempervivum cutting. Do you see how the entire arrangement looks great from all sides? Also, note how the stems all seems to be “growing” from the same point..At this stage, look your pumpkin over carefully from all sides. Are there any spots that look a bit bare? Find small cuttings to tuck into those places. While an important premise of flora design is to always hide your mechanics, I like the look of the moss. I think it adds an elemental, organic quality to the arrangement. If you agree, you might want to tuck tiny little tufts in to hide the glue. There is nothing remotely appealing about the look of the glue — or worse, the glue strings! Clean this up, and make any finishing touches to your masterpiece.
Caring for Succulent Pumpkins
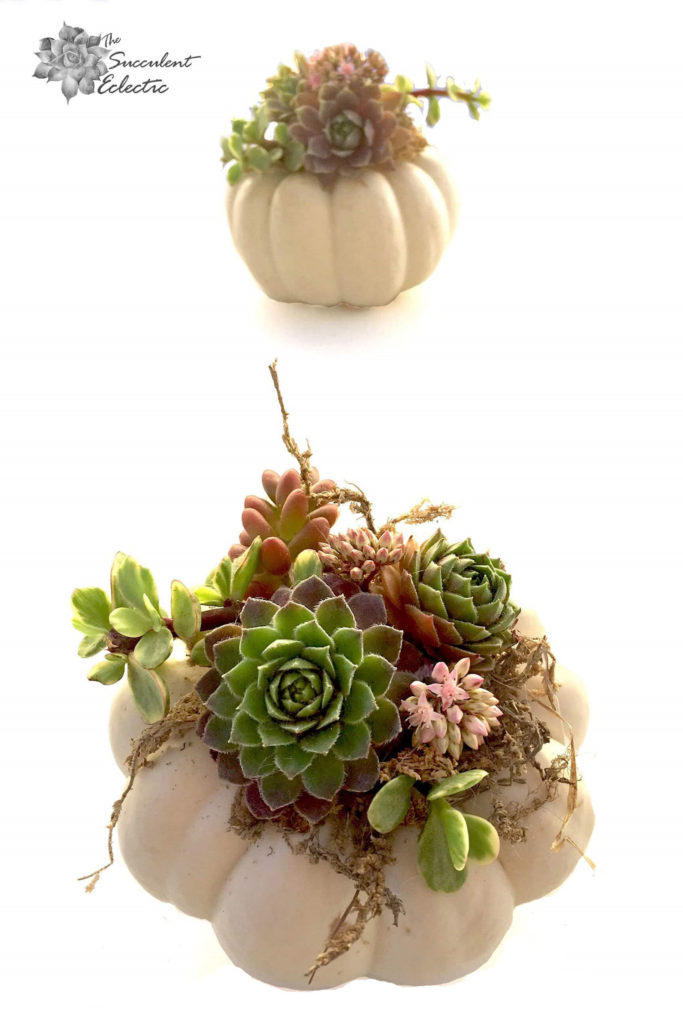
I really do love this project. How about you?
I keep my succulent pumpkins outdoors most of the time, but only because we don’t get a hard frost. Provide bright, indirect light, and protect the tender succulents from frost. Spay the succulents and moss with water every day, or at least every other day. The succulent cuttings will begin to root into the moss, and those roots will take in the moisture stored in the moss to support the plants. Over time, you might want to tuck in a trace of moss to cover the developing roots. To keep the pumpkin good as long as possible, set it on a piece of corrugated cardboard. You can cut the cardboard to fit, and not be seen. Since it was never cut, your pumpkin will likely last up to several months. When the pumpkin finally grows soft, remove the succulents and plant them! They will continue to grow for you.
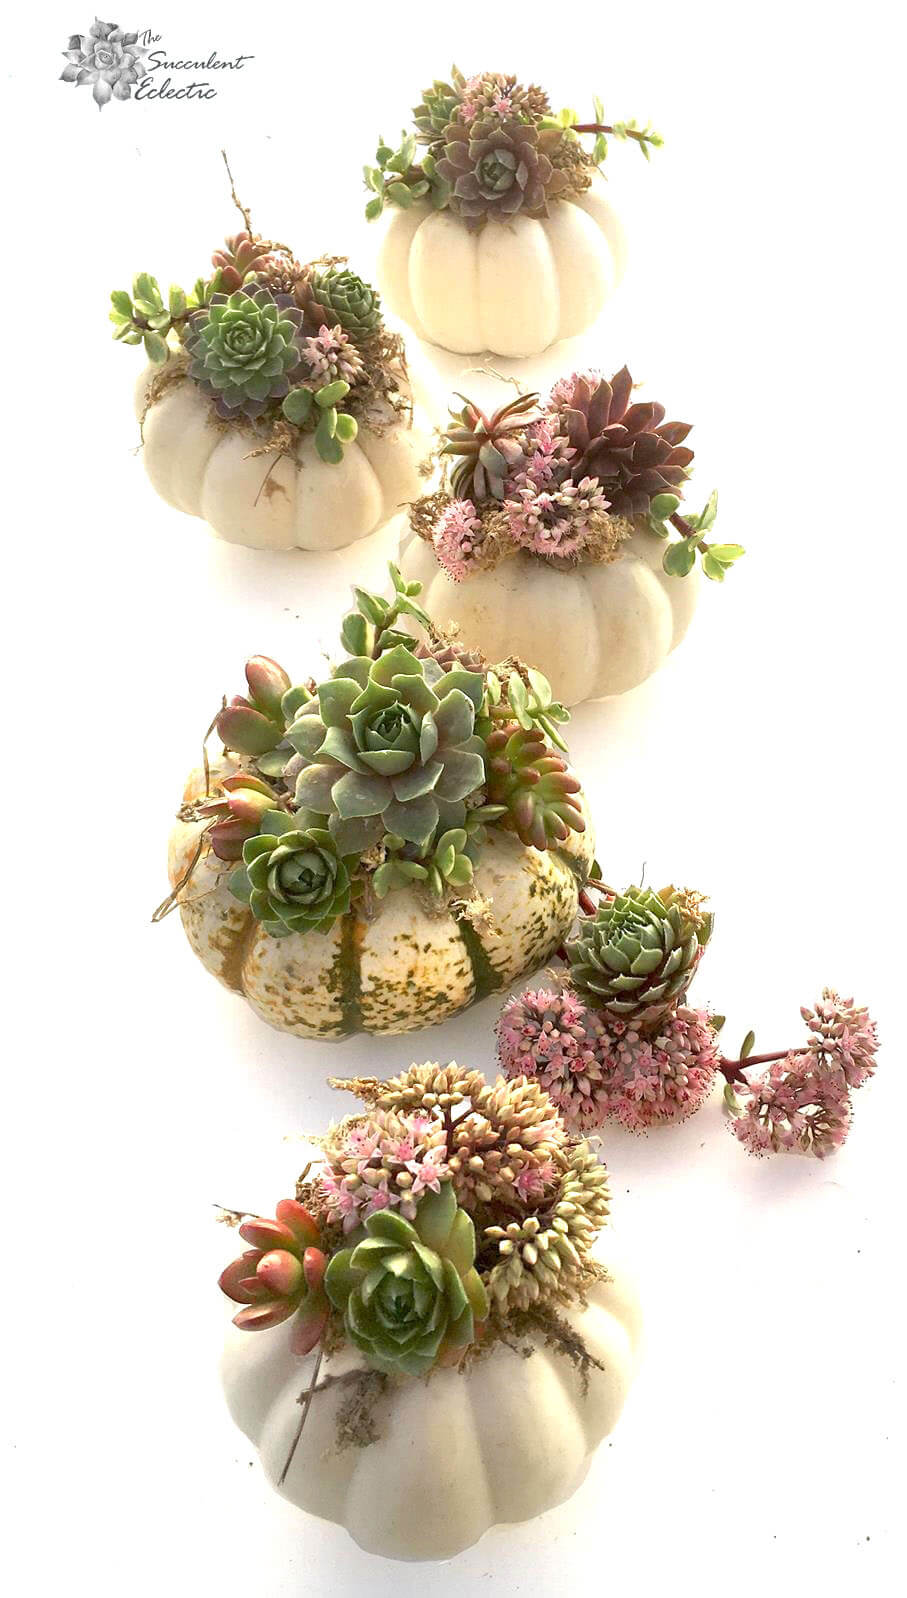
If you need some way to justify adding this small bundles of charm to your life, they make wonderful hostess gifts. And think about it — wouldn’t these make a spectacular Thanksgiving favor? Picture the table with a succulent pumpkin at each place setting. After dinner, your guests could take their pumpkins home with them. Then, in a few months, when the pumpkin is finished, they could plant the succulents and grow them into the new year!
Succulent Pumpkin Kits
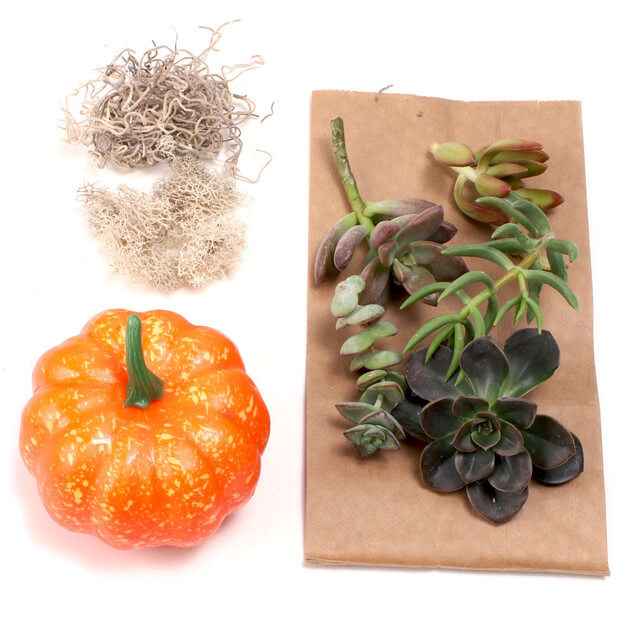
If you just love these succulent pumpkins, but could so without hunting up the ingredients, the good people at Mountain Crest Gardens have got you covered! They offer several different succulent pumpkin kits that include just what you need. Choose mini pumpkin kits, or big, centerpiece pumpkins. These also make terrific gifts for someone you love!
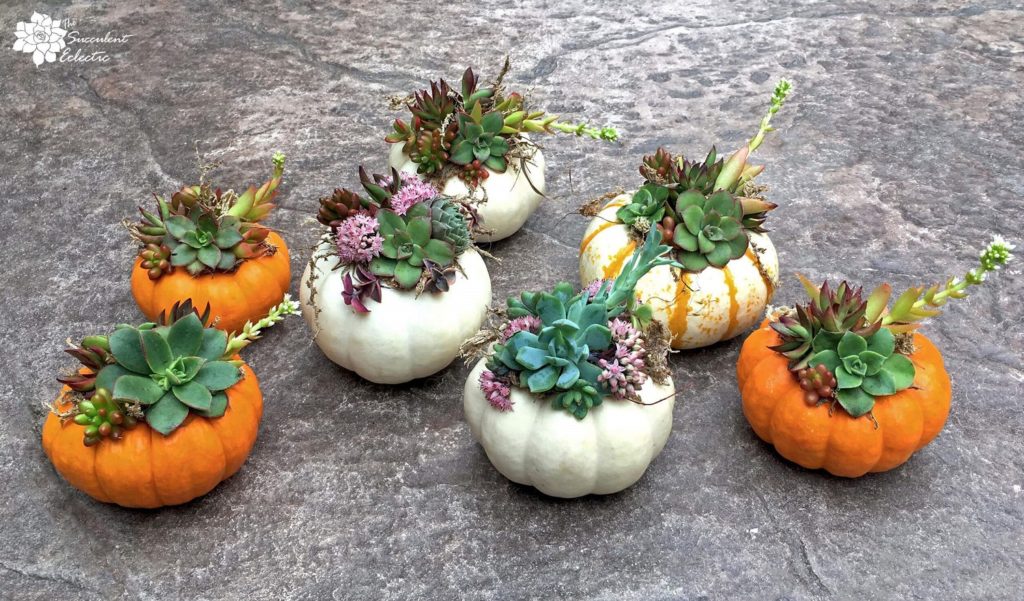
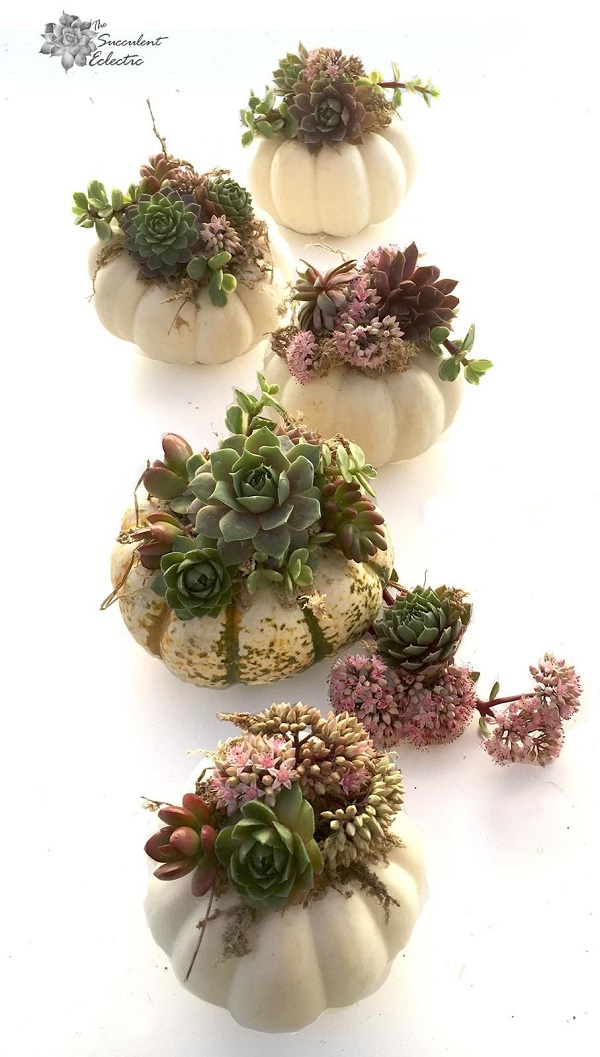
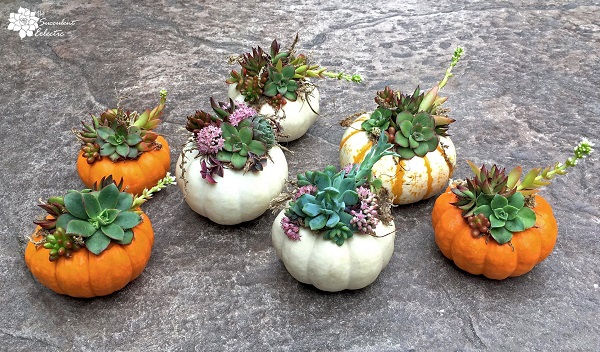
Although I personally prefer the white or tiger striped pumpkins, the orange succulent topped pumpkins are pretty darn cute, too! What better way to celebrate the return of fall?
My sincere thanks to Mountain Crest Gardens for the super Sempervivums that made this project possible!
So, what do you think? Will you be making succulent pumpkins this season? If not — how can you resist? Please take a moment and leave me a comment to know what you think. Thanks!

P.S. For more fun succulent DIYs as well as in-depth succulent care articles, please subscribe! You will also receive my FREE e-course, 7 Steps to Succulent Success! I hope you will enjoy it!
P.P.S. Why not join my Facebook Group for succulent-lovers? We talk succulent care, propagation, succulent identification and design. It’s a warm and welcoming group that would love to meet you!
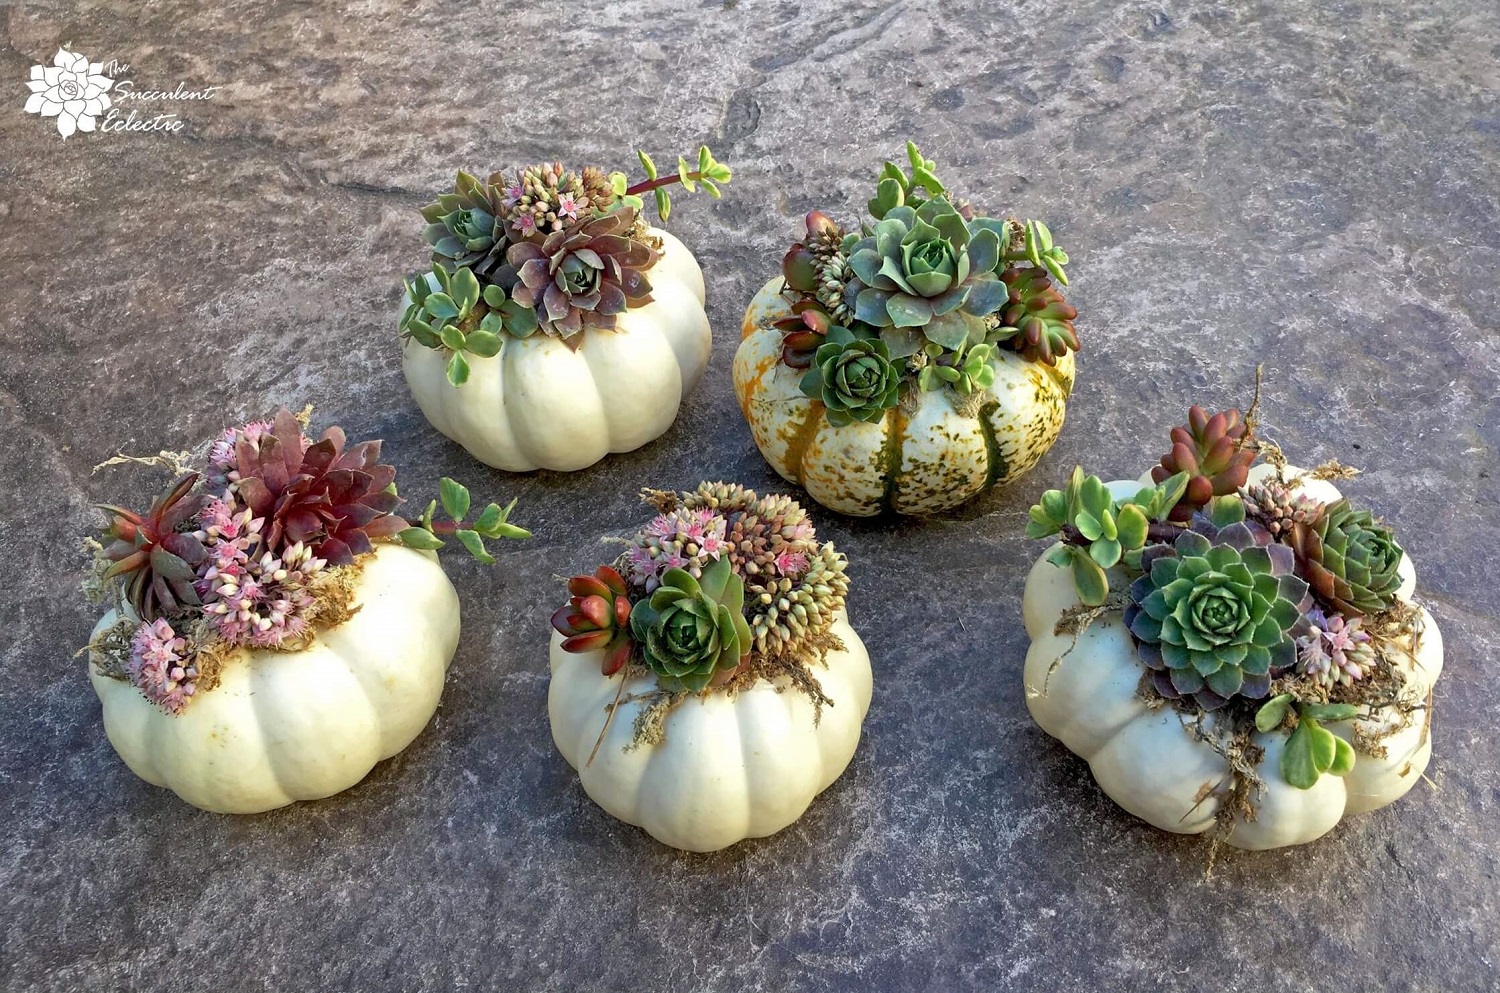
I have always dug a hole in my pumpkin & then added the plants, but then the pumpkin doesn’t last too long. So you just glue the moss & succulents on top, right?
Thank you, I always look forward to your posts.
Sharon
Hi Sharon,
You’re not doing a thing wrong, but the cut pumpkin will quickly rot as you have seen.
So, instead, I use the whole pumpkin – making no cuts whatsoever. Glue the moss on top, then glue the cuttings into the moss. You’ll want to spray the succulents with water occasionally. because they will continue to live and even root into the moss! This way, your succulent pumpkin arrangement can last for weeks to months! 🙂
Thanks SO much for reading! I’d love to see your creation!
~Kat