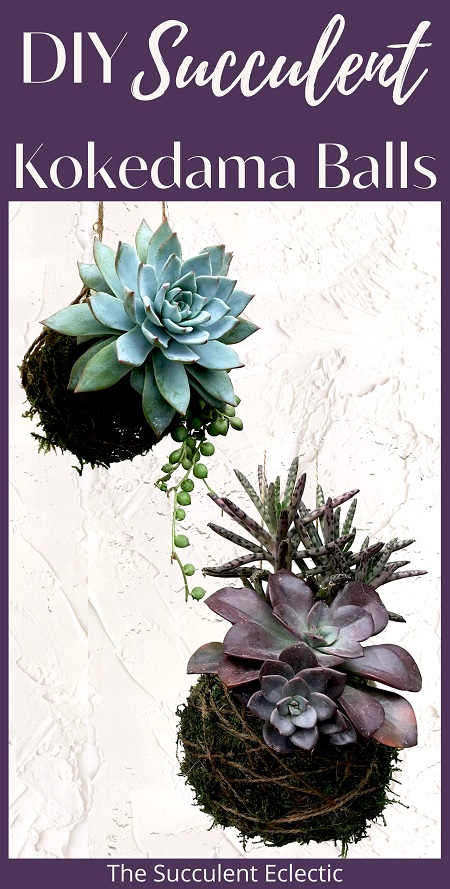
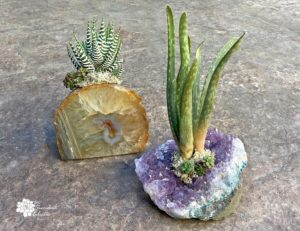
Have you seen those whimsical “string gardens”, a cluster of plants hanging from the ceiling, each in its own moss ball? They are string gardens made of Kokedama balls, and we are going to see how to make them using succulents!
How to Make Hanging Succulent Kokedama Balls
In this Post We'll Cover:
{Please note, some links in this post may be affiliate links to sites that pay me a small commission if you click on the link and make a purchase. This commission is at absolutely no cost to you. I only recommend products and companies that I have worked with and truly love! ~Kat}
What is a Kokedama Ball
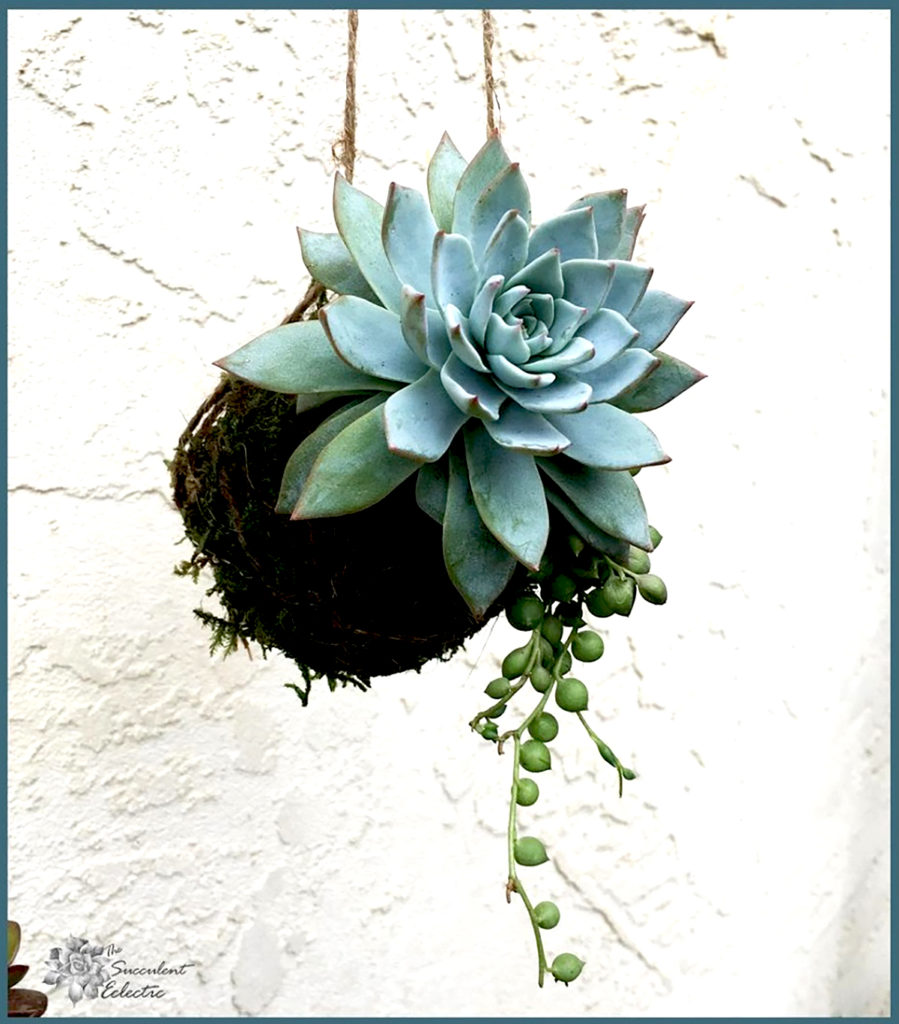
Kokedama (KOH-kuh-DAH-mah) is a Japanese art form dating back to the 1600’s. Kokedama, (苔玉, in English, translated means “moss ball”) is a ball of soil mixed with clay, wrapped around the roots of an ornamental plant, covered in moss. Originally done with bonsai plants, Kokedama also became known as the “poor man’s bonsai”. Widely popular throughout Japan for centuries, Kokedama moss balls are now sweeping the U.S. showcasing a wide range of plants. We just change the soil mixture a bit to accommodate succulents, and the results are fantastic – succulent Kokedama!
Are you ready to get your hands dirty?
DIY Succulent Kokedama Balls
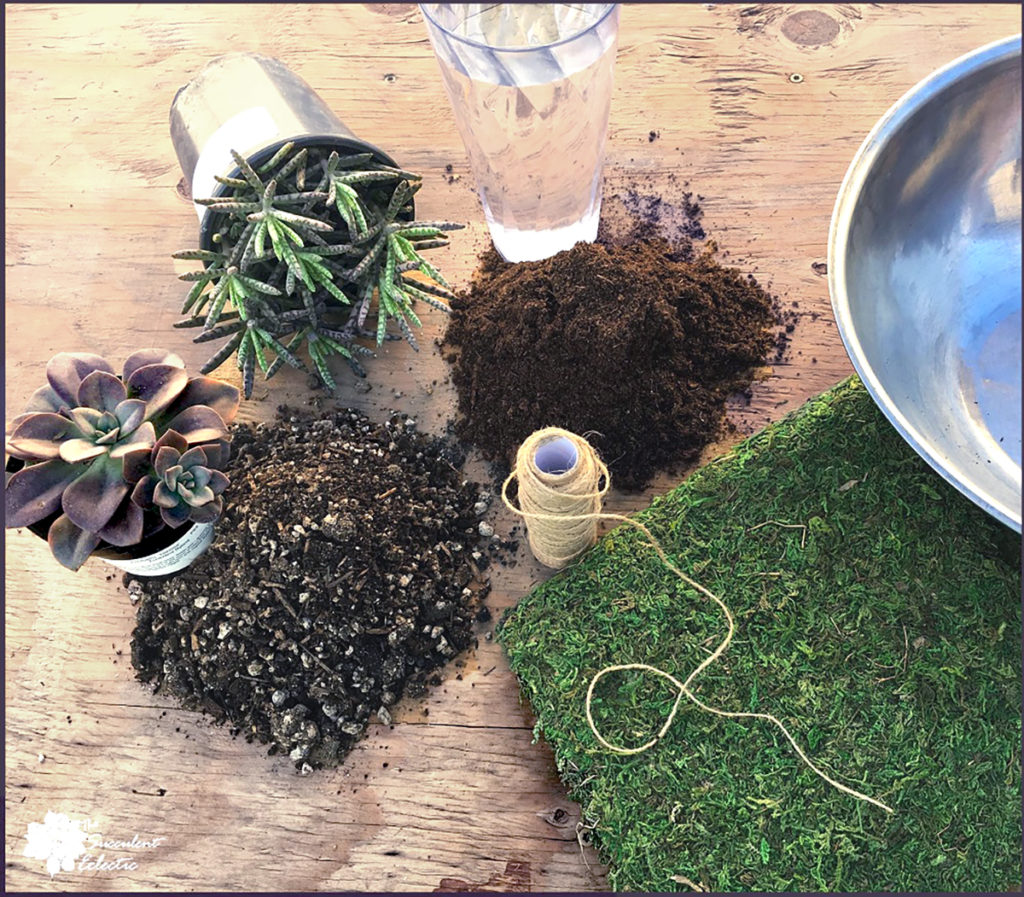
To make a succulent Kokedama ball or succulent moss ball, you will need:
A rooted succulent plant, or 2 coordinating succulents
Green sheet moss (with the mesh backing makes this project so much easier!)
A large bowl
Water
Soil for Succulent Kokedama Balls
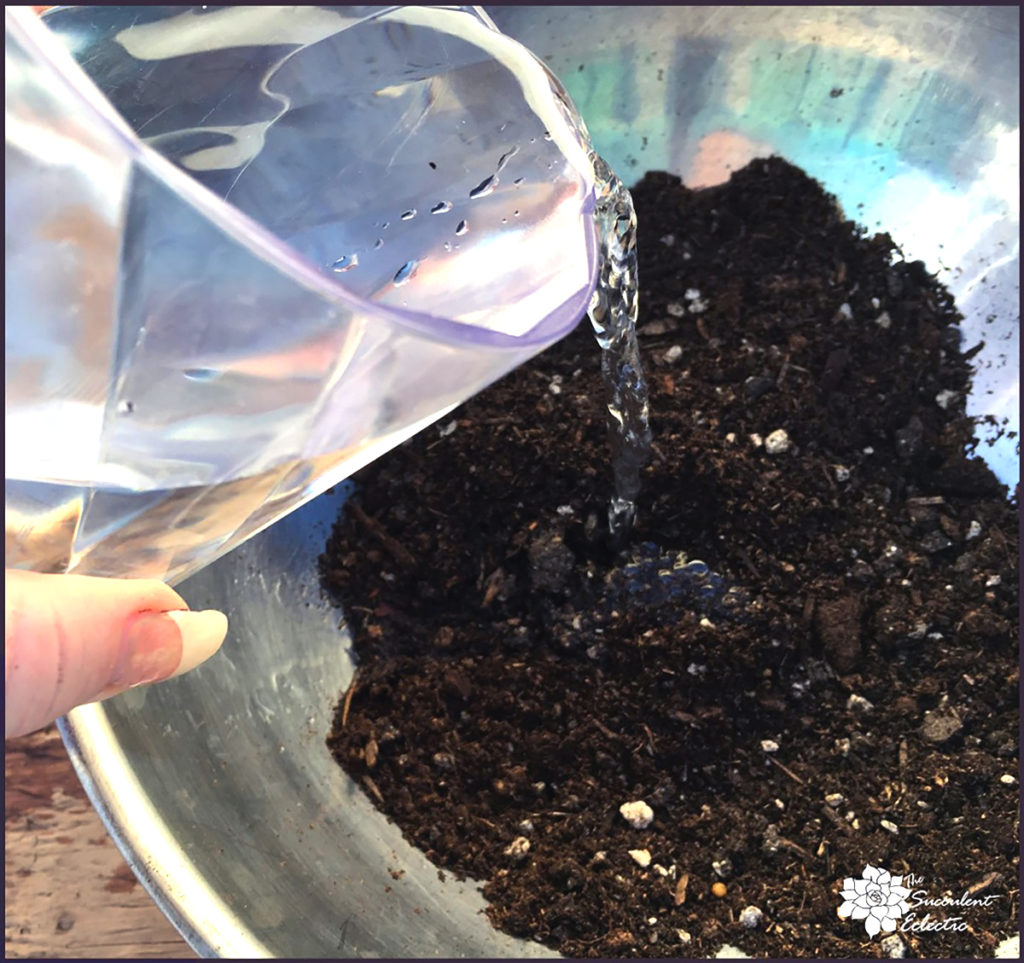
Traditional Kokedama balls use a heavy clay based soil mixed with peat moss to ensure the moss covered balls retain sufficient water for ferns and other ornamental plants. Since we will be making succulent Kokedama balls, we need the soil to hold some moisture, but not too much. Adding peat moss to succulent soil in a 50/50 ratio works perfectly. Get ready to play in the dirt!
Add water to your soil mix. The mix has the right balance and the right amount of water when it will hold in a ball form. This will be the foundation of your succulent moss ball.
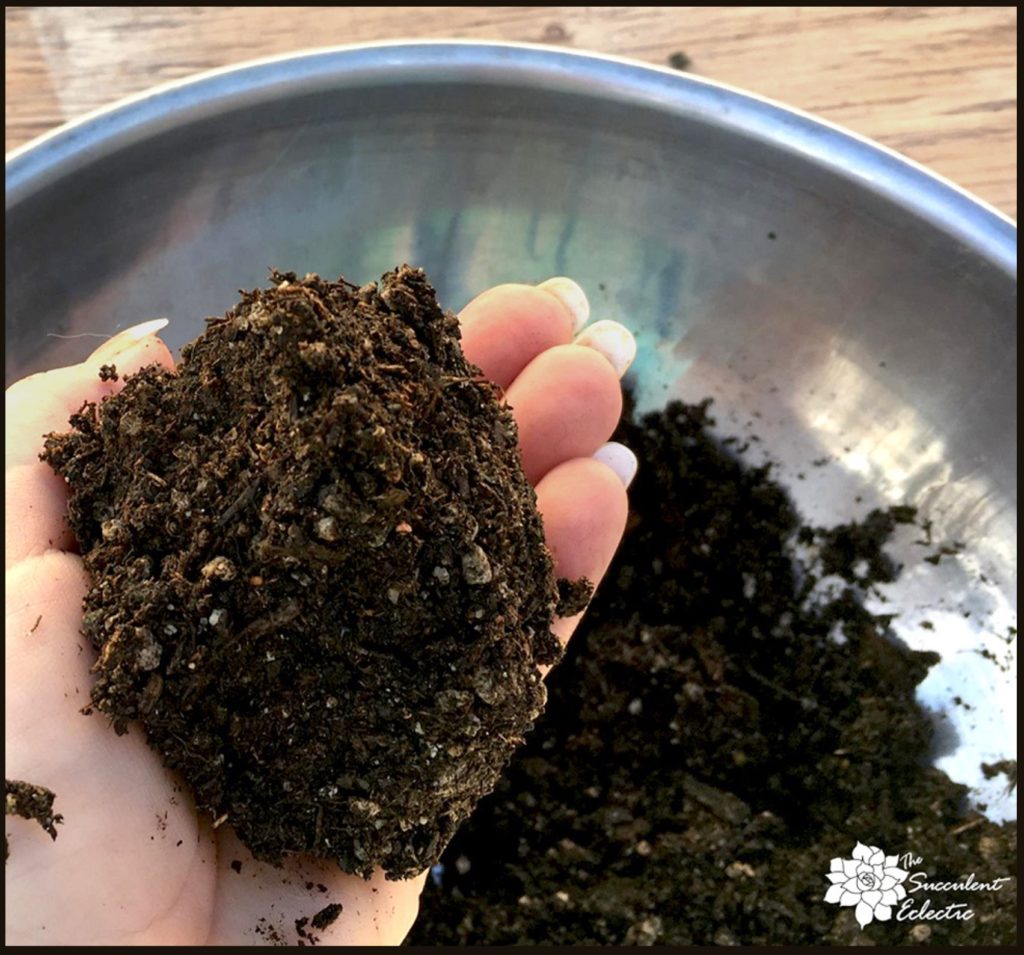
Set your soil mixture to the side, while you work with your succulent plants.
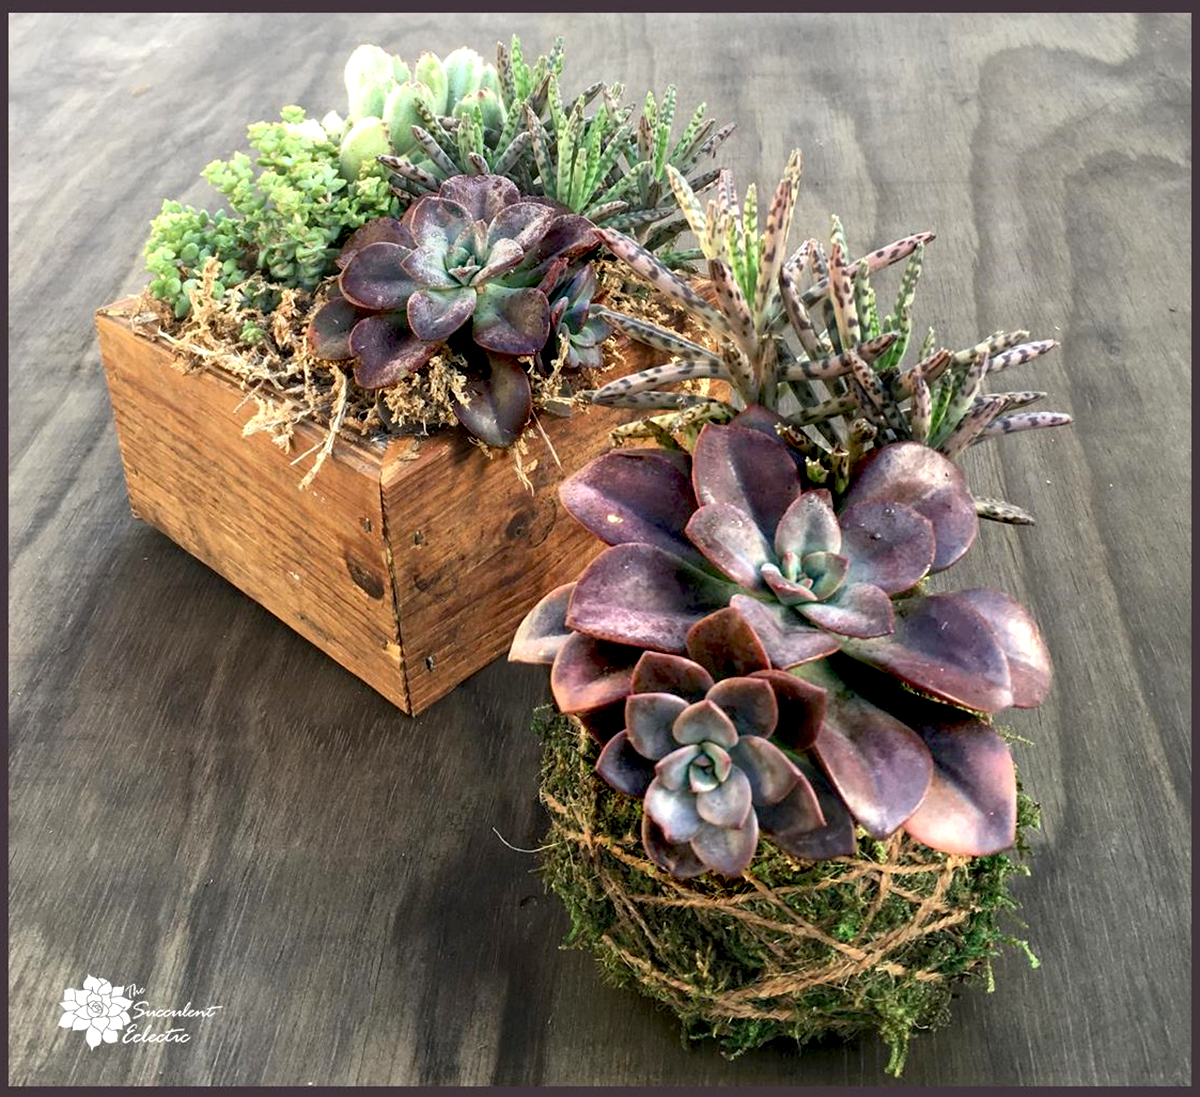
Kokedama balls are very effective with a single striking succulent. I opted to make mine with two complementary succulents, but the process for making them and their care is the same whether you use one plant or two. I used Echeveria ‘Chroma’ with Kalanchoe delagoensis for the plum colored arrangement, and Echeveria peacockii and Senecio rowleyanus “String of Pearls” for the silvery blue and green.
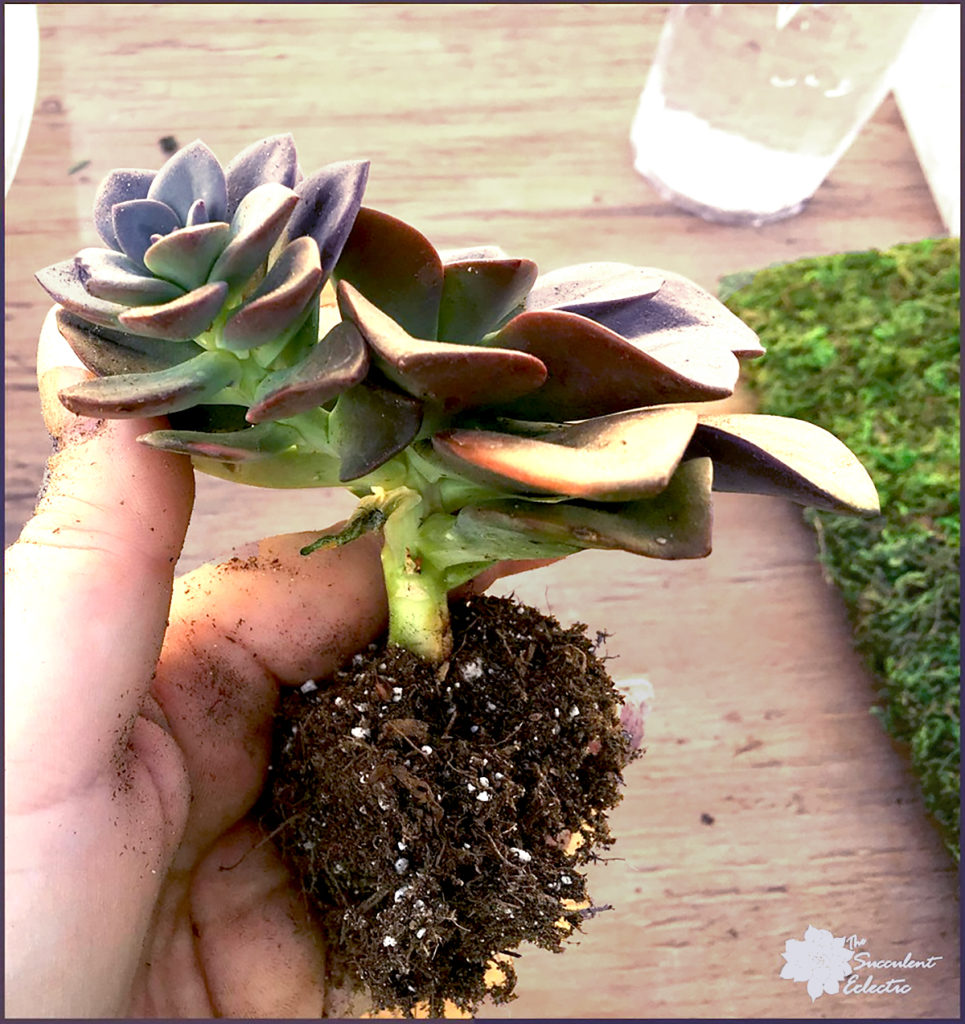
Prepare your succulent(s) by removing excess soil and pinching back some of the side roots until your root ball looks like this. If you are using two plants, prepare both the same way, then hold them together the way you want them in the final Kokedama ball.
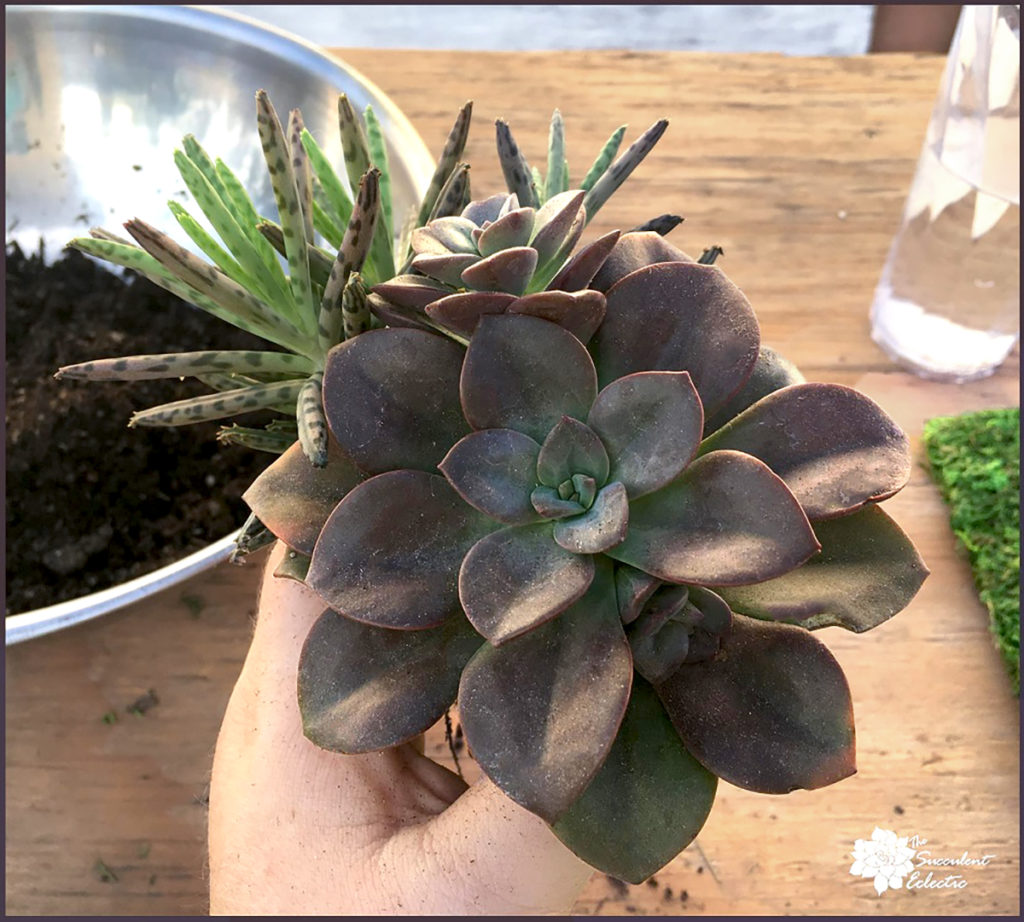
When you have your plants prepared, take a look at the size of their combined root balls. Your finished succulent Kokedama ball should be about twice that size. Set the plants aside.
The Moss I Use for Succulent Kokedama Balls
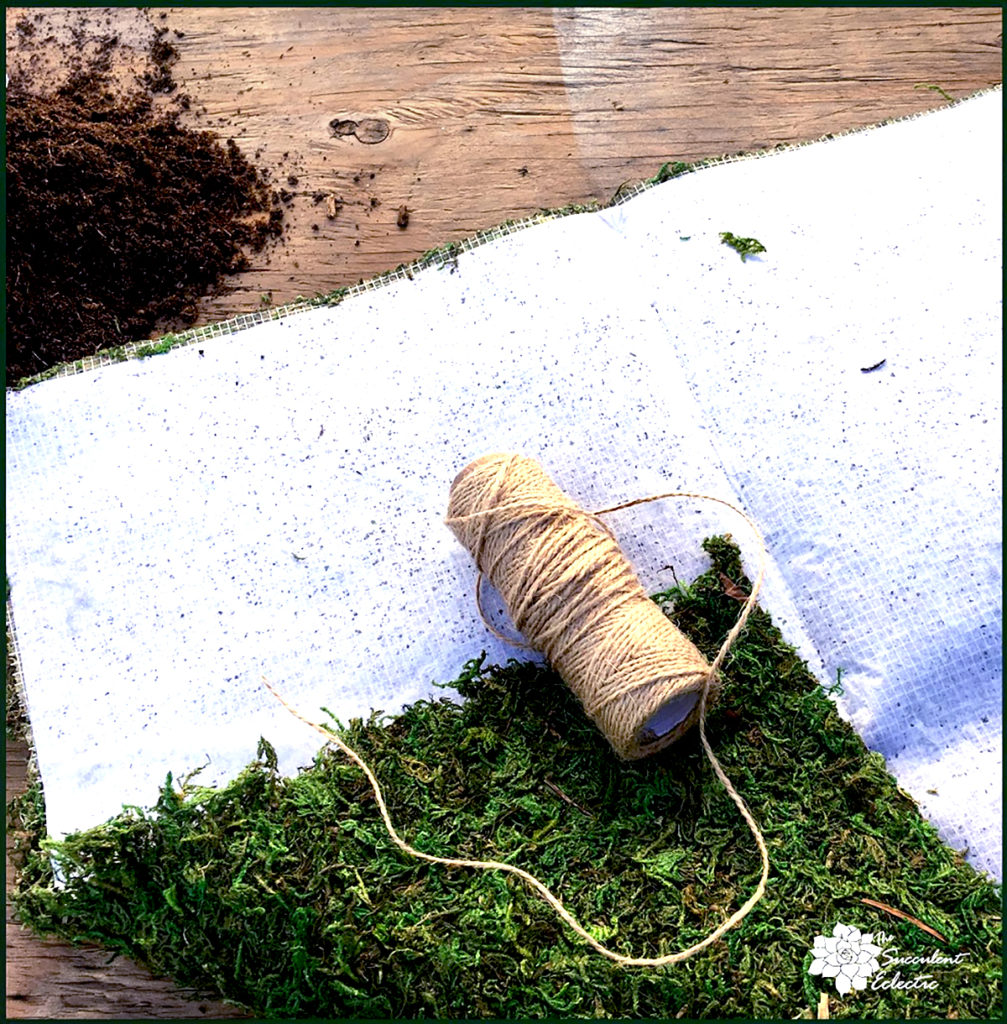
Now you need to prepare your sheet moss. In the interest of full disclosure, I should tell you that I am not a natural born crafter. I don’t have the knack or the skill, so when it came to selecting sheet moss for this project, I got the kind with training wheels! 🙂 This green sheet moss has a mesh backing that makes it hold together. This made it so much easier to work with, so that I was not always having to piece the moss together while I wrapped the soil and moss with twine. You don’t need to use this – any good quality green sheet moss will work well. But if you want an easy option when you first try this DIY – I do highly recommend using the type with the mesh back for the sake of simplicity. This 18″ x 16″ sheet moss was enough for me to do 4 Kokedama balls.
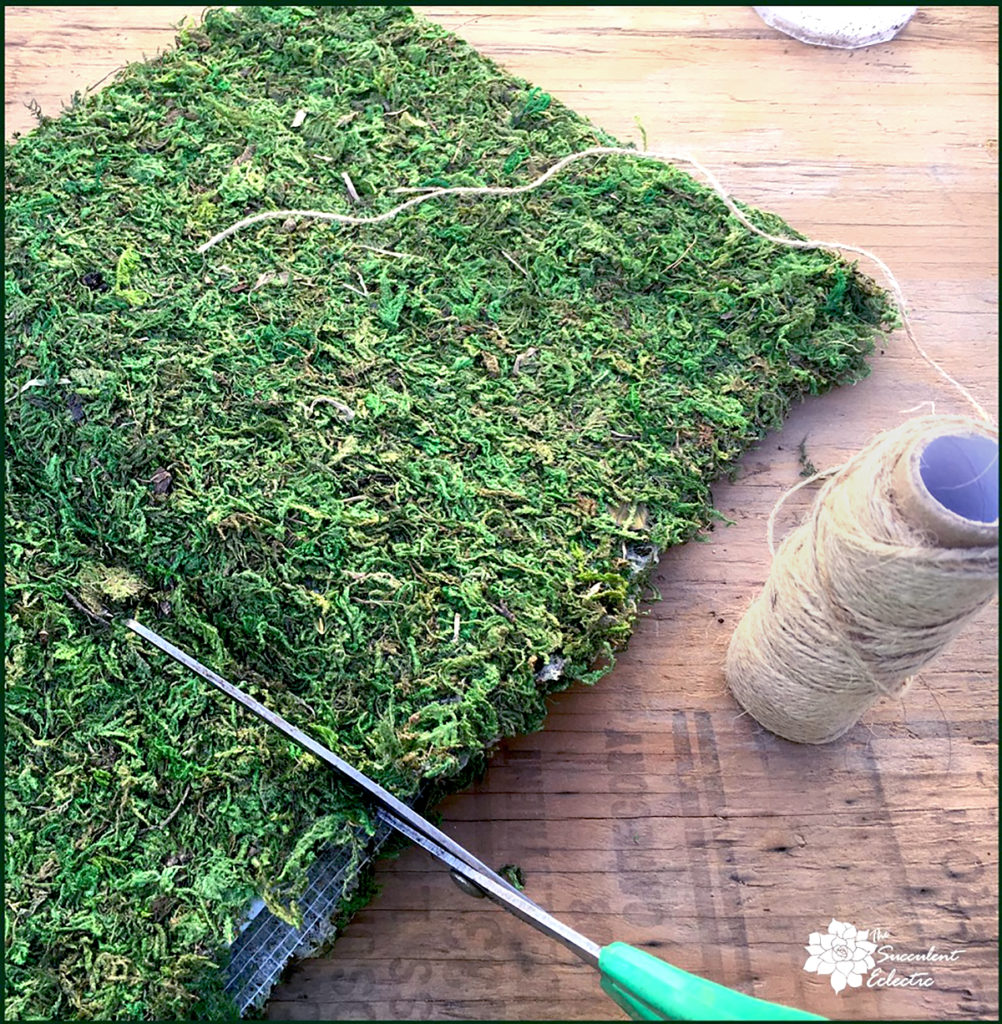
If you are using loose sheet moss, set aside about twice the amount you think you will need to cover your Kokedama ball. If you are using the sheet moss with the mesh back, you will be able to measure it by setting the ball of soil on the moss, pull up the sides to the top of the ball and allow for a bit extra. Cut the sheet moss and soak it in water to get it pliable and easier to work with.
Forming Your Succulent Kokedama Ball
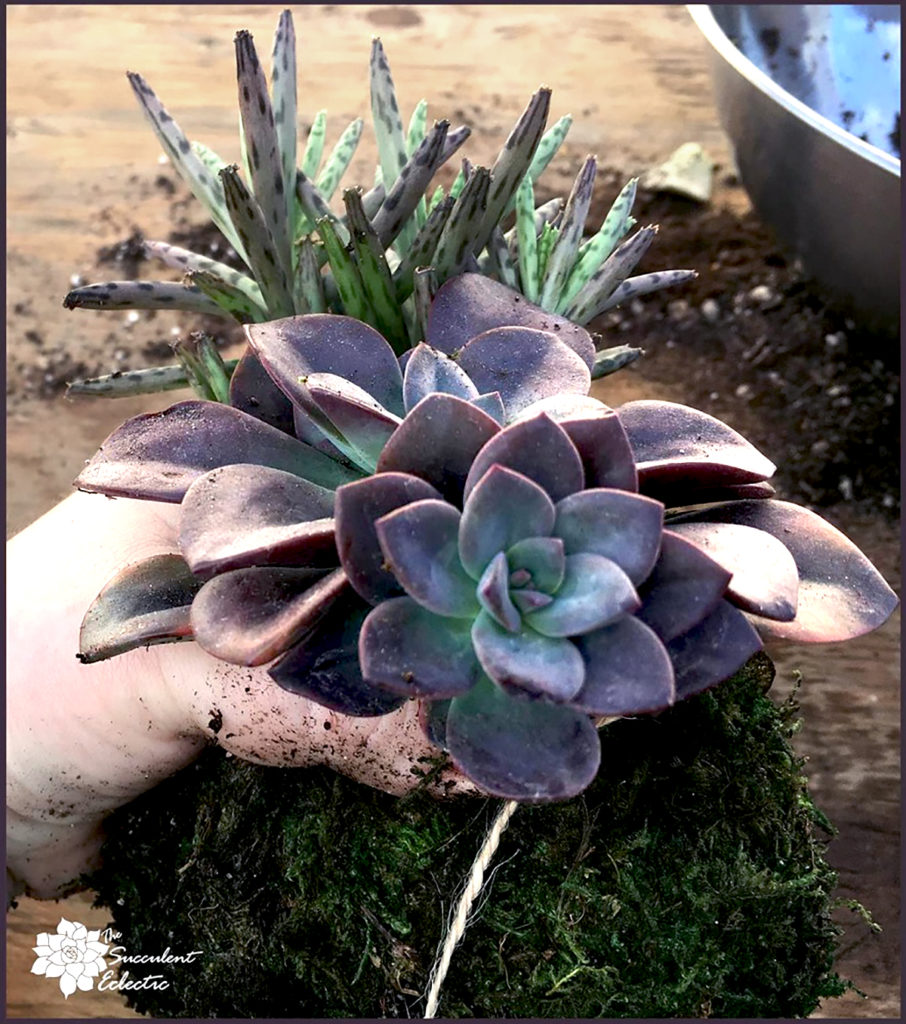
Return to your soil mix, and form a ball at least twice the size of the combined roots of your plants to cover. You are aiming for the size of an orange or a grapefruit. This is the base of your Kokedama. Now split the soil ball in half, and nestle the plant roots between the 2 halves of soil. Mush the soil and the roots together, forming a ball of soil entirely surrounding the roots of your plant(s).
Secure the Moss with Jute Twine
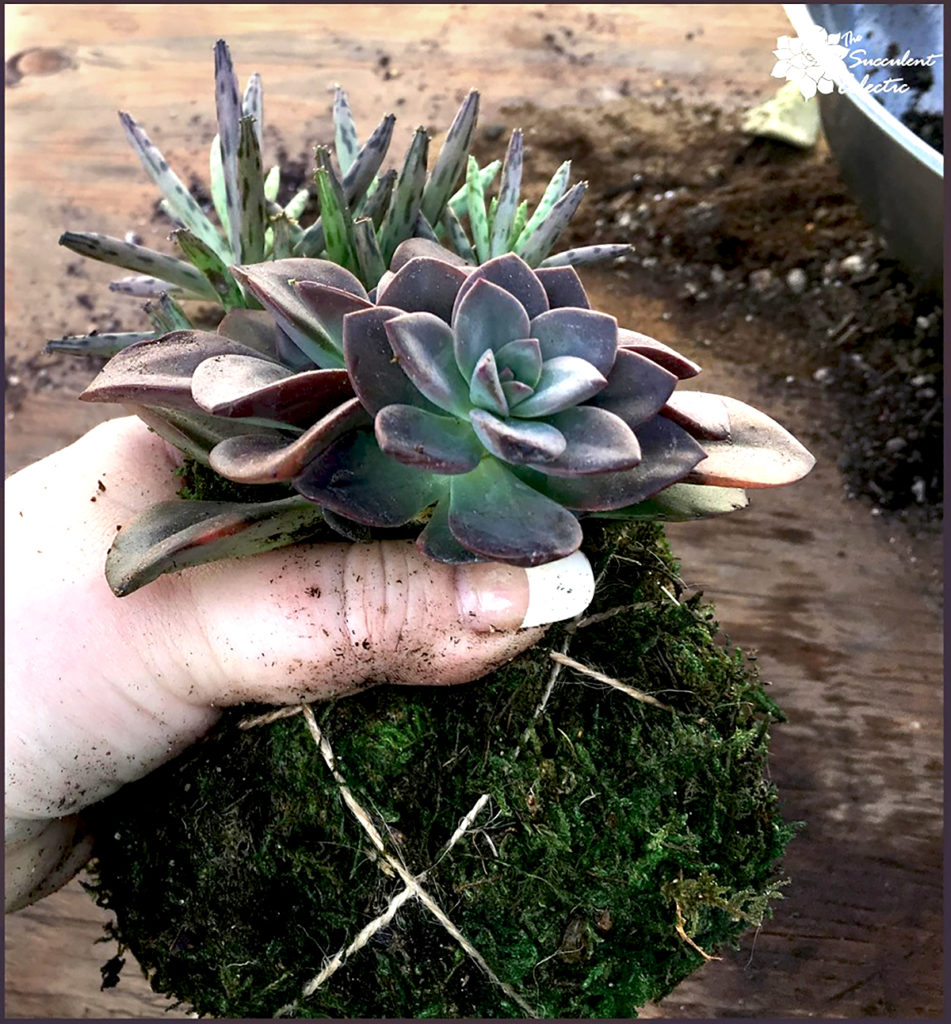
Now begin adding your moss. If you are using loose moss, continue to add pieces of moss as you wind the twine about the soil. If you are using mesh backed sheet moss, pull up the edges around the ball of soil and roots. Begin winding the twine around your ball.
Just like winding up a ball of yarn, begin wrapping the twine about your moss ball. Keep it snug, and pay attention to the shape you are working on at all times. Once the moss, plant and soil are fully secured by the twine, continue wrapping until you like the look you have achieved. I like the random windings that are similar to classic Kokedama. But I have seen somewhere the entire ball of moss is covered by regular and even rows of twine. Beautiful! Each is a pretty effect – it is all about doing it the way you like!
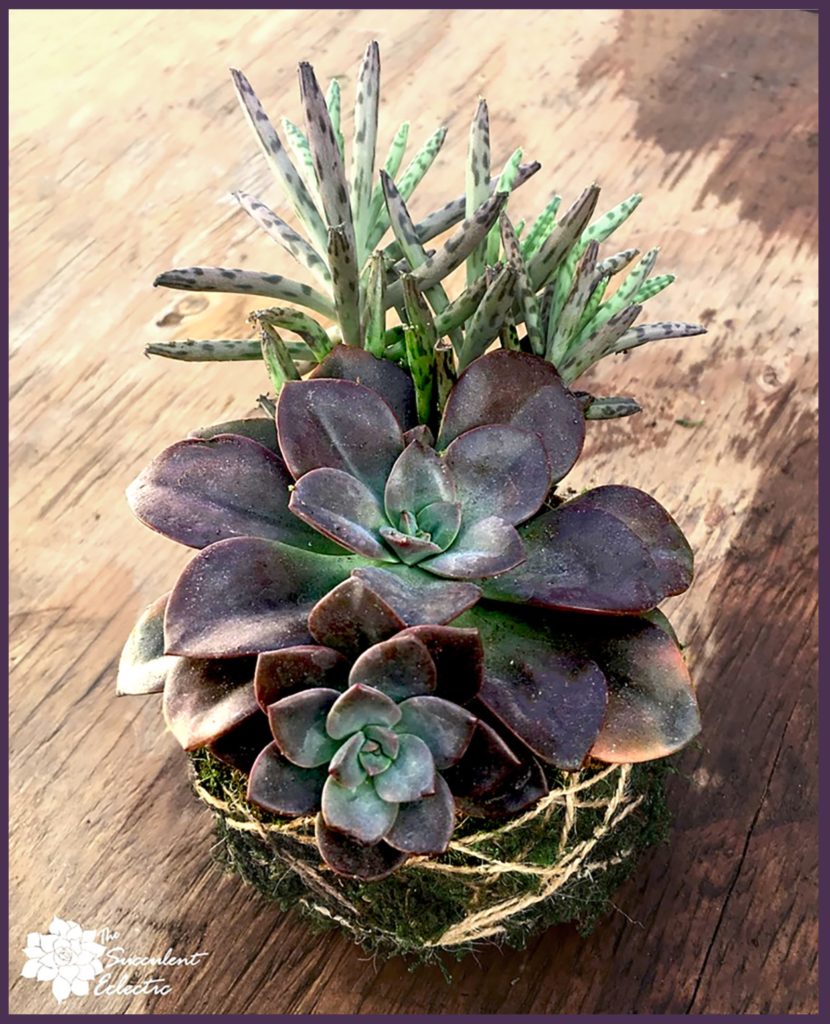
When you are finished, tie off the end of your twine in an inconspicuous spot. If you plan to hang your Kokedama ball, add the length of twine you will need at the back. To display many Kokedama balls in one area, suspend each from a single length of twine. I used two lengths of twine to encourage the ball to hang facing “forward”. Though designed to hang, Kokedama balls are also very effective sitting in a glass bowl, on a terracotta catch tray, or even alone.
How to Care for DIY Succulent Kokedama Balls
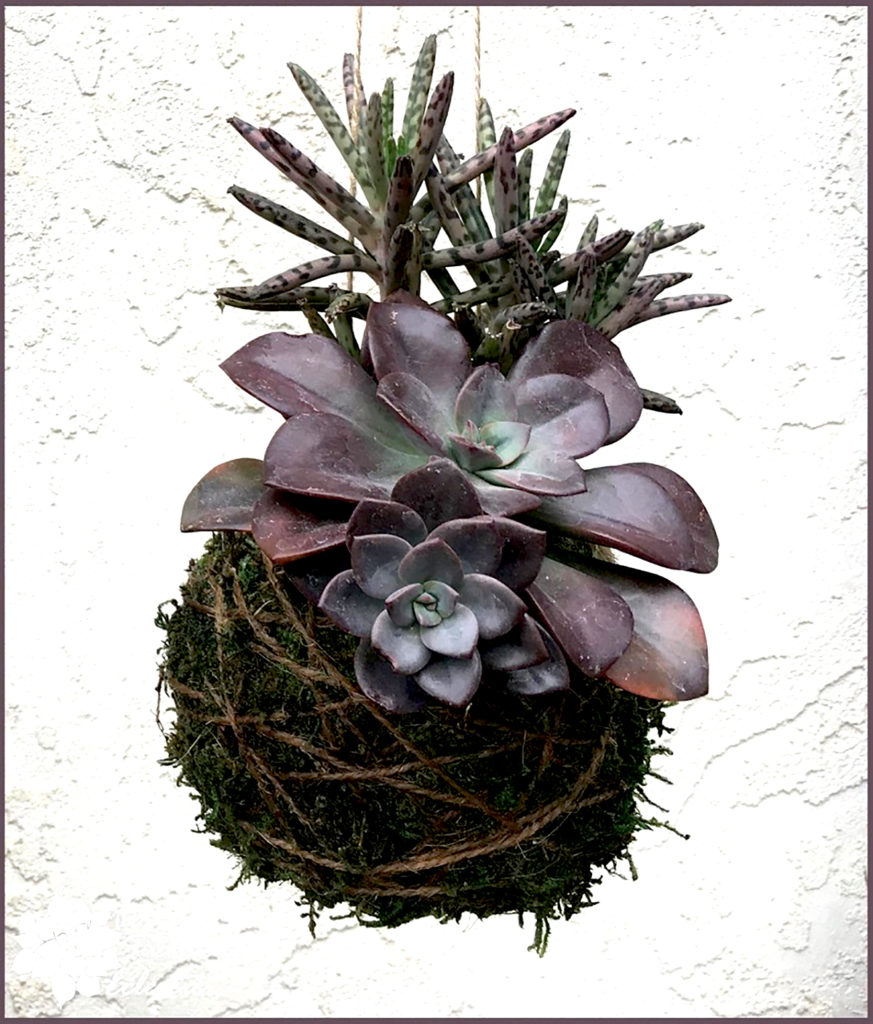
Your Kokedama moss balls should last as long as any conventionally potted succulent! Sit or hang your Kokedama in the right amount of lighting for the succulents you chose. I used echeveria, kalanchoe and string of pearls for mine, so partial sun will work well for them. When it’s time to water, submerge the soil root ball into a bucket of water to soak for 3-5 minutes. Then let the water drain away. Make note of the weight of the ball when it is fully saturated. You will know to soak it again when it is much lighter.
This is my very favorite DIY succulent project! What do you think? How will you display your succulent Kokedama balls? Hang a grouping together, or set on a shelf — either way, this is a captivating way to grow your succulents. Wouldn’t this make a fantastic gift for the plant lover on your list? Tell them you made this one-of-a-kind masterpiece just for them! (I won’t tell how easy it was!) Please take a moment to leave a comment and let me know what you think. And stay tuned! More succulents and DIYs to come for the holiday season!
You can do this!

P.S. I’d love it if you would subscribe to The Succulent Eclectic. Thanks so much! 🙂
P.P.S. Why not join my Facebook Group for succulent lovers? We talk about succulent care, propagation, succulent identification, and design. It’s a warm and welcoming group that would love to meet you!
