I have been having such fun with making succulent DIY Christmas ornaments! I love using natural decorations, and succulents, with their lovely colors and exquisite structure, are just perfect for decorating and hanging on the tree. And I had a large, fallen branch, a perfect inspiration! This is a terrific project to do with family — especially kids. Your family may wind up enjoying these rustic Christmas ornaments for years to come! You can replant the succulents after Christmas, and re-use the wood slice ornaments every year! Let me show you how I made them!
Rustic Christmas Ornaments
In this Post We'll Cover:
{Please note, some links in this post may be affiliate links to sites that pay me a small commission if you click on the link and make a purchase. This commission is at absolutely no cost to you. I only recommend products and companies that I have worked with and truly love! ~Kat}
Gather Supplies for Wood Slice Christmas Ornaments
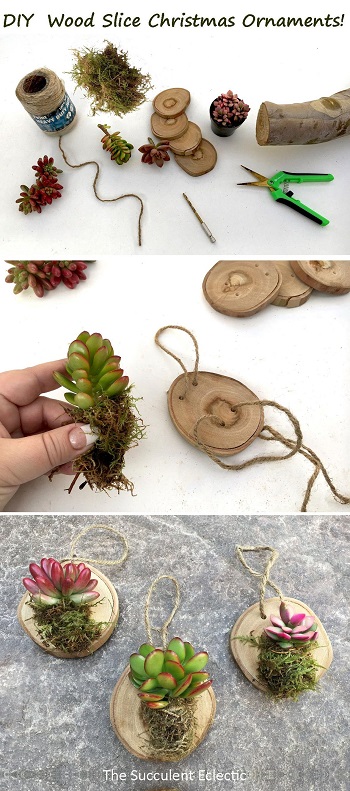
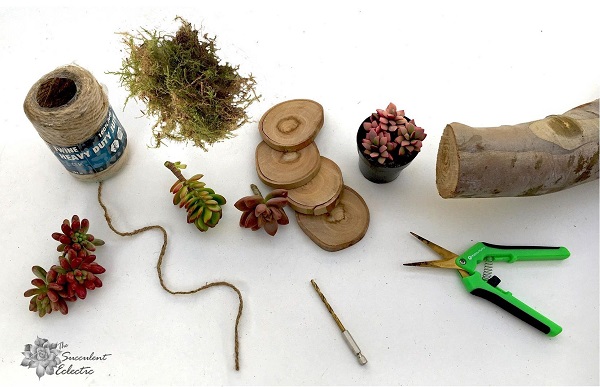
I used a fallen tree branch to make these wood slice ornaments, but you can also buy wood slices to make them. Mine came to about 2.5″ – 2.75″ slices. However you acquire the wood slices, they add a wonderfully rustic touch to your holiday decorating.
To make these fun, DIY rustic Christmas ornaments with succulents, you will need the following supplies:
Electric drill
Small drill bit, 5/32″ was perfect!
Scrap block of wood
Small bowl for water
Clear Urethane, or any clear wood sealant (not shown, but crucial!)
Foam or bristle brush for applying the wood sealant
Hot glue gun and glue (optional)
Drill Holes for Wood Slice Ornaments
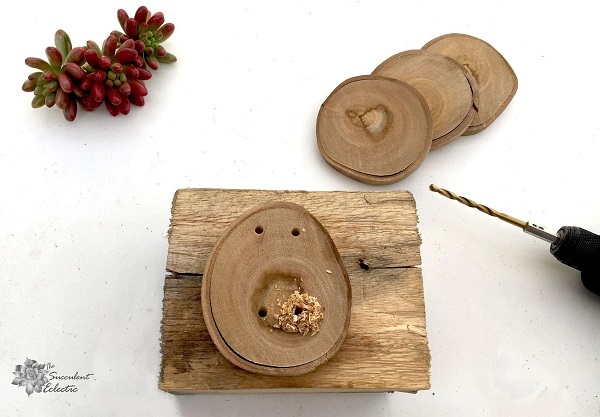
If you are making these rustic Christmas ornaments as a family, you will want to do the drilling for younger children. But the rest of the steps are great to share with kids! They will really love seeing how the succulents root even while decorating your tree!
You will need to drill holes in your wood slices for the jute twine to fit through. You will need two holes for the hanger, and two for the succulent to attach. I found the 5/32″ drill bit was the perfect size for the jute twine to fit through without a hassle. Be sure to drill into your wood slices on a scrap piece of wood to protect your tabletop!
When drilling your wood slice ornaments, decide which way you want to wood slice to hang. Drill two holes near the “top”, about 1/2″ apart. You will hang the wood ornament from jute through these holes. Then drill two more holes about 3/4″ apart just below the center of the wood slice. This is where you will tie the succulent to the wood slice.
Seal the Wood Slices for Rustic Ornaments
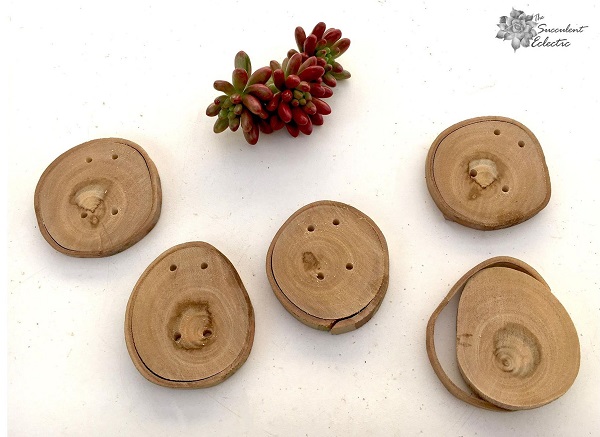
Sorry, I didn’t get pictures of this stage, but it’s really simple. Just apply a single coat of clear wood sealant, using a foam or cheap bristle brush. Apply the sealant front and back, and let it drip through the holes. You want this stage to be invisible. This is to protect the wood, not to change its look. I imagine an aerosol spray of clear Urethane should work, too, though I have not tried it.
See how the ring of bark came away from the wood slice on the right? This is why you will need to add a clear Urethane sealant layer to your wood slices. Whether you cut the branch yourself, or buy wood slices, don’t skip this step. By sealing the wood slice, you seal in the natural moisture of the wood, so it doesn’t dry out and slough off its layer of bark. The wood slices might last through the holidays without this step, though I can’t promise. But don’t you want to enjoy these rustic Christmas ornaments every year? 🙂
Adding Jute to Wood Ornaments
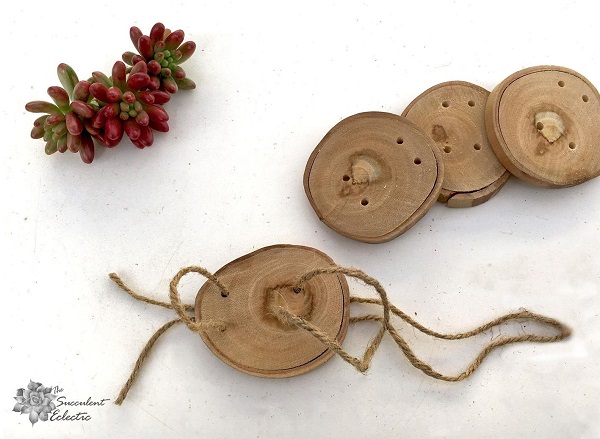
Every wood ornament will need two lines of jute twine. One for the hanger, and one for the succulent. I used a piece about six inches for the hanger and one about nine inches for the succulent. You’ll cut off the ends for the one that goes around the succulent, but a longer piece makes it easier to tie the knots.
Decide which side of the wood slice you want to face front. That is the side where the succulent will be tied on. Thread the jute twine through the holes for the hanger and for the plant from the back side of the wood slice. Tie a knot in the ends of the jute for the hanger, and trim any excess twine.
Add Moss to Succulents for Wood Slice Ornaments
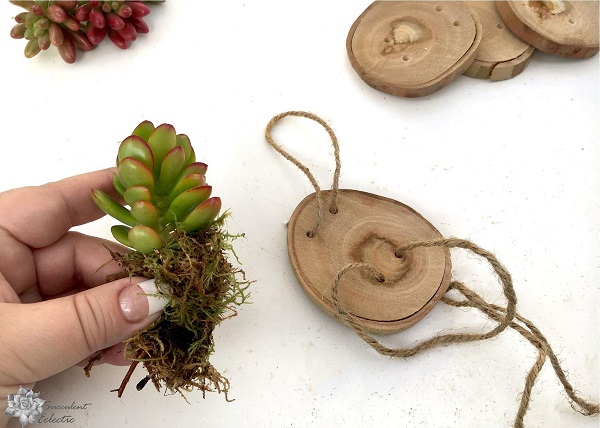
Soak the sheet moss in a bowl of water to make it nice and flexible. You could use sphagnum moss for this step, but I like the finer texture of this natural sheet moss better for these succulent ornaments.
Now it’s time to play with the succulents! Succulent cuttings with a stem of .5 – 1″ work best. Here, I am using a Crassula ovata or jade cuttings. I love the beautiful stress coloring it has — those red leaf margins! (Be sure to set aside any leaves you remove for propagating.) Take a bit of the moss, and squeeze out excess water. Wrap the moss around the stem of the cutting. This provides the succulent with a medium for taking in moisture as well as rooting in as they hang on your tree.
Add Succulents to Wood Ornaments
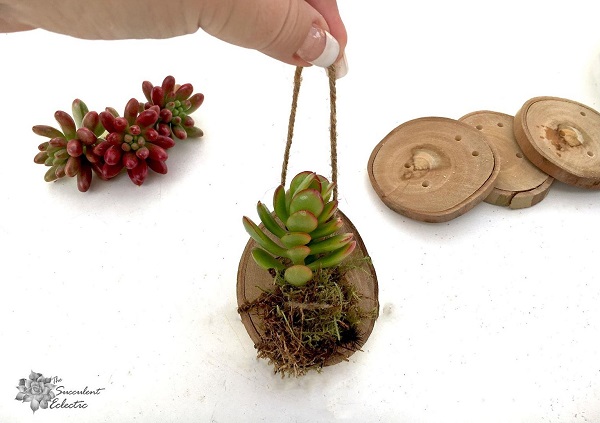
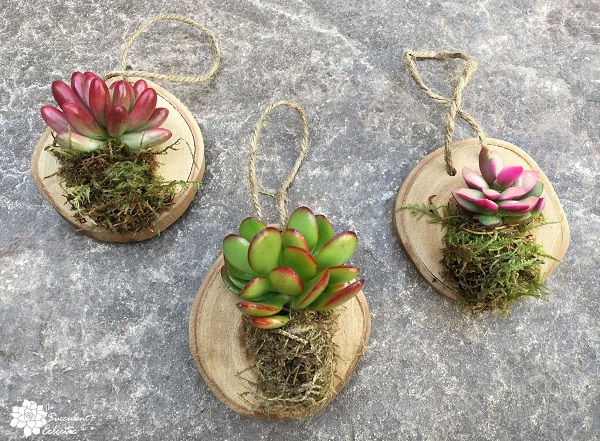
Slip your moss-bound succulent cutting into the loop of jute twine on the wood slice ornament. Tie it snugly from the back, and clip back the ends of the jute. And there you have it! A fabulous, rustic Christmas ornament featuring a living succulent! How cool is that?
You can certainly add a bit of hot glue to keep the succulent in place, but I really don’t think it is necessary.
Caring for Wood Slice Ornaments with Succulents
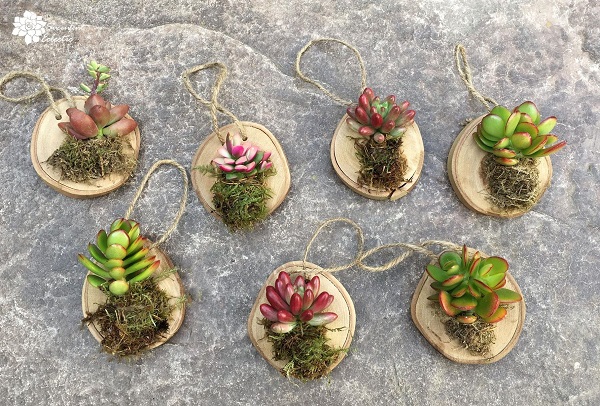
As you can see, I used a mix of succulents for my rustic Christmas ornaments. I wanted those that would flash a lot of color, so I used Graptosedum Alpenglow with a sprig of Portulacaria afra Variegata on the upper left. Next to it is Anacampseros ‘Sunrise’. Next to and below that is Sedum rubrotinctum ‘Aurora’, and the three green with the red leaf margins are more of the Crassula ovata.
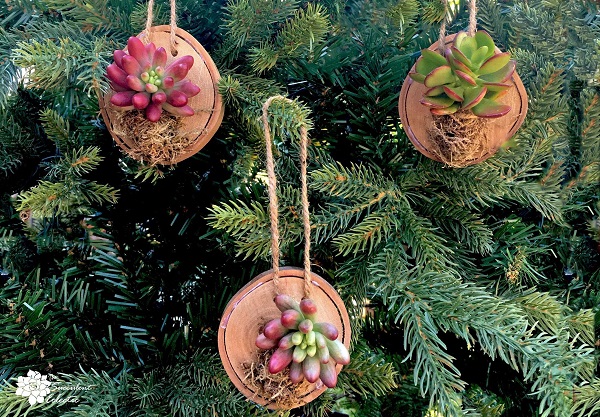
Caring for your wood slice ornaments with their living succulent cuttings is a snap! Just mist them with water every few days, and the succulents will happily root into the moss, as the ornaments hang on your tree. When it is time to take down your decorations, clip off the jute twine from the moss, and your succulent will have started rooting! Pot it up, protect it from cold, then put it out in the spring. It will root and grow and thrive for you from then on. Pack away the wood slice with its jute twine for next Christmas!
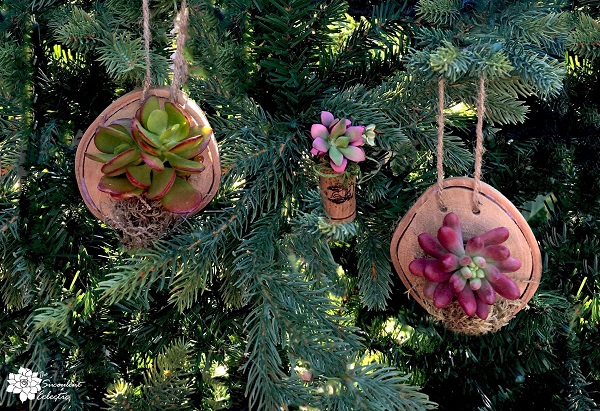
So how do you like these rustic Christmas ornaments? I think they are really fun, but I would love to hear what you think! Please take a moment to leave me a comment and let me know.
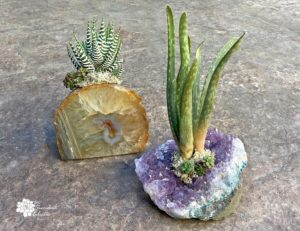
Here, you see a cork succulent planter as another Christmas ornament. A couple weeks ago, I showed you how I used succulent rosettes to make hanging succulent Christmas ornaments. Would you believe I have one more DIY ornament to show you this season? Stay tuned!
If you love the idea of decorating for the holidays with succulents, but don’t want to make your own, check out these ornaments from Mountain Crest Gardens!

P.S. For more succulent DIYs and care, please subscribe to The Succulent Eclectic. You will also receive my FREE succulent care course, 7 Steps to Succulent Success! Thanks!

The wood succulent ornaments are very cute. Did you try to leave a couple of the succulents on the wood for a while to see how long they would stay alive with just misting them? I would love to have these near a window all year. So cute.
Hi Christine,
Succulents will happily root into the moss and grow for a surprisingly long time. Expect to get 6-9 months from these wood slice ornaments before the roots grow so much that they become unattractive. Then, you can plant that and start over with another cutting! 🙂 Another project you might like to hang in your window is the succulent kokedama balls. They can last for years!
~Kat