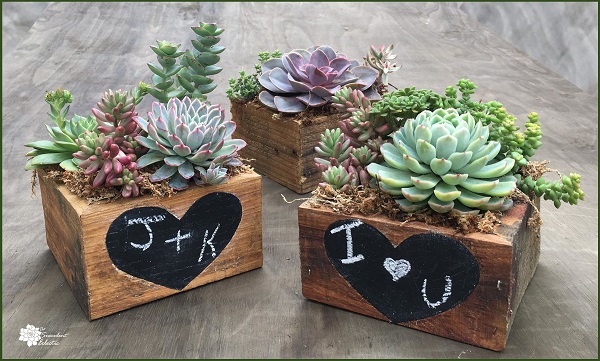
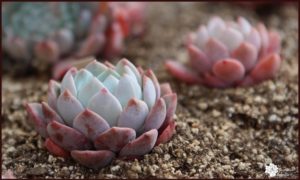
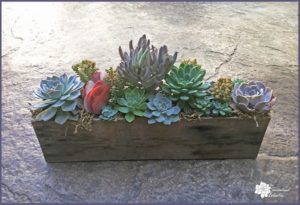
I have really been itching to do a fun, Valentine’s Day DIY for a while now – how about you? And there is just something about the chalkboard craze with blackboard paint that really appeals to me. But I needed a twist – you know it must go well with succulents! While I just might have a few more heart and soulful ideas for you before February 14th, this is one of my very favorites, because it is also a reclaimed wood project.
{Please note, some links in this post may be affiliate links to sites that pay me a small commission if you click on the link and make a purchase. This commission is at absolutely no cost to you. I only recommend products and companies that I have worked with and truly love! ~Kat}
DIY Reclaimed Wood Succulent Planters with Painted Heart Shaped Chalkboard
In this Post We'll Cover:
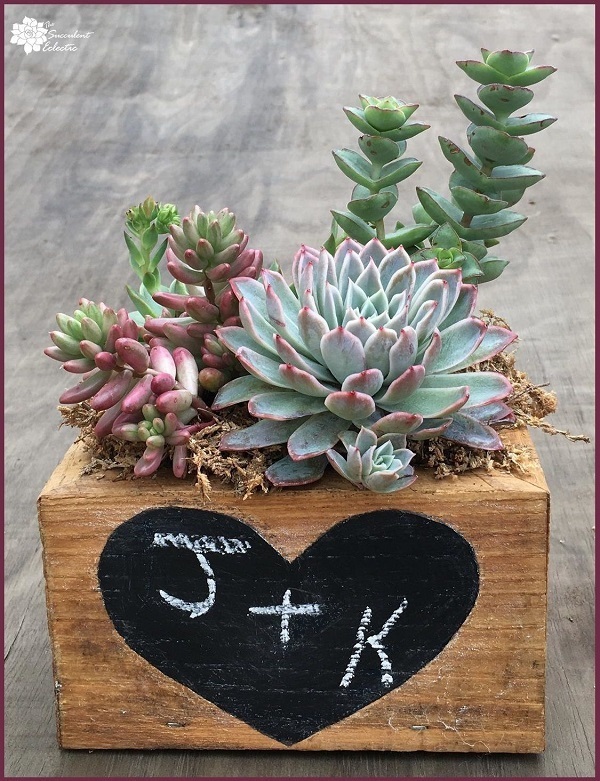
What makes this project challenging (and fun!) is the use of the chalkboard paint on reclaimed wood. I dearly love reclaimed wood. The way each piece is as unique as the weathered wood from which it is made. Countless days standing up to the effects of wind, rain and sun imparts a character that breathes a special life into any piece into which it is made. We leave the reclaimed wood we use to make our planters completely as rugged as when we found them. No sanding, no artificial polishing, just a rub with linseed oil to bring out the richness of the grain. I wanted to keep this look, but add a painted heart chalkboard for a Valentine’s Day DIY. You’ve always wanted to leave little messages for your beloved on your succulent planters, right? Me, too! I love how it turned out. Let me show you how I did it.
Let’s get started!
Painting Heart Shaped Chalkboard on Reclaimed Wood
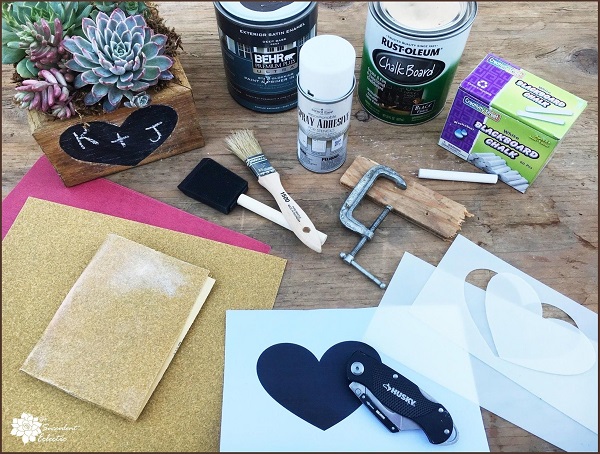
To paint heart chalkboards on reclaimed wood, you will need:
Reclaimed wood (pallet, old fencewood, torn down gate, etc)
Primer paint (dark color preferred)
Paintbrush or foam brush
Heavy duty mylar blanks (at least 7 mil, I used 14 mil, because I want to reuse the stencil several times)
Utility knife (I love this one by Husky!)
Sandpaper, both coarse and fine
A couple pieces of scrap wood
Printed heart pattern (free heart template download here!)
The reason you want to use really stiff mylar for your heart stencil is that it will have to guide and contain your sanding as well as your paint! But you want to be able to see through it to keep it aligned and to see if any paint seeps under it.
Making Your Heart Chalkboard Stencil
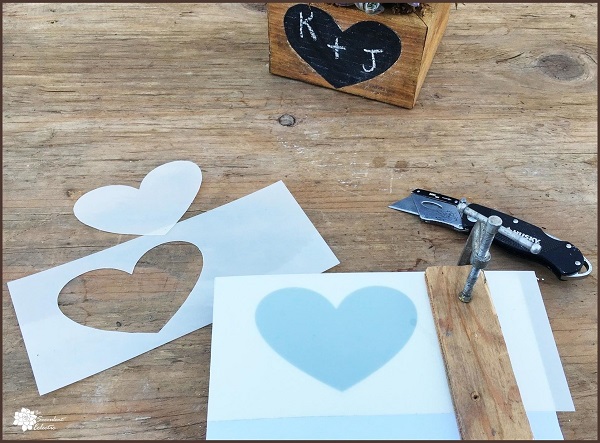
To make your heart stencil: Print out the heart pattern you want to use. I am a bit picky about hearts, so I hunted for one I liked, then re-sized it, and changed it’s dimensions so I would have a nice, broad space for writing on the completed chalkboard. Line up your pattern with the mylar carefully, to make it easier to keep your stencil straight later on. Clamp the mylar firmly to a broad piece of scrap wood. Cushion the clamp with another piece of scrap wood, so the clamp doesn’t create a dent in the mylar.
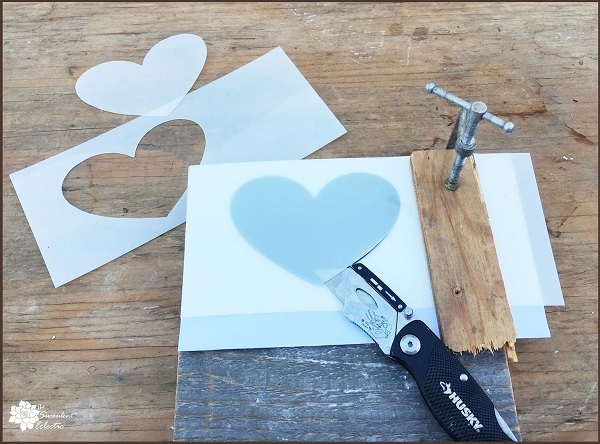
With your utility knife, carefully cut out the heart shape. 14 mil mylar is thick and smooth. Take your time. I found a second pass with the knife was needed to comfortably cut through this thick mylar. Go back and make any fine tuning adjustments to your heart. When you have cut it out to your satisfaction, lightly sand the edges with the fine sandpaper until it is smooth.
Sanding the Wood for the Heart
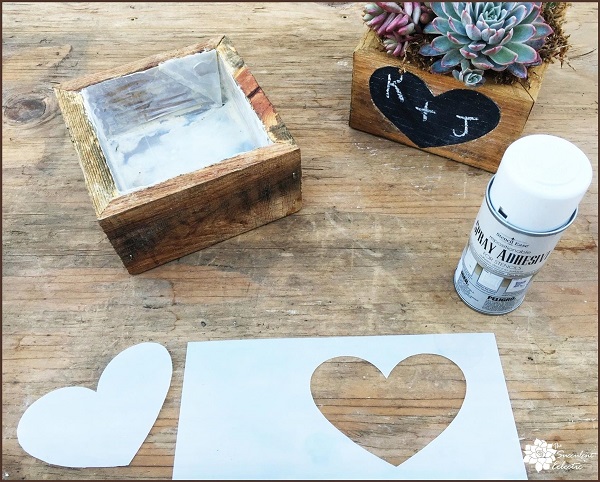
Lightly spray the backside of your stencil with the spray adhesive and let it dry, according to the instructions. This will help to keep the mylar from slipping, but it will not keep it in place. The adhesive is helpful, but not sufficient, so don’t rely on it.
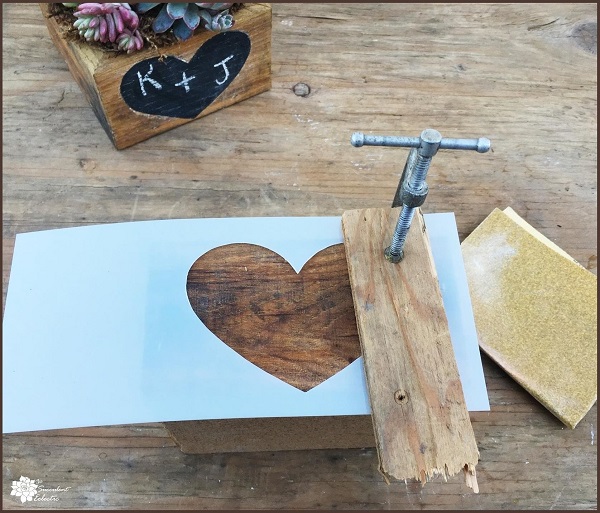
Carefully align your stencil on the reclaimed wood piece where you want your heart chalkboard painted. This spray adhesive allows you to reposition your stencil as needed. When you have it where you want it, clamp it into place, using the small piece of wood for cushioning to prevent denting the reclaimed wood. My planter was too small to let me clamp the stencil without over-lapping the heart cut out. Not a problem – you will re-clamp it as necessary.
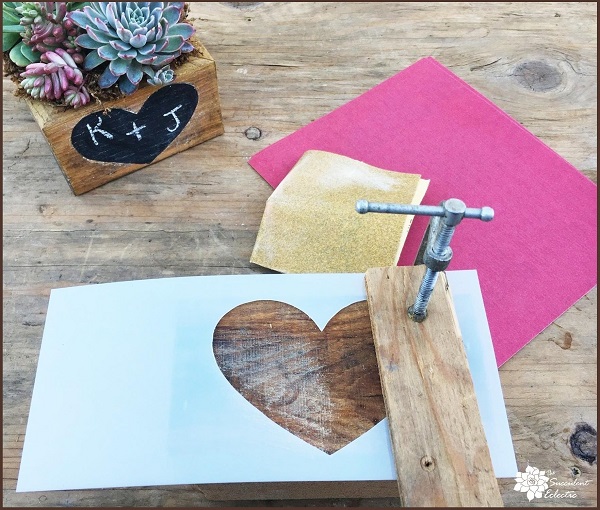
Starting with the rough sandpaper – I used 80 grit – sand within the stencil. Hold the edge of the heart down as you sand up to and over the edge. I used 14 mil mylar because it stands up to the sanding and can be reused multiple times. This stage is really important for the quality of the final Valentine’s Day DIY. You need a smooth surface to apply the blackboard paint for best results. Sand in the direction of the grain. Once you have thoroughly sanded the entire heart with the rough sandpaper, go over it again with the fine for a smoother look and feel. This will be the foundation of your chalkboard.
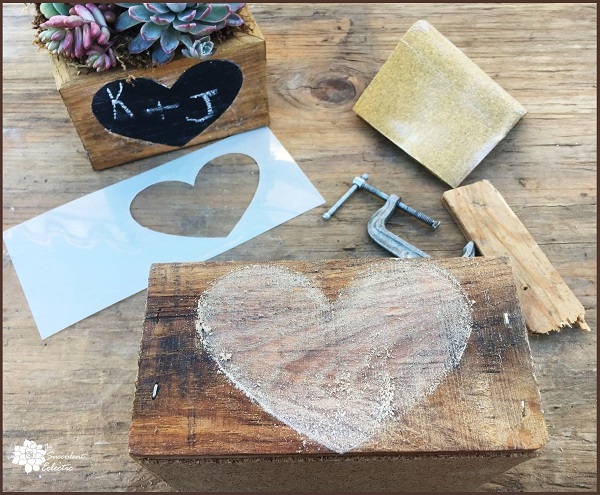
By using the mylar stencil of the heart for your sanding, you can see that it keeps the surrounding wood rough and rustic the way I like, but it lets you really sand down the heart shape! 🙂 Wipe thoroughly with a barely damp paper towel to be certain you have removed every trace of sawdust.
Paint with Primer Before Applying Chalkboard Paint
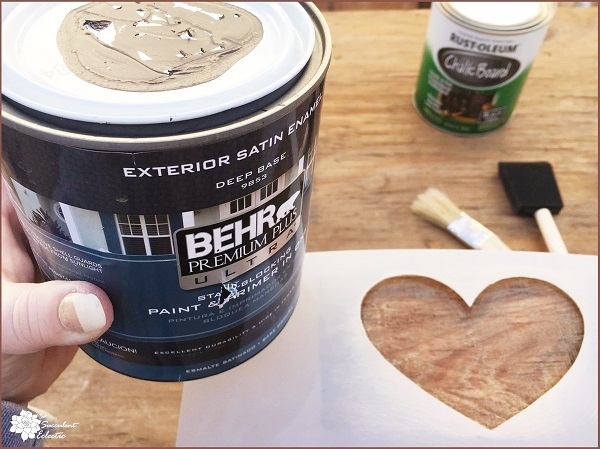
Because the reclaimed wood is dry and untreated, it will really soak up the blackboard paint. To keep from running through too much of it, and to get better coverage, put down a coat of primer. I picked this dark brown tinted primer paint in the “oops” paint pile at Home Depot for $2. While dark brown is really perfect, any color would have worked well. Always check out the oops paint – tinted for customers who have changed their mind. This paint is great quality and sold at a super discount!
If you have space, re-clamp your stencil into place. Whether you clamp it or not, you will need to be v-e-r-y careful to hold the stencil in place as you paint. I shift my fingers to hold down the part of the stencil the paintbrush goes over at each point of the heart. Move slowly.
Applying Blackboard Paint to Reclaimed Wood
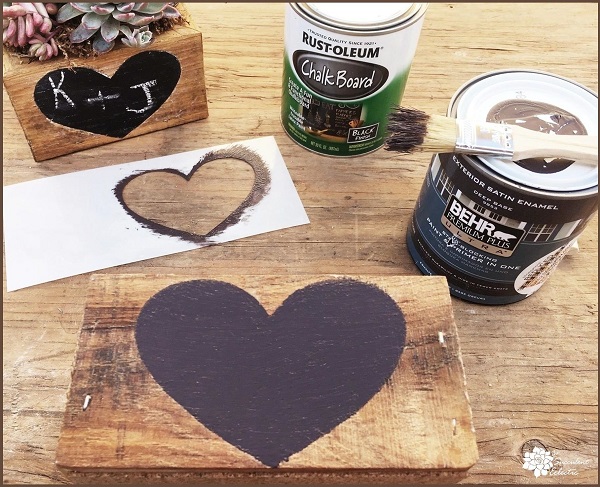
Let the primer coat dry well. Stir your blackboard paint thoroughly, it is very thick. Then apply the chalkboard paint in 2 coats, carefully holding the stencil in place for each coat. Start the first coat against the grain, until you have full coverage. Then proceed with the grain for an even finish. Let the first coat fully dry for 4 hours. Lightly sand with your fine sandpaper. Remove all trace of dust with a barely damp paper towel. Now, apply the second coat of blackboard paint with even strokes, with the grain. Let the second coat dry and fully cure for a full 72 hours. No kidding.
Don’t worry if you see small paint seepings like at the bottom of the heart in the picture above. We’ll take care of those in the next step.
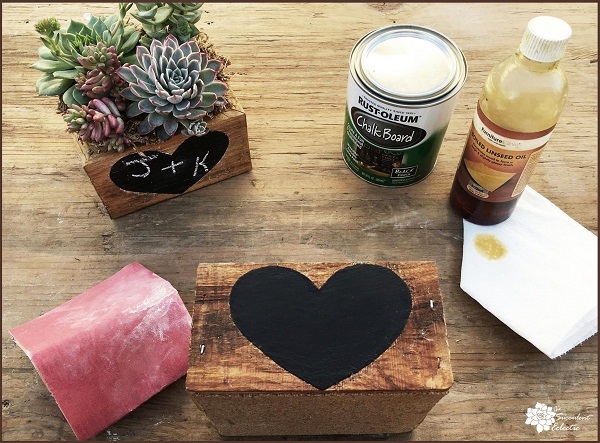
Take your utility knife and gently lift away any paint that seeped under your stencil. Take your time, it isn’t hard, and it makes such a difference! I set the blade in the margin of the heart, and lift the excess paint away from the heart. Does that make sense? Move from the heart, set the blade under the paint and lift away. That way, if you catch a bit of the wood, too, it won’t cut into the paint on your heart chalkboard.
If removing the bits of paint seepage makes the wood right around the heart look a bit too light or too rough, apply a light coat of boiled linseed oil to the wood, and rub it in well.
Priming Chalkboard Paint with Chalk
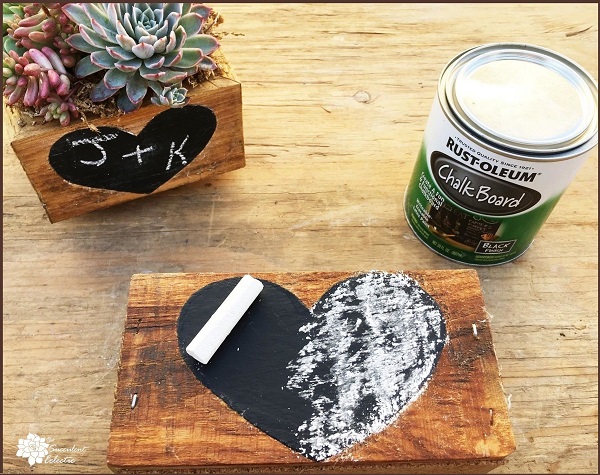
Once the chalkboard paint is dry and fully cured for a full 72 hours, you need to prime it with chalk. The chalkboard paint leaves a very porous surface in order to create friction to let the chalk write on it. You must fill this surface with some chalk from the beginning, or your first message will never truly erase. We have all seen that, right? Lay a piece of chalk on its side, and scrape it across the chalkboard paint, until it is fully covered. Then wipe it away with a dry or barely damp paper towel. That’s it! Your chalkboard is now primed and ready for you to write your first message!
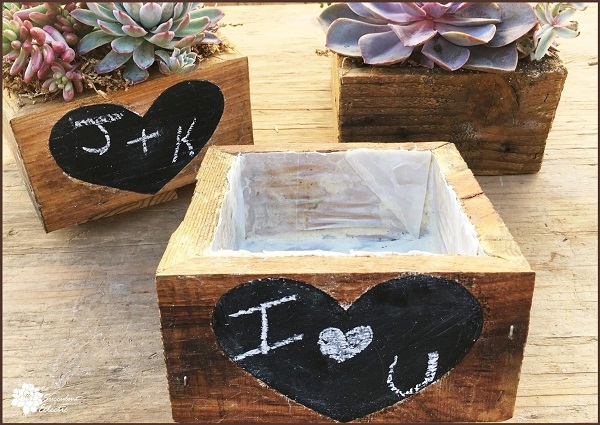
And this is how my reclaimed wood planter looks with the heart chalkboard painted and professing my love. I think it is pretty darned cute, what do you think? But it seems to be missing something…
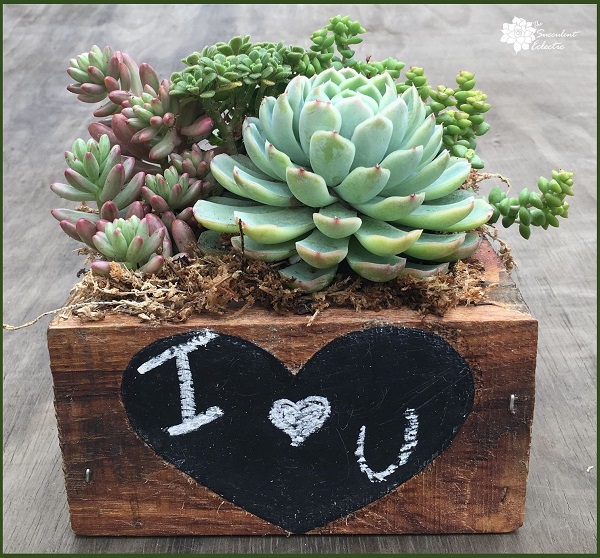
Succulents! 🙂
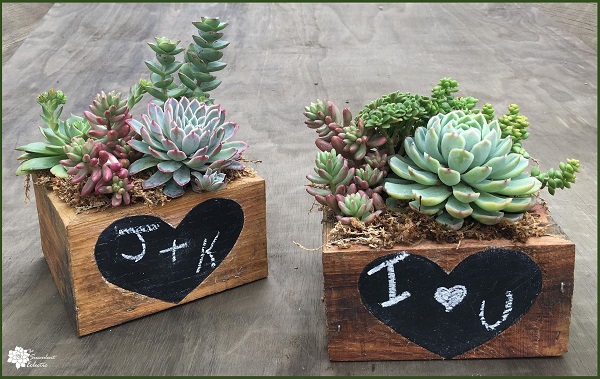
What do you think of my Valentine’s Day DIY? Your chalkboard heart is durable, erasable, washable and adorable! Use your reclaimed wood planters with heart chalkboard indoors or out. Filled to overflowing with colorful succulents, and what could be better? I think this would make a great gift for just about anybody, or a fun addition to your home or garden. But maybe you want to make a heart shaped chalkboard on something else, like a headboard, or a picture frame, or maybe a bookshelf or plaque? With reclaimed wood and chalkboard paint, your imagination is your only limit!
Valentine’s Day DIY Chalkboard Heart on Reclaimed Wood
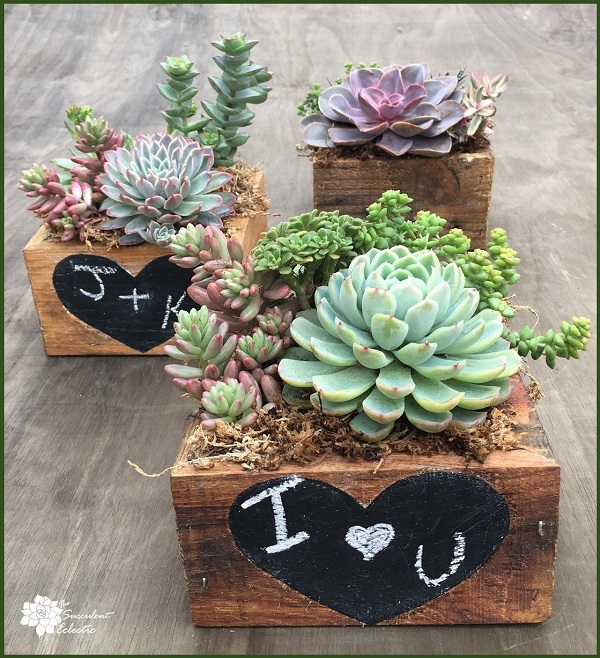
I hope you enjoyed this Valentine’s Day DIY. I would love to know if you are going to make your own heart chalkboard on reclaimed wood! Please take a moment to leave a comment and let me know! Or ask any questions!
Have a beautiful day!

P.S. For my FREE course, 7 Steps to Succulent Success, please subscribe! Thanks so much!
P.P.S. Why not join my Facebook Group for succulent lovers? We talk about succulent care, propagation, succulent identification, and design. It’s a warm and welcoming group that would love to meet you!

