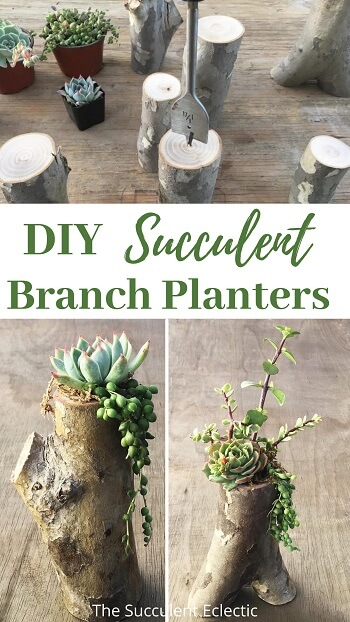
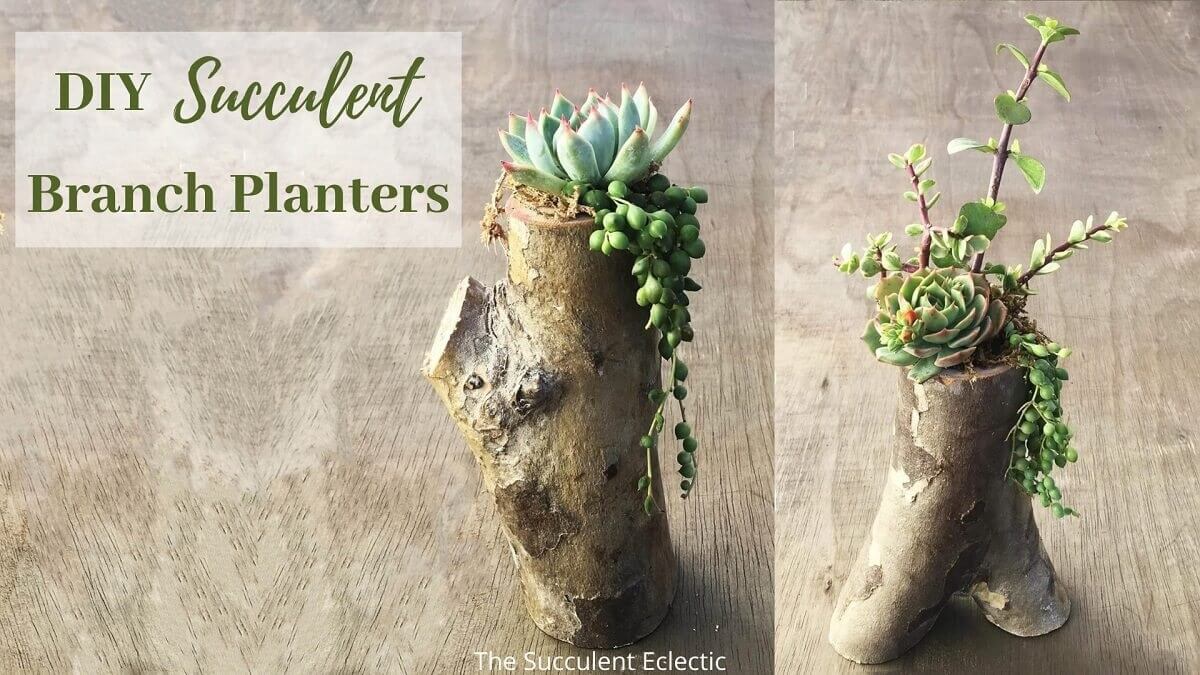
I love finding fun and creative ways to make homemade planters for any plant, but especially for my succulents! Tree branches have such a sculptural quality to them, don’t they? Have you seen the tree branch planters for succulents? I just had to make some to celebrate the coming of spring! I am really pleased with how they turned out. But this DIY does take more real tools than I had fully appreciated before I started. That being said, I think this is a fun project, and the results will last. Let me show you what I did.
Homemade Planters for Succulents from Tree Branches
In this Post We'll Cover:
{Please note, some links in this post may be affiliate links to sites that pay me a small commission if you click on the link and make a purchase. This commission is at absolutely no cost to you. I only recommend products and companies that I have worked with and truly love! ~Kat}
How to Make Tree Branch Planters
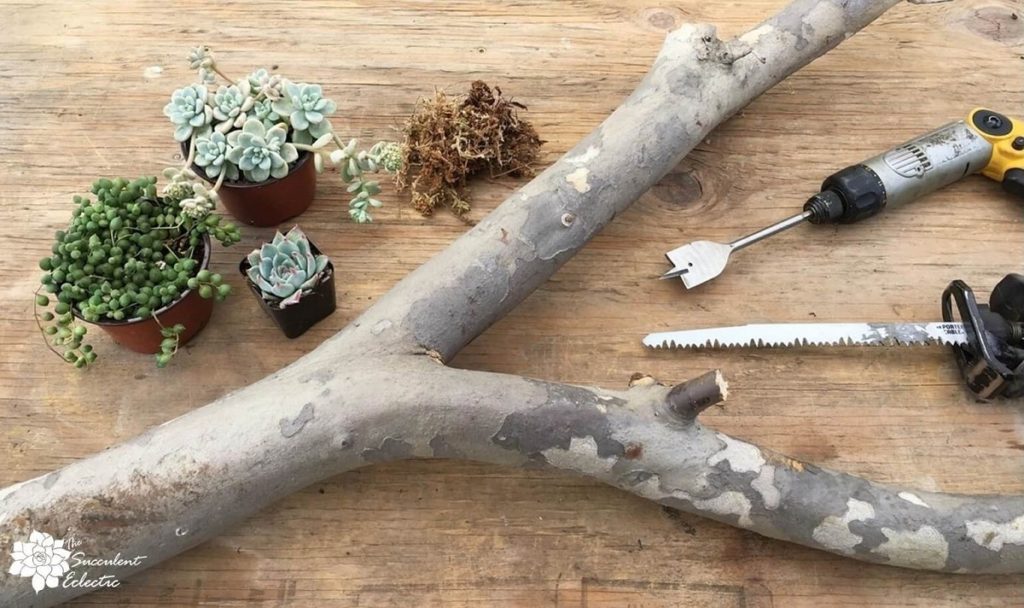
To make these tree branch planters, you will need:
1 branch, ideally with cool bark
Safety goggles
A saw
1 ¼” – 1 ½” spade bit depending upon the diameter of your branch (I explain below why you should choose Bosch Daredevil spade bits)
For holes larger than 1 ½”, you will need a Forstner bit
A drill or a drill press (I love my little drill press!)
Clear urethane or varnish, satin finish
Sponge brush
Newspaper
Waxed paper
1 chopstick (freebie from Chinese takeout works great!)
Natural moss (I love this one!)
Squeeze bottle or syringe for watering
Cutting Your Tree Branch for Planters
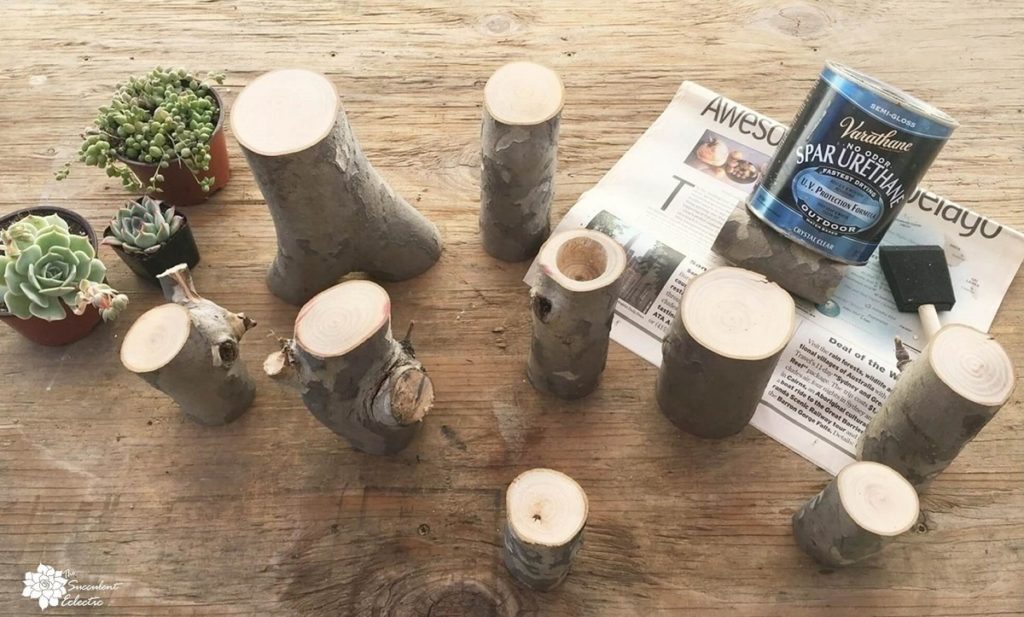
We found this cool branch, with its bark looking like a camouflage print, just lying by the side of the road. Look around your home, ask neighbors, or drive around and look for a tree trimming service truck to ask for branches. Looking on Craig’s List under “free stuff” search “wood” is a great way to find free tree branches, too! 🙂 Use your saw to cut the branch into manageable lengths. 3-7″ will be good a good length for the branches to be used as planters for succulents. Be sure to retain any fun knobs, knots, twists, bends and side branches as you do so. They add incomparable charm to your tree branch planters.
Apply Varnish to Your Tree Branches
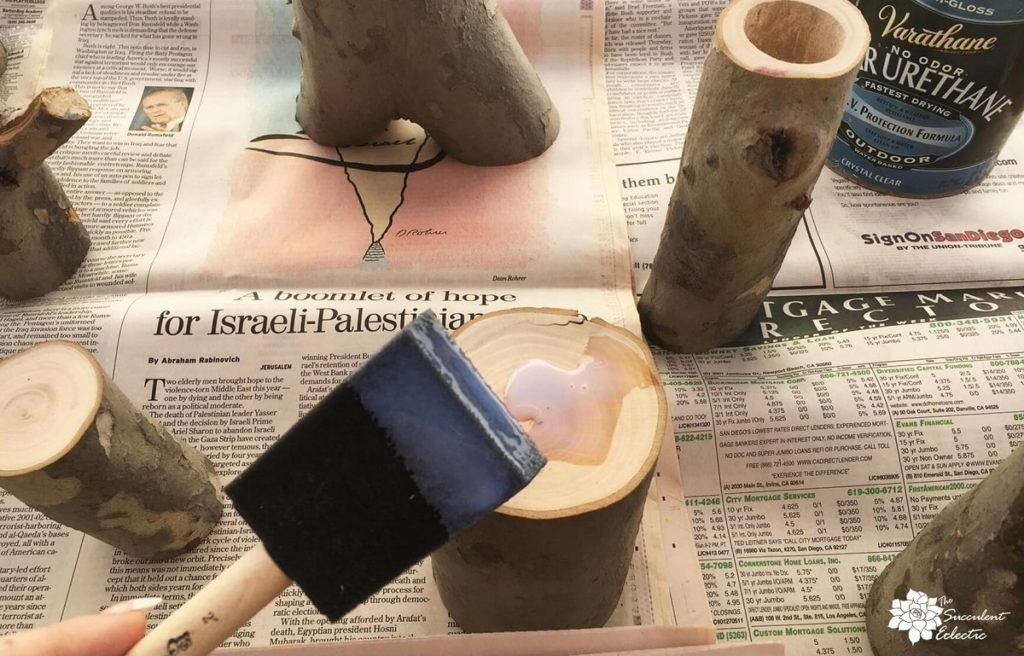
This step should be invisible. You don’t want to add gloss, shine or color to the branch. You want to seal the moisture of the wood inside it to prevent deterioration and decay. As the branch dries out – without this step – the wood shrinks away from the pretty bark. The sponge brush is a great applicator for the clear varnish. The varnish can says to apply 3-4 coats, but for this project, 2 coats are fine. Be sure to apply the varnish before drilling the holes for the plants. You will not want to varnish inside the hole, so this is a quicker way to go. Be sure to varnish both the top and the bottom of the cut branch. And make sure to get it into any cracks or crevices, knot holes, etc. I puddled the varnish in these spots, and then mopped up the excess with a paper towel.
Although I did the first coat on newspaper, I highly recommend setting the wet branches on waxed paper, so they do not stick! 🙂
Drilling Tree Branches to Make Planters for Succulents
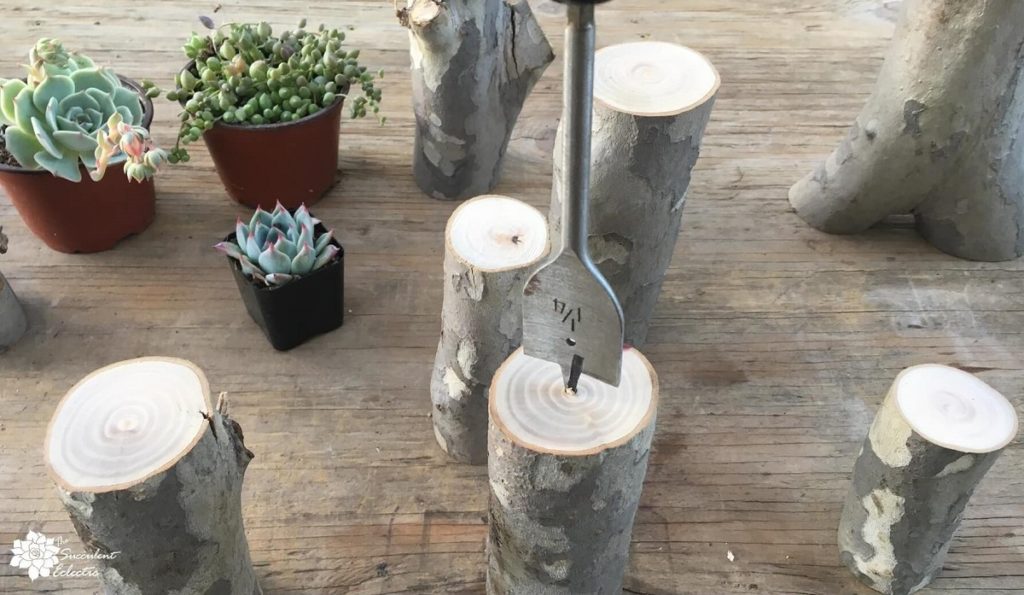
When you drill the tree branches, select a spade bit that works for the diameter of the branch. You don’t want the walls of the tree branch planter to be so thin that it won’t hold up. In the photo above, I am using a regular 1 ¼” spade bit. I would not want the hole drilled in any branch to be any bigger than this in proportion to the branch. Wear your eye protection goggles, and go slowly when you drill. The branch will be irregularly shaped, and the wood inside is not always consistent. When it reaches a knot or a branch, it is often harder, and the bit suddenly slows down.
I found drilling the branches to take a lot of arm and hand strength and time. The round, irregular shape of the branch makes clamping it difficult. I held the branch in one hand, while drilling with the other. Jerry helped me out with this a lot. And, since he has been wanting a drill press for quite some time, and this project was important to me – we got one in the middle of this project. The Wen drill press here was affordable and really impressive in its quality. And it made this project (and many others) a breeze!
Why You Should Choose Bosch Daredevil Spade Bits
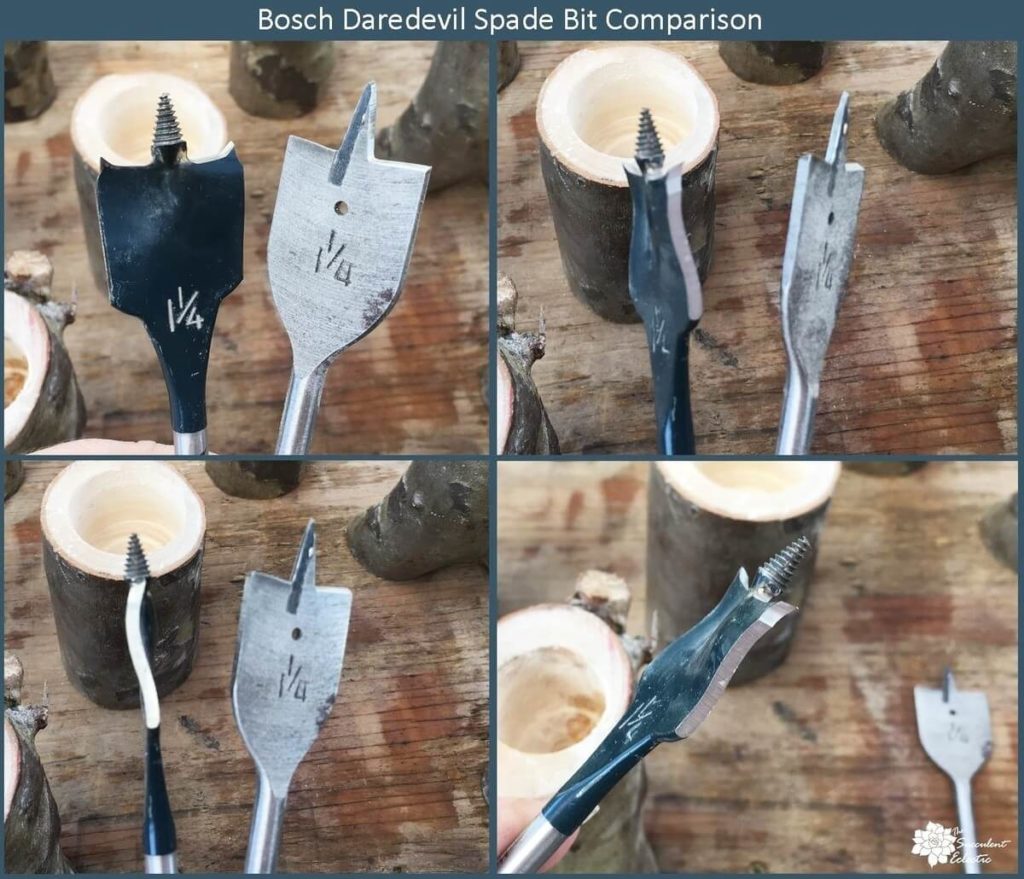
I need to take a break from our regularly scheduled programming to tell you about these awesome spade bits. I use a spade bit a few times each week – usually on soft wood like pine. When I drilled the first branch using our regular 1 ¼” spade bit, it was v-e-r-y slow, and when it hit a knot, it was very rough. Jerry sharpened it for me, but it was still so slow, we didn’t think we could finish the project. So, we went looking for a new bit.
We were both quite skeptical of the Bosch claim that these bits drill 10 times faster than the type we had always used. But the design looked interesting, so we gave it a try. This is the spade bit to get! Just check out the differences above! The center point of a spade bit helps to center your larger hole. But with the screw threaded tip on the Bosch Daredevil spade bit, it drives the drill bit through the wood. Then, the curved shape of the bit causes the sharp blade to sort of plane the wood, rather than just scraping it, as the other bit is designed to do. The very sharp wedge of the Bosch blade truly cuts through the wood far faster and far more smoothly than the regular style wears it away. No – I am not a shill for Bosch. I just really love the difference I got from these spade bits we found! If you need a new spade bit, be sure to try the Bosch Daredevil spade bits.
Add Soil to Tree Branch Planters
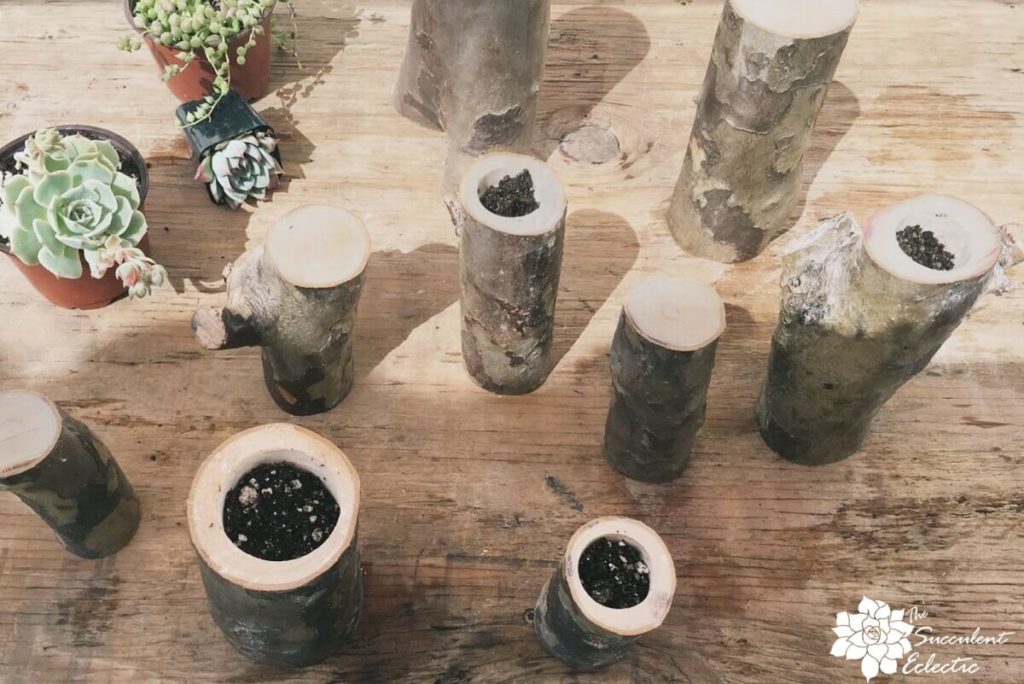
Now that your holes are drilled, you have changed the tree branches into homemade planters! Now it is time to plant them! Add succulent soil. Then be sure to tuck the roots of your plants fully into the soil, and add more on top of the roots. I find using a chopstick is so helpful when planting in tight circumstances like this. Although the planting hole is small, you can use a couple of plants, especially when one is the lovely hanging senecio string of pearls. I like to tuck the senecio’s roots in under the larger plant to ensure its stability. Then, soak your sphagnum moss in water to make it pliable. You just need a few strands. Add a whisper of natural moss where needed to cover the soil.
Tree Branch Planters for Succulents
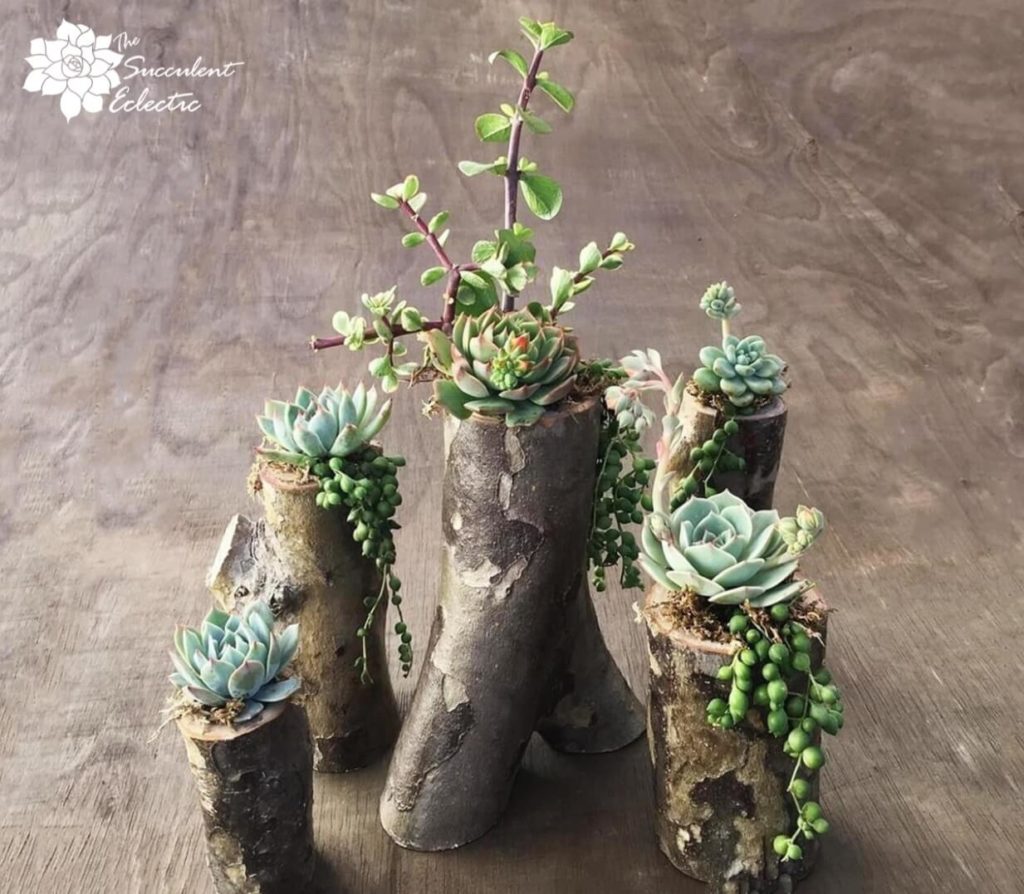
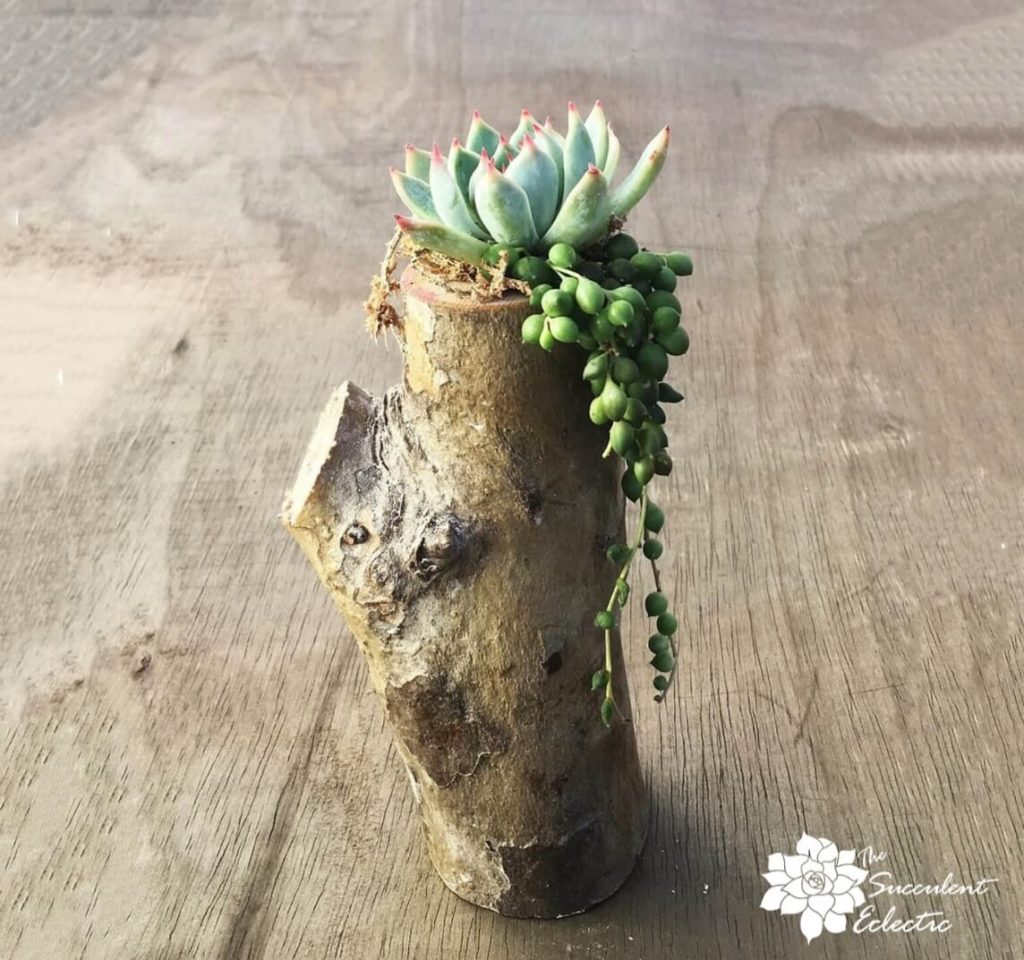
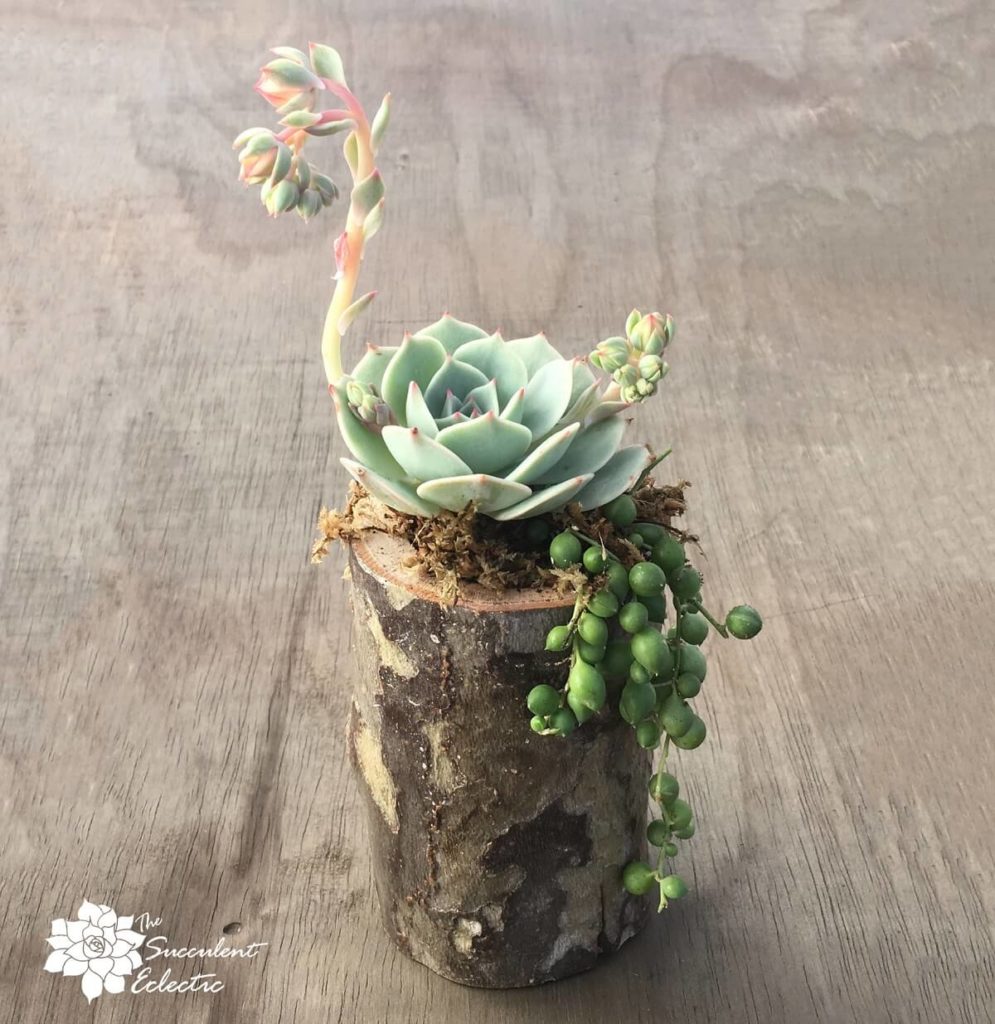
I am really enjoying my new tree branch planters. Take a look at some solo shots, so you can see what I mean about keeping the knots and side branches.
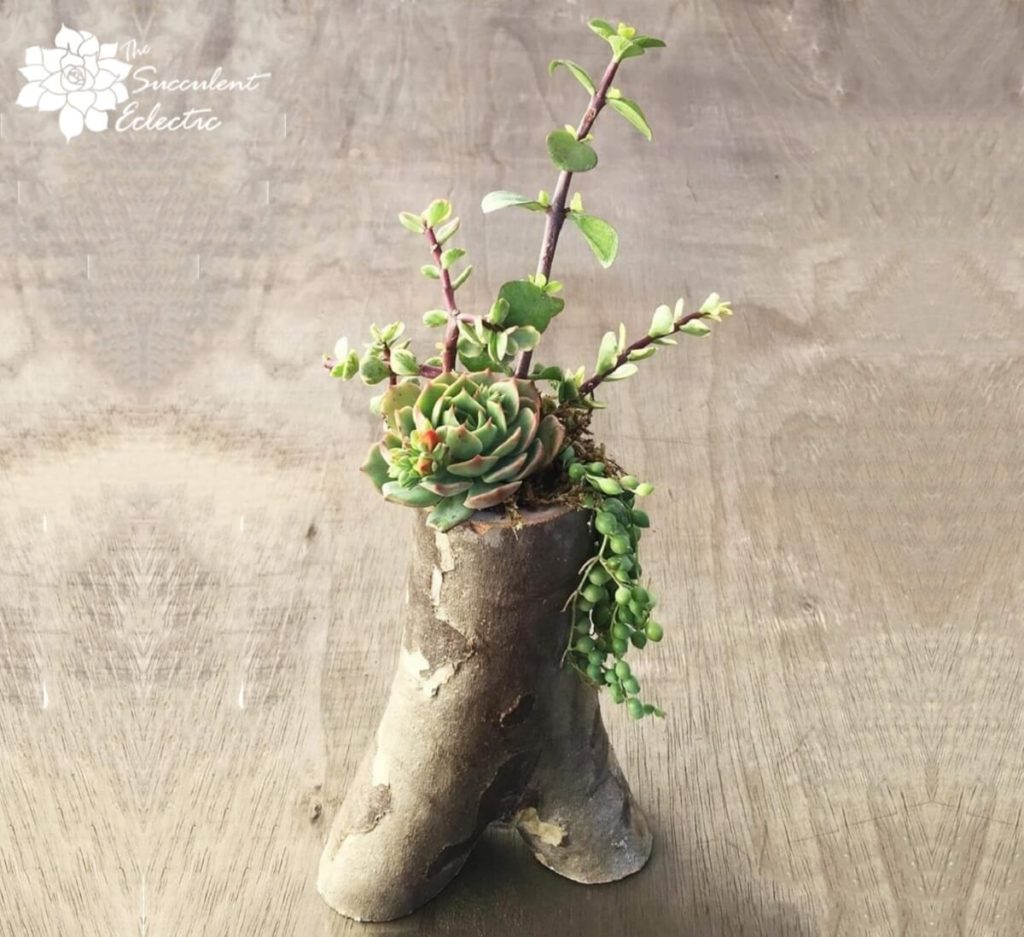
I couldn’t decide whether to plant this one this way, or the other way, and to make a hole in each branch!
How to Water Tree Branch Planters

I find these squeeze bottles to be such handy tools for watering some of my fun succulent crafts and homemade planters! The syringe doesn’t hold as much as the bottle, but both let you get the right amount of water exactly where you need it. You can also use a turkey baster to accomplish the same thing, but the bottles are my fave!
I am really quite taken with these DIY tree branch planters for succulents. What do you think? I would love to learn whether you are going to make these homemade planters, too. Please take a moment to leave a comment and let me know! And if you have any questions – I am happy to help!
You can do this!

P.S. Please subscribe, and you will get my FREE course, 7 Steps to Succulent Success. Thanks!
P.P.S. Why not join my Facebook Group for succulent-lovers? We talk succulent care, propagation, identification and design. It’s a warm and welcoming group that would love to meet you!


By watering succulents in the branches, will it cause the wood to mold or rot?
Hi Sarah,
That’s a great question! All I can say is that mine don’t. I have been doing these branch planters for several years and have never had mold or mildew develop. However, there are some variables involved:
– the type of wood
– the climate
– how often you water
With succulents, of course, you won’t water often. I don’t know that I would try this with plants that need a lot of frequent watering.
And I am in southern California, with rare rain and pretty low humidity. Maybe southern Florida, or a location with a ton of rain and high humidity would have a different experience.
~Kat